Tools Materials
Fall Exterior Siding Inspection and Repair Checklist
Fall exterior siding inspection and repair checklist: find loose panels, bad caulk, and rot before winter freezes damage into costly spring repairs.
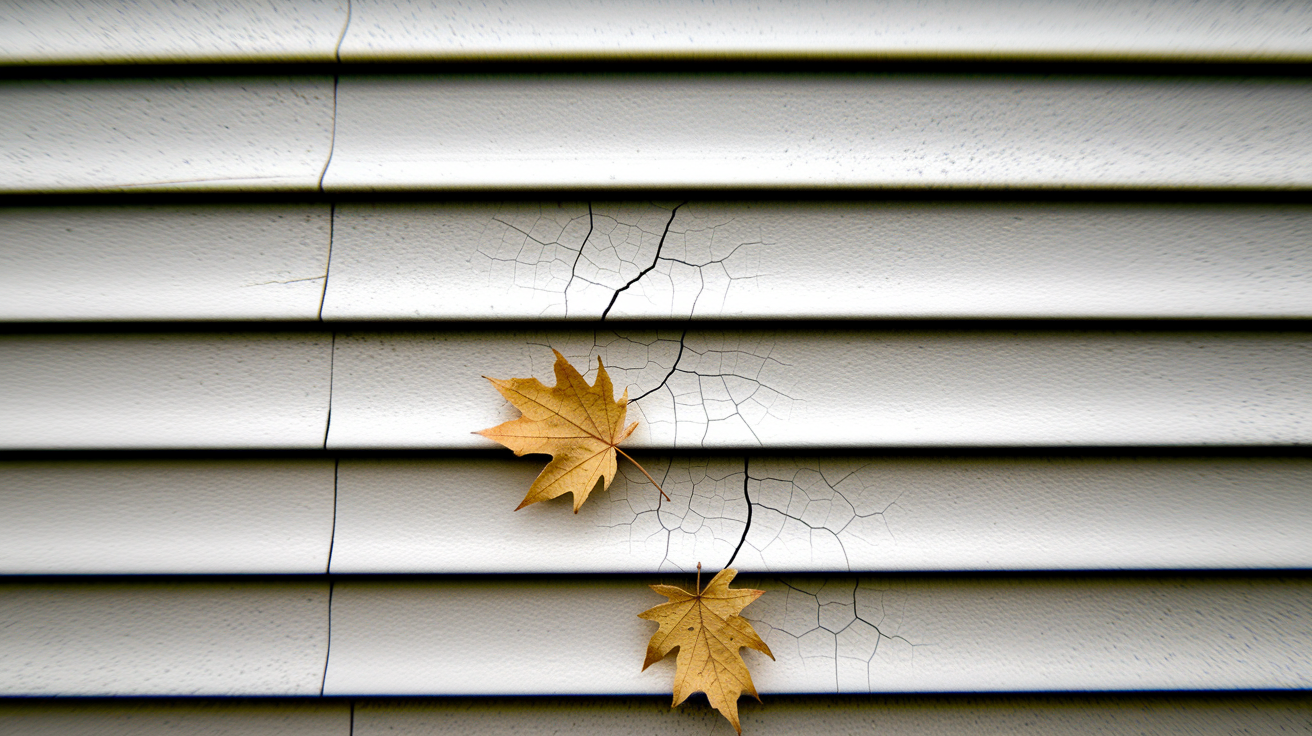
Think skipping a fall siding check is harmless?
Think again.
Moisture that sneaks in now will freeze, expand, and turn tiny gaps into big repairs by spring.
This checklist walks you around your whole house between late September and mid-November and shows exactly what to look for—loose panels, open seams, failed flashing, bad caulk, rot, and odd moisture meter readings.
Grab a tape, a moisture meter, and a pen.
Follow the order here to stop water first, secure boards, remove rot, reseal, and then paint before winter locks the damage in.
Fall Siding Checklist

Walk the full perimeter of your home sometime between late September and mid-November, before the first hard freeze locks everything up for the season.
Print this list, grab a pen, and work your way around every wall. Here’s what you’re looking for:
- [ ] Panels and boards: loose, popped, missing, or displaced sections
- [ ] Cracks and openings: holes, splits, broken edges, and open seams
- [ ] Warping: bowed, buckled, wavy, or heat distorted siding
- [ ] Trim: damaged corner boards and deteriorated window or door trim
- [ ] Flashing: loose, corroded, missing, or poorly integrated flashing
- [ ] Caulk: separated, brittle, cracked, or missing sealant at joints and penetrations
- [ ] Paint and finish: peeling, bubbling, bare areas, mold, or mildew
- [ ] Rot: soft, crumbling, swollen, or discolored material
- [ ] Fasteners: missing, loose, rusted, overdriven, or exposed nails and screws
- [ ] Moisture: stains, damp areas, musty odors, and abnormal meter readings
Not every gap is a crisis. But size matters here, so bring a ruler.
Any gap measuring 3 mm (1/8 in) or wider needs attention before winter. Once a gap reaches 6 mm (1/4 in), or if you can see water getting in and staying in, that’s not a wait and see situation anymore. Fix it now. Same goes for moisture meter readings above 15 to 18 percent. That’s your sign something’s trapped underneath that shouldn’t be.
Once you’ve found the problems, don’t just start fixing randomly. Work through them in this order.
Repair priority order:
- Stop water intrusion at flashing, gaps, and drainage points
- Secure loose panels or boards
- Remove rot and replace damaged material
- Renew failed caulk around openings and seams
- Prime or paint exposed wood
Do this walkaround sometime between late September and mid-November, while there’s still time to order materials and get the work done before the ground freezes.
Why Fall Is the Right Time for a Siding Inspection
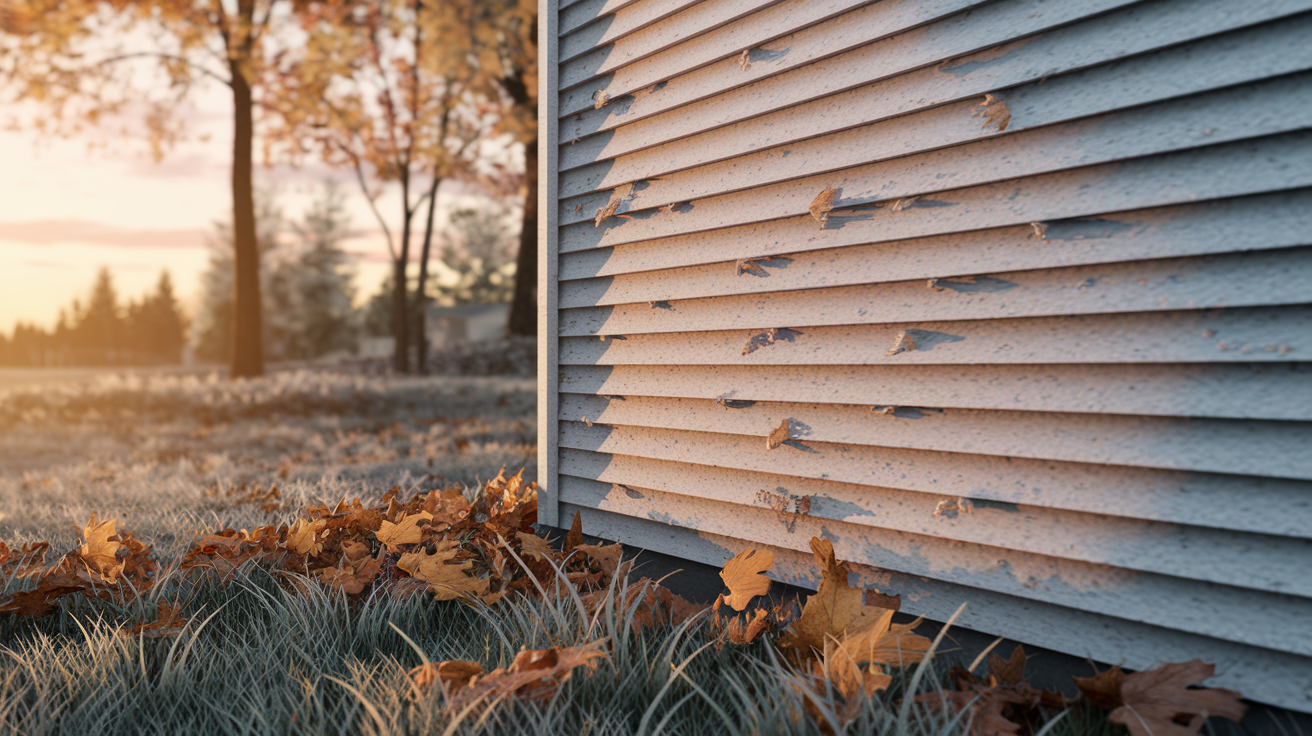
Summer’s rough on siding, even if you don’t notice it happening. Months of UV exposure, heat expansion, wind, and the occasional storm all leave their mark, but that damage tends to hide in plain sight until the season cools down. Fall is when it finally shows itself. Leaves have dropped by this point too, and that honestly makes a bigger difference than people expect. Suddenly you can actually see the lower trim, the roof edges, the downspout outlets, and all those spots that were buried behind branches and foliage all summer.
Timing your repairs matters just as much as finding the damage. Most exterior caulks, primers, and paints need the surface and the surrounding air to be above roughly 5 to 10°C (40 to 50°F) to bond and cure properly. Don’t just eyeball the thermometer at noon and call it good. Check the product label for its specific application and curing window, since some formulas are pickier than others about cold.
Here’s the part that really matters if you’re in a cold climate. Water that sneaks into an unsealed crack or gap doesn’t just sit there. It freezes, expands, and pries that opening a little wider. Do that a few times over a winter and a hairline crack turns into a real problem. Defective flashing and unsealed seams make this worse, letting moisture collect right where ice dams tend to form. Taking care of it now, while the weather still allows for proper repairs, beats dealing with an emergency patch job in February.
Tools and Safety Gear for a Siding Inspection
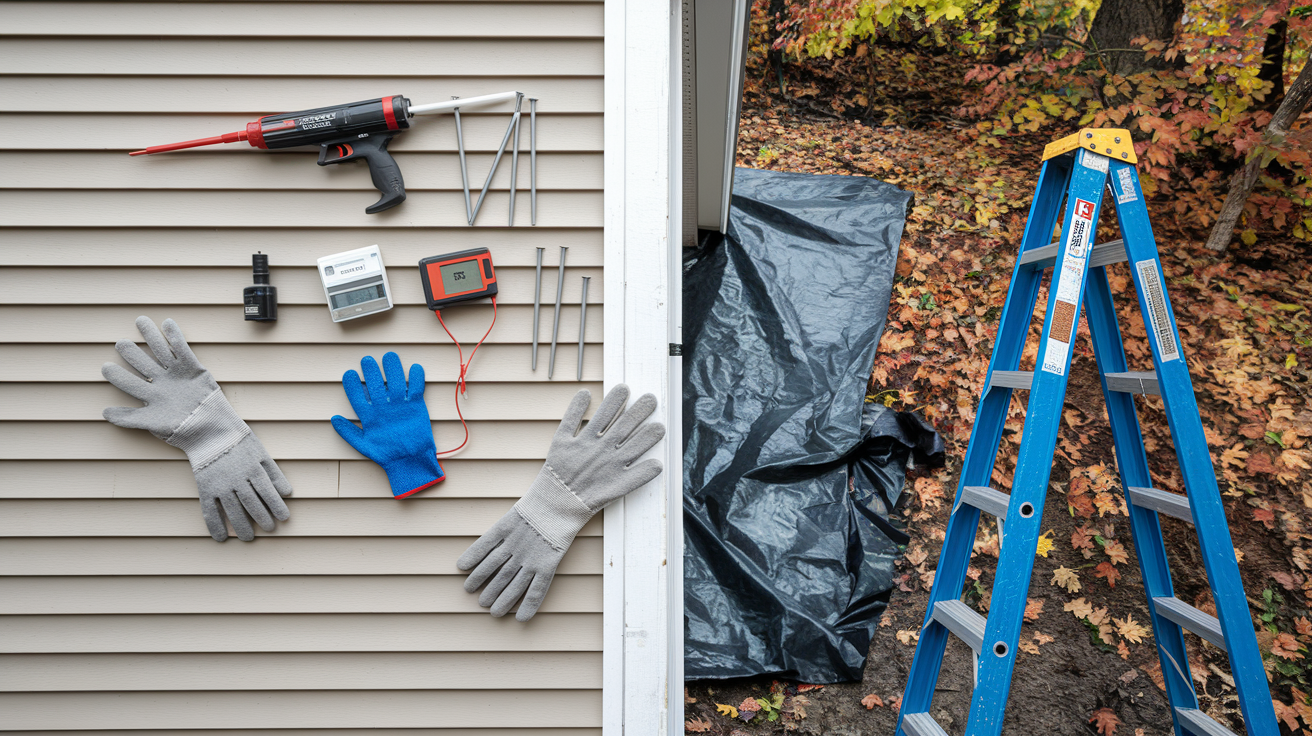
You don’t need a contractor’s trailer full of equipment for this job. But showing up without the right gear usually means a second trip to the hardware store halfway through, so let’s get it sorted up front.
- Outdoor rated ladder and a harness for any work above 12 ft
- Moisture meter, for comparing suspicious spots against dry reference areas nearby
- Caulk gun and 10 to 20 tubes of exterior grade silicone or urethane caulk
- Pry bar and hammer for controlled removal and fastening
- One box of 100 to 200 galvanized or stainless siding nails
- Utility knife, tin snips, and a putty knife
- Shop vacuum, tarps, and basic debris control supplies
- Safety glasses, durable gloves, and a dust mask
- Camera or phone, tape measure, and a notepad for recording what you find
A quick word on ladders, because this is where most DIY injuries happen. Set it up on level, solid ground, not on a slope or soft soil that might shift. Keep the angle right (about one foot out for every four feet of height) and never stretch sideways to reach something just out of range. Move the ladder instead. If you’re working above 12 feet, that harness isn’t optional.
Only tackle this inspection in safe, dry conditions, and keep the fall timing from the previous section in mind as you plan your day.
How to Inspect and Grade Siding Damage
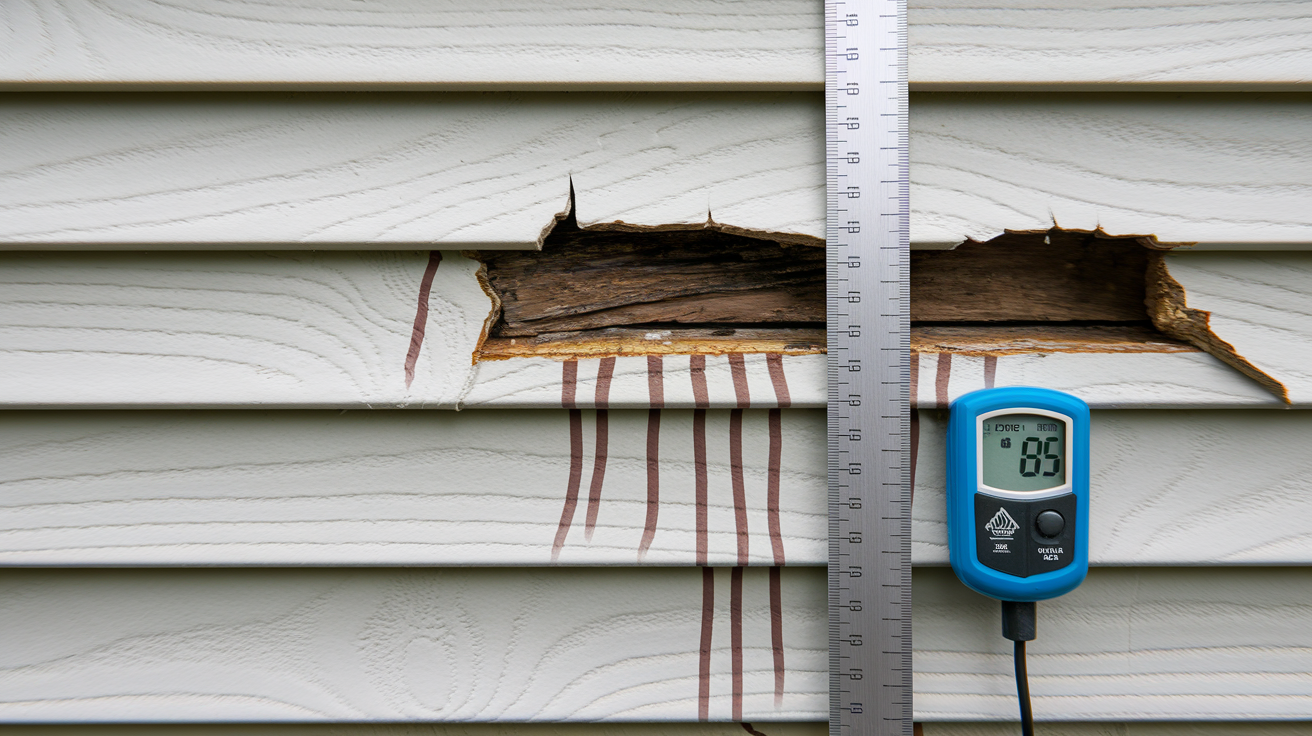
Finding damage is one thing. Knowing what it means, and what to do about it, is the part that actually saves you money and stress. Here’s how to work through it properly.
Follow a Consistent Inspection Route
Pick a starting corner and commit to moving around the house in one direction. It sounds simple, but it’s the single biggest thing that keeps you from missing a wall or doubling back confused. Work each elevation from the foundation up to the roofline, paying extra attention beneath windows and doors, around roof intersections, near gutters and downspouts, and anywhere a pipe, vent, or fixture pokes through the siding. Start by stepping back and scanning the whole wall for uneven lines or odd color patches, then move in close once something catches your eye.
Test Suspected Damage Carefully
Sight down the length of a panel like you’re checking a board for straightness. Bowing or buckling shows up fast this way. For cracks and gaps, pull out that ruler and get an actual measurement instead of guessing. If you suspect rot, press gently with your thumb or a screwdriver tip. Soft, spongy material that g
Final Words
Start by walking the building perimeter in the late-September to mid-November window. Check panels, cracks, warping, trim, flashing, caulk, paint, rot, fasteners, and moisture, using the tools and grading steps we covered.
Tackle repairs in priority order: stop water entry, secure loose siding, remove rot, renew caulk, then prime or paint. Keep clear records and photos so you can track fixes.
Use this fall exterior siding inspection and repair checklist as your printable game plan. A few careful walks and targeted fixes now will save headaches later. You’ve got this.
FAQ
Q: When is the best time for a fall siding inspection?
A: The best time for a fall siding inspection is late September through mid-November; walk the full building perimeter then to spot summer storm and heat damage and take advantage of clearer visibility from fallen leaves.
Q: What should I inspect on my siding during the autumn check?
A: Inspect panels and boards, cracks and openings, warping, trim, flashing, caulk, paint and finish, rot, fasteners, and moisture—look for loose sections, gaps, bubbling finishes, soft spots, exposed nails, and stains.
Q: What repair priorities should I follow after inspection?
A: Follow this repair priority: stop water intrusion at flashing and gaps, secure loose panels or boards, remove rot and replace with treated material, renew failed caulk, then prime or paint exposed wood.
Q: What gap sizes and moisture readings need action?
A: Gaps of 3 mm (1/8 in) or more need attention; gaps of 6 mm (1/4 in) or larger or any opening that lets water in require immediate repair; moisture readings above 15–18% need investigation.
Q: What tools and safety gear do I need for a siding inspection and basic repairs?
A: You need an outdoor ladder (harness for work above 12 ft), moisture meter, caulk gun with 10–20 tubes, pry bar and hammer, corrosion-resistant nails, utility knife, tin snips, putty knife, shop vacuum, tarps, safety glasses, gloves, and a dust mask.
Q: How do I grade siding damage severity during inspection?
A: You grade siding damage as Monitor (cosmetic only), Repair soon (gaps 3–<6 mm, local failed caulk, loose fasteners), or Urgent (gaps ≥6 mm, persistent water entry, unstable panels, extensive rot, moisture >15–18%).
Q: How should I document and map siding defects for repairs or estimates?
A: Document each defect with one wide photo and one close-up, note wall orientation, nearby window or door, height from ground, measurements, moisture reading, date, and assigned severity level.
Q: When should I stop DIY work and call a professional?
A: You should call a professional for urgent issues: persistent water entry, widespread rot, failed flashing, unstable siding, moisture readings above 15–18%, or tasks requiring complex fall protection.
Q: Can renters perform fall siding inspections and small repairs?
A: Renters can inspect, photograph, and report siding problems; small, non-permanent tasks like cleaning or minor caulk touch-ups may be okay, but check your lease or get landlord permission for permanent repairs.
Q: How do I test suspected rot and moisture without causing more damage?
A: Test suspected rot and moisture by gently pressing or probing areas, compare moisture-meter readings to a nearby dry reference, and avoid aggressive prying until you know how extensive the damage is.
More from Politics
 Featured
How to Reset a GFCI Outlet Safely at Home
 DIY Repairs
How to Replace a Leaky Bathroom Faucet Cartridge Easily
 Home Maintenance
How to Adjust Door Hinges to Fix a Sagging Door
Tools Materials