Tools Materials
Spring Attic Inspection Checklist: Catch Leaks Early
Use this spring attic inspection checklist to catch hidden leaks and insulation damage early, in under an hour, before repairs get costly.
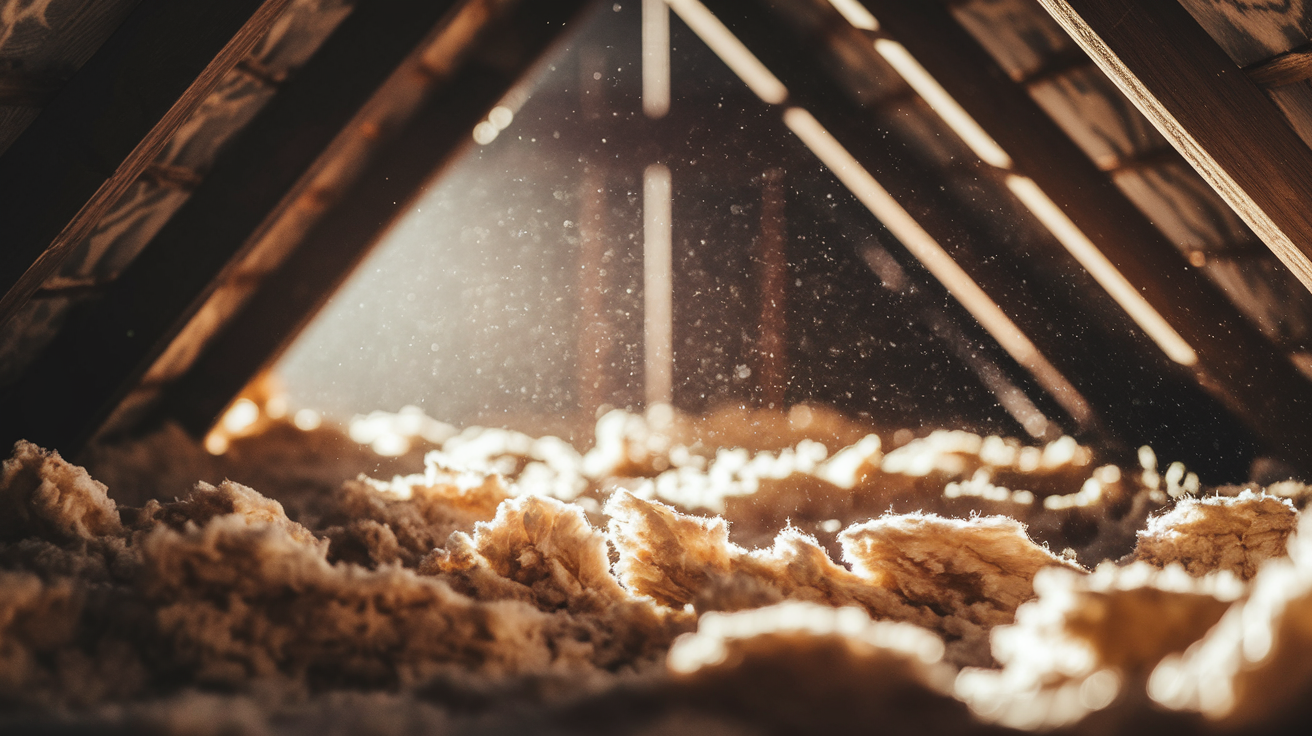
Think your roof made it through winter without damage?
Think again.
Winter storms, ice dams, and hidden attic moisture often leave tiny leaks and packed-down insulation that raise cooling bills and rot framing over months.
This quick spring attic inspection checklist walks you through six clear steps: get set up safely, scan for leaks and water stains, check insulation depth and condition, verify ventilation, spot structural or electrical red flags, and prioritize fixes.
Do it in an hour with simple tools so you catch small problems before they turn expensive.
Spring Attic Inspection Quick-Start Checklist
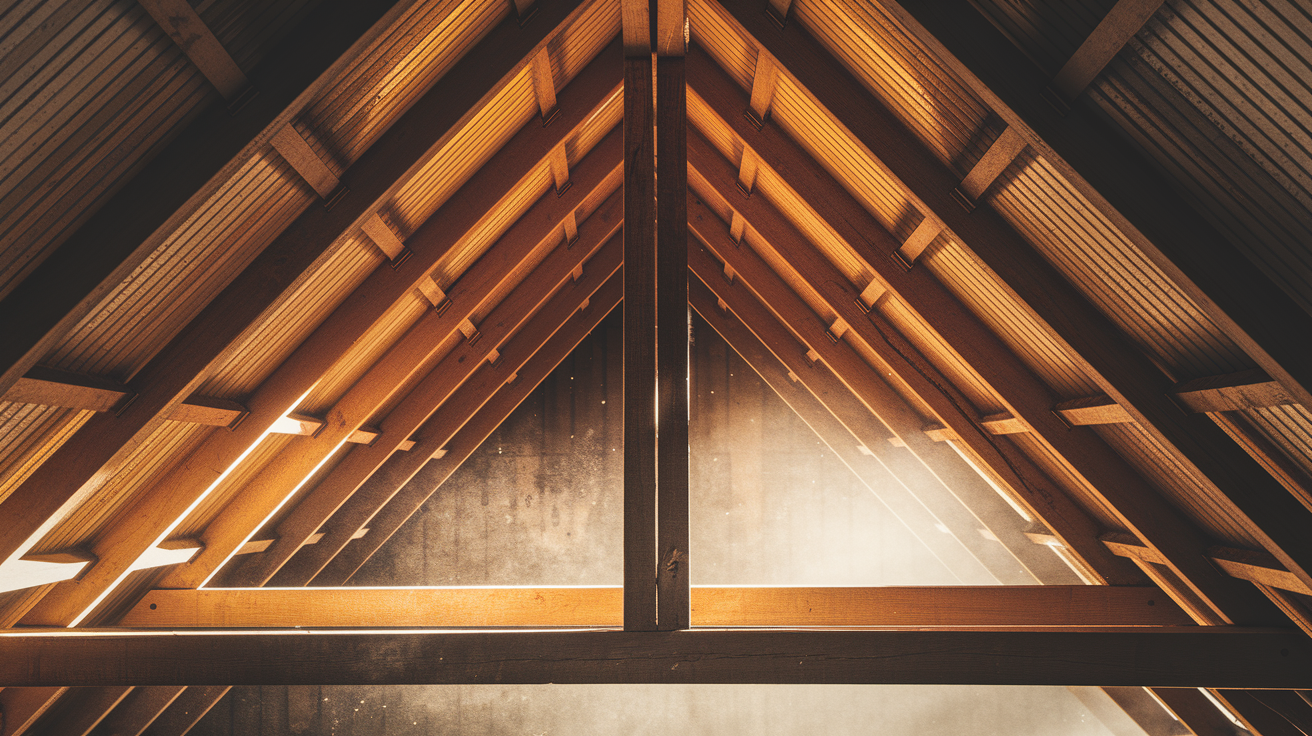
Winter’s rough on a roof. Snow sits up there for weeks, ice builds along the edges, and wind pushes rain into spots that were never supposed to get wet. By the time spring shows up, plenty of homes are quietly hiding small leaks, damp insulation, or gaps that let heat (and your money) slip right out. Nobody climbs up to check, and those small problems turn into expensive ones just as summer heat starts testing your AC bill.
So here’s the short version. A proper spring attic inspection walks you through six things, in order: get set up safely, scan for leaks and water damage, check your insulation’s condition, confirm your ventilation is actually doing its job, look for structural or electrical red flags, then write down and prioritize what you find. You don’t need to be a contractor for this. You need a free hour, decent light, and a plan. Treat your attic like a quick inspection, not a renovation project. Each step builds on the last, and by the end you’ll know whether you’re looking at a simple fix or something that needs a pro.
Here’s what you’ll walk through in this guide:
- Inspect safely (PPE, ladder setup, and stop-work hazards)
- Scan the attic for roof leaks and water stains
- Measure and assess your insulation’s depth and condition
- Check soffit, ridge, and gable ventilation
- Examine framing and wiring for structural or electrical hazards
- Document everything and decide what to escalate to a pro
Why Attics Develop Leaks And Insulation Problems After Winter
(((alt-img2)))
A lot of attic damage isn’t really a spring problem. It’s a winter problem that just finally becomes visible once the snow melts. Winter roof damage usually starts with wind-driven storms lifting shingles or loosening flashing around chimneys and vent pipes. Once that seal breaks, water has a way in. Ice dams make it worse. Heat escapes into the attic, warms the roof deck, snow melts, runs down to the cold eave, and refreezes there. That ice dam backs up water and forces it under the shingles instead of letting it run off like it should.
Insulation and moisture problems usually come from a different direction, from inside the house. Warm, humid indoor air leaks up into the attic through gaps around light fixtures, the attic hatch, plumbing stacks, and wiring holes. If a bath fan or dryer vent was ever installed to dump into the attic instead of venting outside, that moist air has been building up there all winter. Add a ventilation system that’s out of balance, not enough intake at the soffits, or vents that are blocked, and you get condensation forming on the underside of the roof deck. On top of that, loose-fill insulation naturally settles over the years, leaving thinner coverage than what was originally put in.
These problems don’t sit still. They stack on each other across a whole winter season, and right now, before summer heat starts stressing your roof and attic all over again, is usually the easiest and cheapest time to catch them.
Attic Inspection Safety Precautions And Tools Checklist
(((alt-img3)))
Before you touch a single piece of insulation, let’s get you set up safely. Attics are tight, dusty, and unforgiving if you put your foot in the wrong spot. A few minutes of prep here can save you a trip to urgent care later.
Here’s what to wear and do every time you go up:
- Long sleeves and long pants (fiberglass insulation is miserable on bare skin)
- Closed-toe shoes with real grip, not slip-on sandals
- A dust mask or, better, an N95/P100 respirator for insulation dust
- Safety glasses to keep debris out of your eyes
- Work gloves
- A headlamp, so both hands stay free
- A backup flashlight in your pocket or tool bag
- Power off at the breaker before going near any exposed wiring or splices
Before you climb up, give the hatch or pull-down ladder a good shake. Check that the fasteners are tight, the steps aren’t cracked, and the whole thing feels solid under your weight. A wobbly ladder isn’t something to “just be careful with.” Fix it first, or skip the inspection until it’s sorted.
Once you’re up top, remember this: ceiling drywall will not hold your weight. Step only on the joists, or better yet, lay a sturdy board across several of them so your weight spreads out. Watch for roofing nail tips poking through the deck, and keep an eye out for exposed wiring or open junction boxes as you move around.
Some things mean you should stop right away and call a professional instead of pushing on. These include an unsafe hatch or ladder, no solid path to walk across, insulation that’s wet to the touch, a ceiling that looks like it’s sagging, widespread dark staining or growth, old cloth-covered wiring, or loose gray-brown pebbly insulation (this could be vermiculite, which may contain asbestos). None of these are DIY situations, and we won’t repeat this warning later. If you spot any of them, back out carefully and make the call.
| Tool | Approximate Cost |
|---|---|
| N95 dust mask | $10 to $30 |
| P100 respirator | $40 to $100 |
| Tape measure or ruler | $10 to $20 |
| Headlamp and backup flashlight | $15 to $40 |
| Moisture meter | $30 to $250 |
| Infrared thermometer or camera | $100 to $800 |
| Plywood board for walkway | $15 to $30 |
Step-By-
(((alt-img4)))
Final Words
Climb up and get to work: start with safety gear, then follow the six quick steps—inspect safely, scan for leaks, measure insulation, check ventilation, examine structural/electrical hazards, and document what you find.
Winter can hide leaks, compressed insulation, and ventilation problems. Catching them now prevents bigger damage and higher cooling bills later.
This spring attic inspection checklist for leaks and insulation issues gives you a clear, doable path—so you can fix small problems yourself or call a pro with confidence. You’ll head into summer knowing the attic’s in good shape.
FAQ
Q: What should insulation look like in your attic?
A: The insulation in your attic should look uniform and fluffy, covering joists to recommended depth with no compressed, wet, or missing spots. No daylight, mold, or rodent nests should be visible.
Q: What does a quarterly inspection consist of? / What should be included in the inspection checklist?
A: A quarterly inspection consists of a safety check, visual leak scan, insulation depth measurement, ventilation and roof-penetration review, electrical/structural hazard check, moisture testing, and documenting findings to prioritize fixes.
Q: How much does a typical roof inspection cost?
A: A typical roof inspection costs about $100 to $300 for a professional visit, depending on roof size, pitch, access, and visible damage. DIY inspections cost little but lack full diagnostic tools.
More from Politics
 Featured
How to Reset a GFCI Outlet Safely at Home
 DIY Repairs
How to Replace a Leaky Bathroom Faucet Cartridge Easily
 Home Maintenance
How to Adjust Door Hinges to Fix a Sagging Door
 Tools Materials