Home Maintenance
How to Replace a Stripped Door Knob Latch Fast
Fix a stripped door knob latch without removing the door. Diagnose the problem fast and repair it in place, often in under an hour.
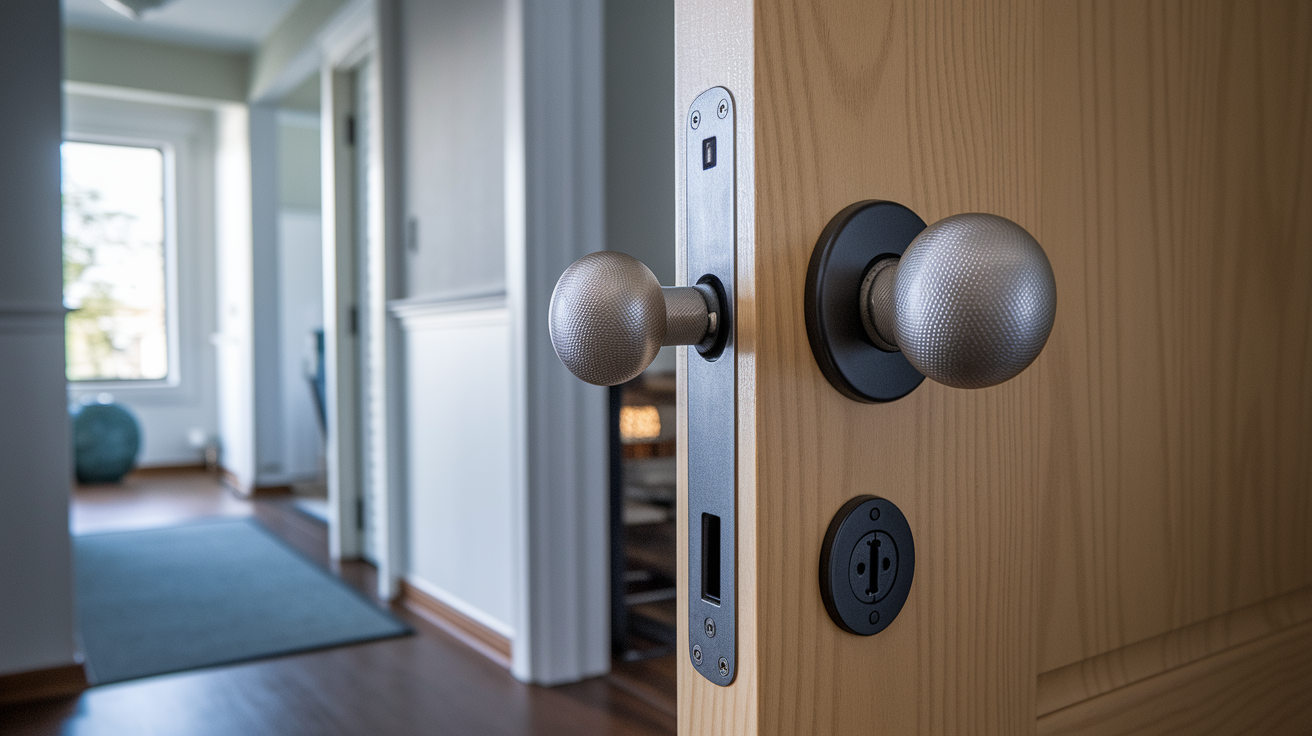
Think you have to take the whole door off to fix a stripped latch? You don’t.
Leave the door on its hinges, prop it open, and you can diagnose and fix the problem right at the edge bore.
This quick guide shows the in-place repair sequence: how to remove the knob, spot whether it’s a bad screw head, a stripped wood hole, or busted metal threads, and apply the right fix, often in under an hour.
You’ll get exact tools to grab, common mistakes to avoid, and when to stop and call a pro.
The Immediate In-Place Repair Sequence
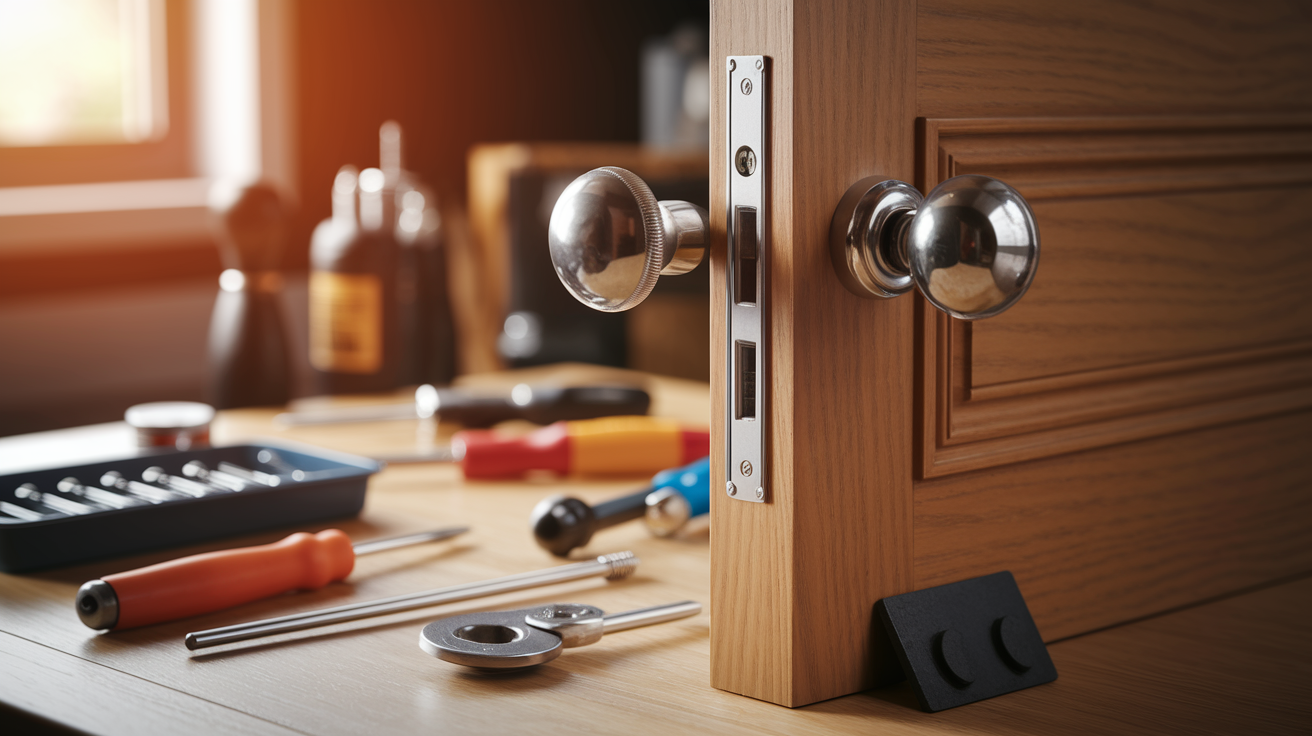
The door stays right where it is for this whole repair. No lifting it off the hinges, no awkward balancing act against the wall. Just prop it open, support it so it can’t swing around on you, and get to work.
Here’s the fast version, step by step:
- Open and support the door with a wedge so it cannot swing while you’re applying pressure to screws or the latch.
- Remove the knob or lever and trim rose using the correct screwdriver or hex key.
- Unscrew the latch faceplate and pull the latch from the edge bore. Use pliers only if gentle hand pressure won’t budge it.
- Check what’s actually spinning or slipping. Is it the driver in the screw head, the screw turning loosely inside the wood, or a machine screw spinning inside metal threading?
- Apply the fix that matches what you found:
- Damaged screw head: use a correctly sized driver, locking pliers, or a screw extraction kit. This takes about 15 to 30 minutes.
- Stripped wood hole: grab a drill, pilot bit, utility knife, and your chosen wood hole repair materials. Plan on 15 to 90 minutes plus curing time.
- Stripped metal threading or a damaged latch body: use a tap, thread insert kit, or just swap in a matching replacement latch. Budget 30 to 120 minutes plus curing where it applies.
Before you grab the drill or start mixing epoxy though, use the diagnostic table below to confirm exactly which part failed. Guessing wrong here means redoing work you didn’t need to do twice.
Diagnose The Stripped Part
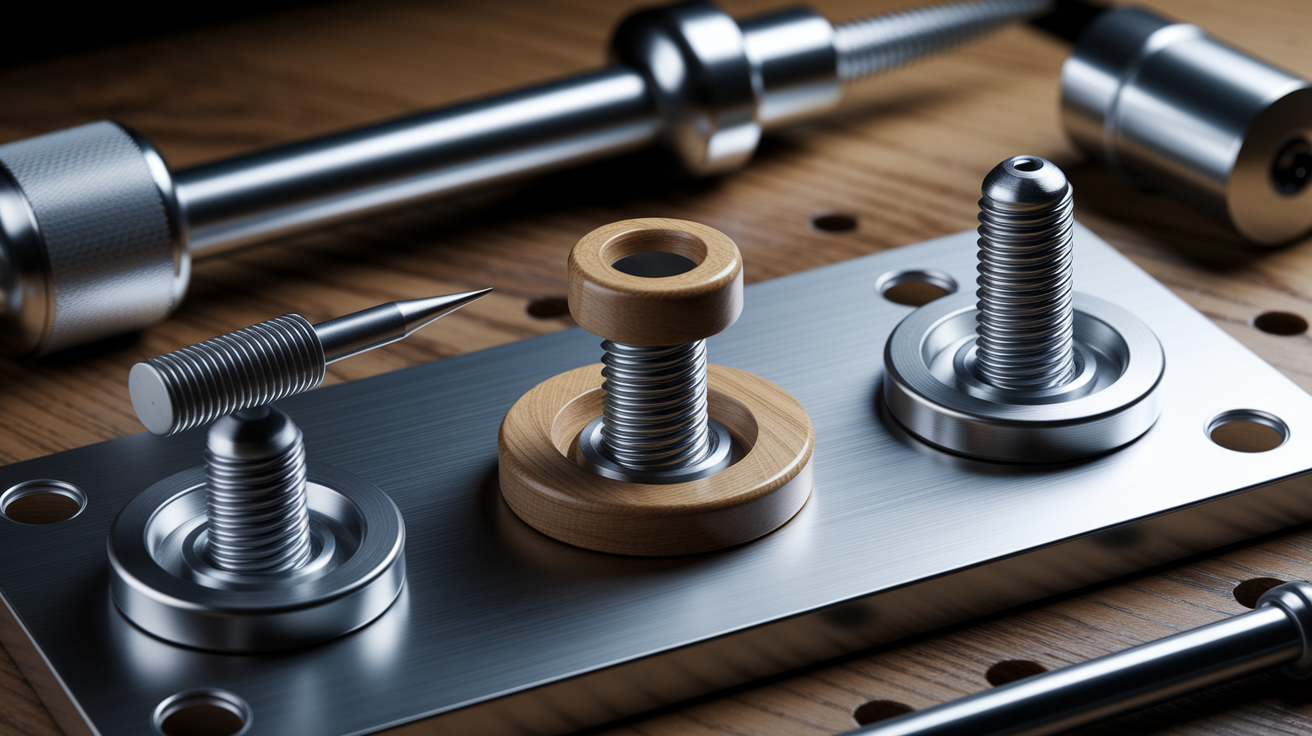
Before you fix anything, watch closely what happens when you try to turn that screw. Does the driver spin freely while the screw stays put? Does the whole screw rotate without ever backing out? Or does a machine screw just spin uselessly inside metal? Each answer points to a completely different repair.
| Stripped Part | Visible Or Tactile Symptom | Matching Repair | Cure Time | Replacement Threshold |
|---|---|---|---|---|
| Damaged screw head | Driver slips or spins while the screw remains stationary | Extract and replace the fastener | None | Replace the screw if the recess or shank is damaged |
| Stripped wood hole | The entire screw rotates but won’t lift, hold, or tighten | Rebuild the wood hole and drill a fresh pilot hole | Depends on the selected repair material | Replace or rebuild surrounding wood if split, soft, or rotten |
| Stripped machine threading | Screw head is usable, but the fastener turns inside metal without tightening | Restore threads, install an insert, or replace the latch hardware | None for mechanical inserts; some compounds need curing | Replace the latch if its body is cracked, distorted, or too thin for safe thread repair |
Here’s a thing worth knowing before you start drilling. More than one of these problems can show up at once. If someone’s been cranking down on that screw with a drill for years, you might find a chewed up screw head sitting in a loose, worn out hole. Fix one without checking the other and you’ll be back here again next week.
Remove The Knob, Rose, And Damaged Fastener
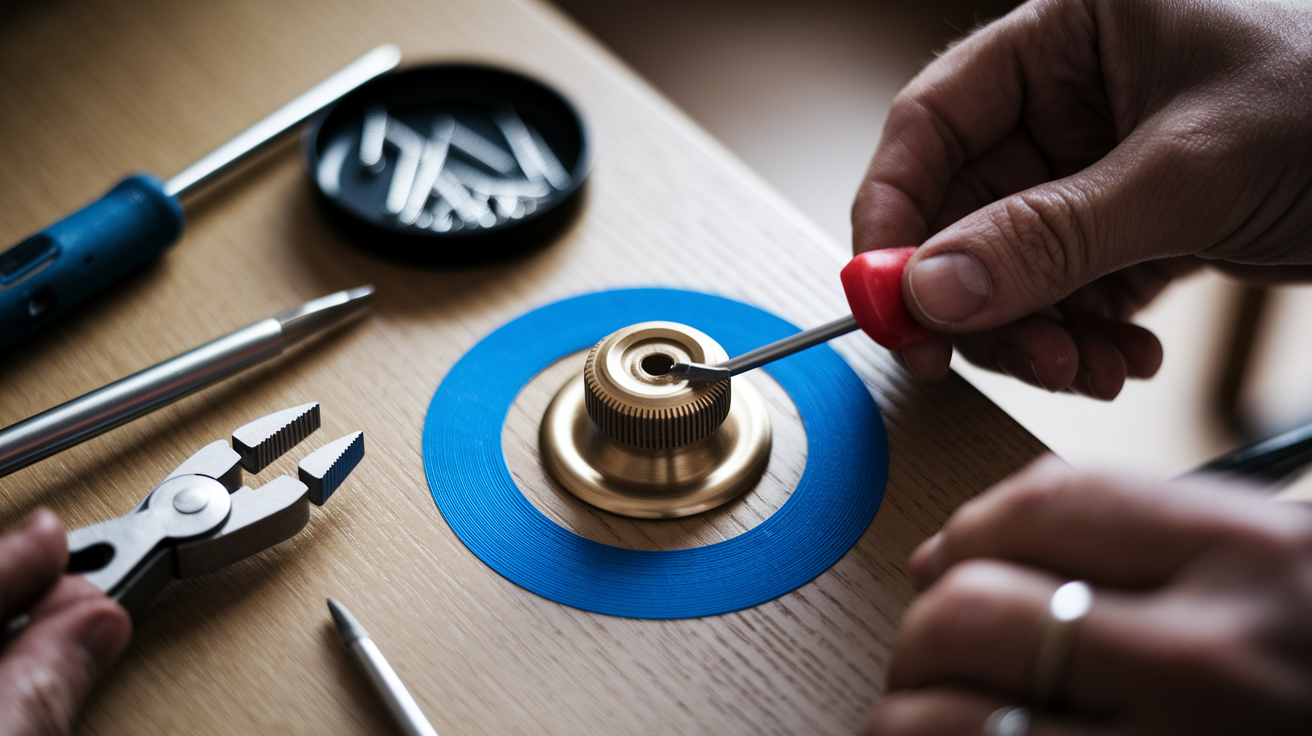
Open the door, slide a wedge under it, and lay down a towel or painter’s tape around the rose if you care about protecting the finish. Scratches here are easy to avoid and annoying to fix later.
Work through these steps in order:
- Locate and loosen the knob’s set screw, release slot, or visible mounting screws using the correctly sized screwdriver or hex key.
- Remove the inside knob or lever, then carefully release the trim rose to expose the mounting plate underneath.
- Test each screw with a fresh driver bit that fully fills the recess. Push in firmly while turning slowly, counterclockwise.
- If the bit slips, stretch a wide rubber band over the screw head and press the driver through it. That extra grip often does the trick.
- If the head sticks up above the mounting plate, clamp locking pliers onto the exposed edge and rotate counterclockwise.
- Still stuck? Center a left hand drill bit or a screw extractor directly in the head and work at low speed. Patience matters more than power here.
- Remove the latch faceplate screws, slide the latch out of the door edge, and set all the reusable parts aside somewhere organized. A small dish or magnetic tray works great for this.
One more thing before you get too aggressive with the drill. Don’t widen the mounting hole by accident, and don’t drill so deep that you damage the opposite side of the lock assembly. If a screw snaps off below the surface and you can’t grip it or drill it out safely, that’s a job for a pro, not another hour of frustration.
Repair A Stripped Wood Screw Hole
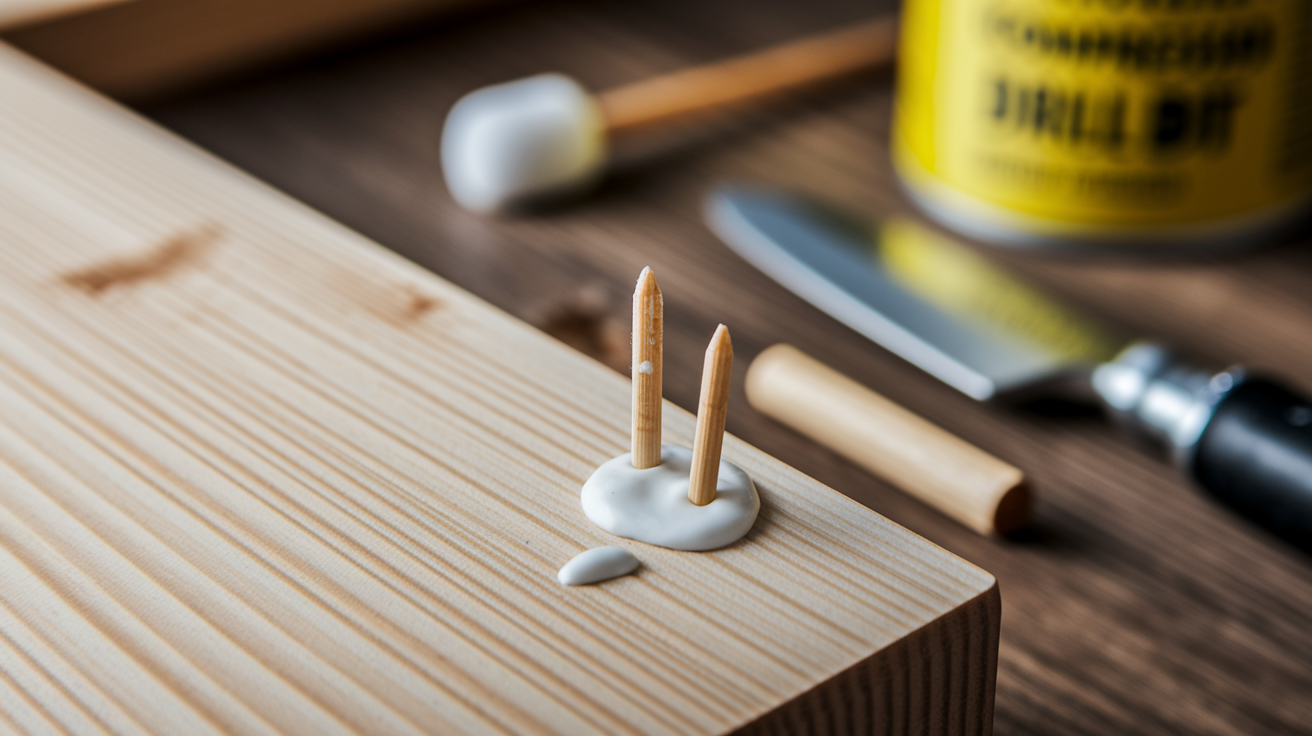
Before picking a fix, clear out any loose wood fibers, sawdust, or old glue from the hole. A quick blast of compressed air or a cotton swab works fine. Then choose your repair based on how big and how chewed up the hole actually is.
- Toothpicks or matchsticks with wood glue: best for a small, clean hole. Dip them in glue, pack them in tight, snap or trim them flush with the surface, and let the adhesive set before you drill anything new.
- Wooden dowel with wood glue: use this for a larger hole or one that’s been stripped more than once. Drill the opening to a clean, uniform diameter, glue in a dowel that fits snugly, trim it flush, and give the glue time to cure fully.
- Wood filler: only use this
Final Words
Keep the door on its hinges, prop it open, and start by removing the knob and trim to expose the latch so you can work in place.
You’ll diagnose whether the driver, the whole screw, or the metal threads are slipping, then pick the matching fix: extract the fastener, rebuild the wood hole, install a threaded insert, or replace the latch.
Use the diagnostic table before drilling and respect cure times. Stop and call a pro if wood is rotten or a screw snaps.
With the right tools and clear steps, you can learn how to replace a stripped door knob latch without removing the door and get it working smoothly again.
FAQ
Q: How to remove door knob with covered screws?
A: To remove a door knob with covered screws, pry off the decorative cap, find and loosen the hidden set screw (often under the rose), pull the knob, then unscrew and remove the rose plate.
Q: My door latch bolt is stuck. How can I fix it? My Kwikset door latch isn’t retracting fully. What could be causing this?
A: A stuck or partially retracting latch usually comes from misalignment, dirt or corrosion, a loose or bent spindle, or a worn mechanism; clean and lubricate, tighten fasteners, adjust the strike, then replace the latch if it still binds.
Q: How can I fix a stripped screw hole in wood?
A: A stripped screw hole in wood can be fixed by packing glued toothpicks, installing a glued wooden dowel, using screw-rated wood filler, or epoxy; then drill a new pilot hole slightly smaller than the screw’s root.
More from Politics
 Featured
How to Reset a GFCI Outlet Safely at Home
 DIY Repairs
How to Replace a Leaky Bathroom Faucet Cartridge Easily
 Home Maintenance
How to Adjust Door Hinges to Fix a Sagging Door
 Tools Materials