DIY Repairs
How to Remove and Clean a Faucet Aerator Easily
Learn how to remove and clean a faucet aerator in 10-45 minutes. Simple steps for exposed, recessed, or stuck aerators, no special tools needed.
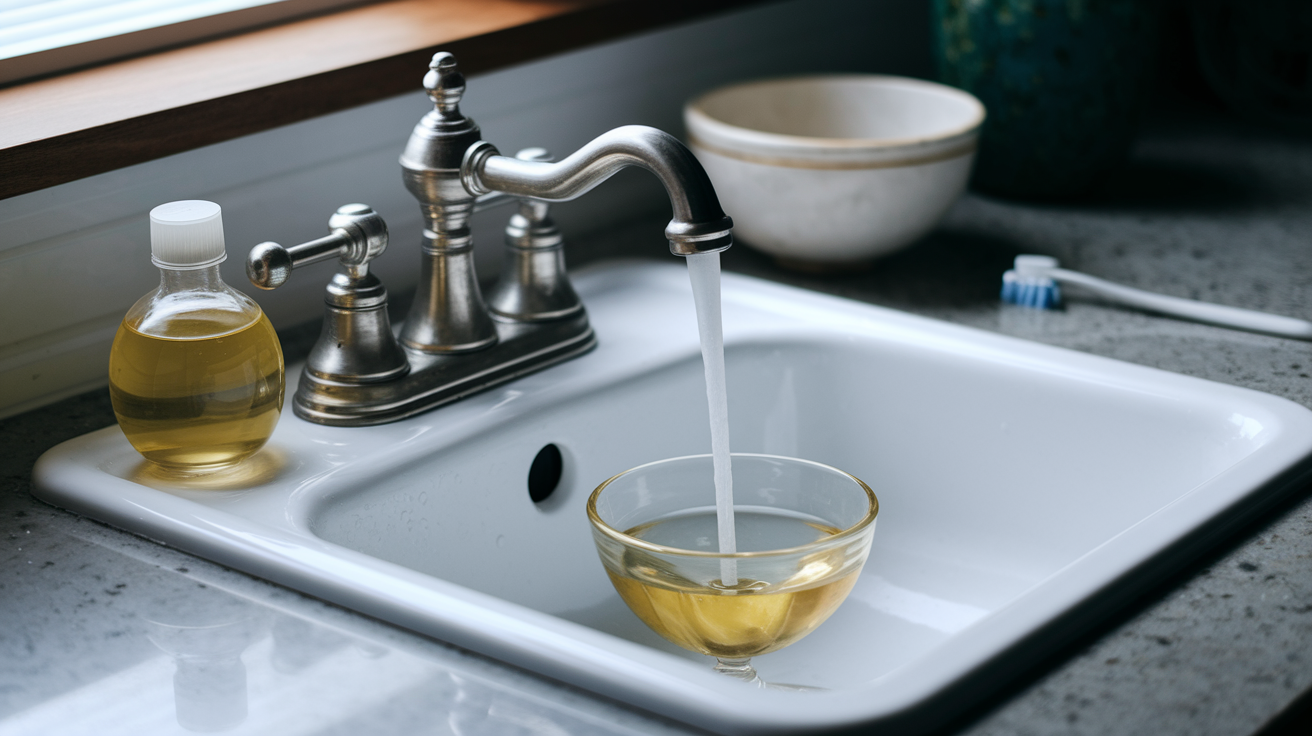
Think a clogged faucet aerator means calling a plumber?
Good news — most people finish removal, cleaning, and reassembly in 10 to 45 minutes.
This quick, no-nonsense guide walks you through eight easy steps to remove and clean any aerator type — exposed, recessed (cache), or stubbornly stuck — and shows the exact tools you need: a drain stopper or rag, white vinegar, a soft toothbrush, a toothpick, and a cache key if yours is recessed.
Plug the drain, follow the steps, and you’ll get a steady, splash-free stream without special tools.
Quick 8-Step Faucet Aerator Walkthrough
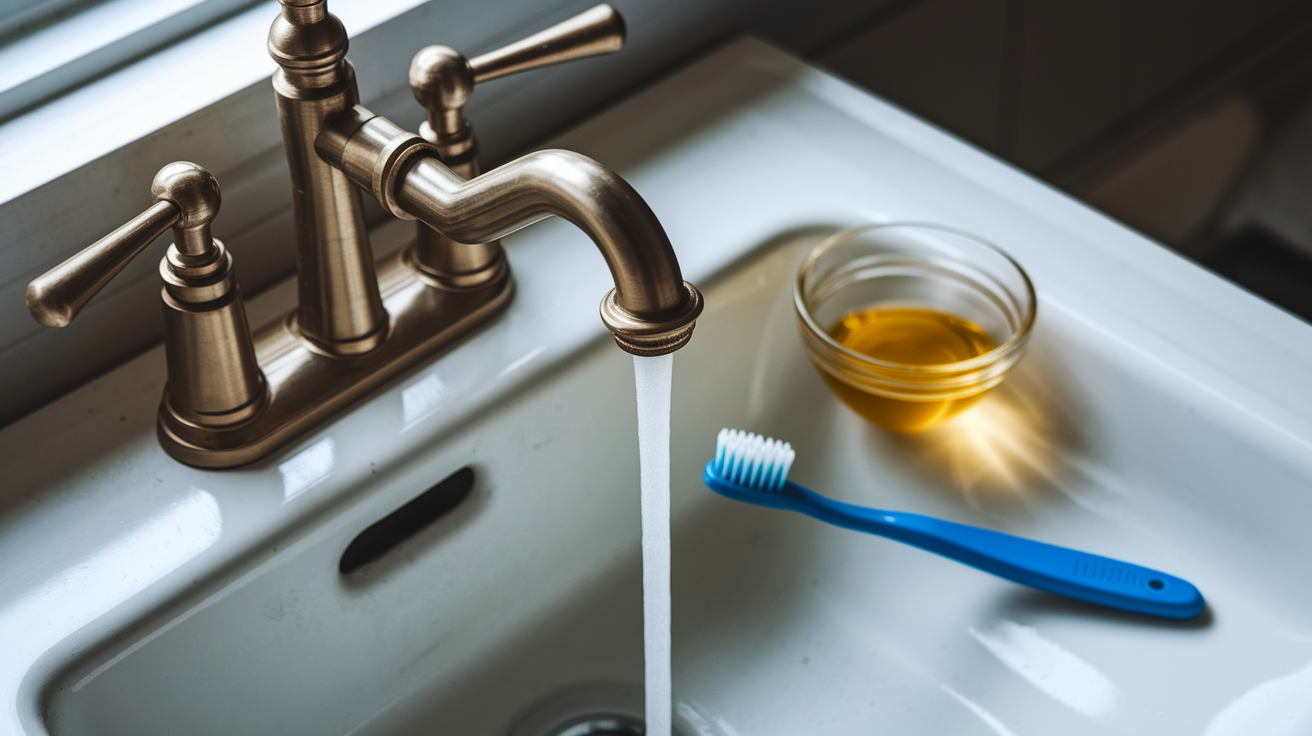
Cleaning a faucet aerator looks intimidating until you actually do it. In reality, most folks finish the whole thing (removal, cleaning, reassembly) in about 10 to 45 minutes.
Before you start, grab a drain stopper or rag, a small bowl, white vinegar, a soft toothbrush, a toothpick or needle, and a cache key if your faucet has a recessed aerator. Take a second to check whether you’ve got a standard exposed aerator or one that sits flush inside the spout. That one detail changes how you’ll remove it.
Here’s the full process from start to finish:
- Turn off the faucet and let any remaining water drain out. No need to shut off the main water line for this job.
- Plug the drain with a stopper or stuff a rag down there. Aerator parts are small, and losing a washer down the drain is a frustrating way to end a simple task.
- Remove the aerator. For a standard model, turn it counterclockwise by hand as viewed from below the spout. Got a recessed aerator? Use the correctly sized cache key instead.
If it won’t budge by hand, try padded pliers, just don’t squeeze hard enough to crush or scratch the housing. Still stuck? Skip ahead to the troubleshooting section below.
- Disassemble the aerator and lay the parts out in order, or snap a quick photo.
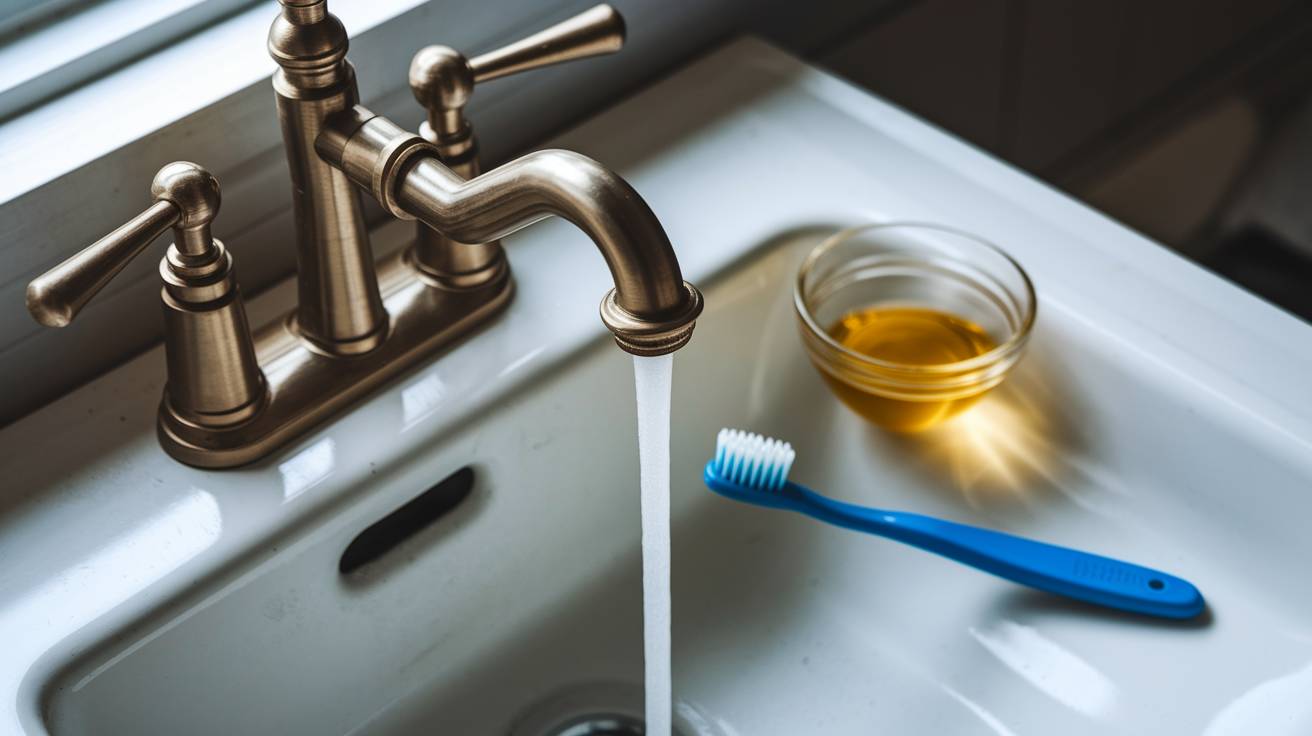
- Rinse the screen under running water, face down, to knock loose any surface debris.
- Soak the parts in white vinegar. Light haze needs about 20 to 30 minutes, visible crust needs 1 to 2 hours, and heavy scale buildup can soak up to 8 hours.
- Scrub the deposits with a soft toothbrush and clear any blocked holes from the inside out using a needle or toothpick.
- Rinse everything for about 30 seconds, reassemble in the original order, reinstall the aerator, and run hot and cold water for 15 seconds each to check for leaks and a clean, even stream. (((alt-img3)))
That’s the whole job. Need more detail on gathering supplies, figuring out your aerator type, or freeing a stubborn one that won’t turn? The sections below cover each of those in depth.
Tools And Materials Needed To Clean A Faucet Aerator
Good news, most of what you need is probably already in your kitchen or junk drawer. The one exception is a cache key, which you’ll only need if your faucet has a recessed aerator tucked flush inside the spout.
Here’s what to have on hand before you start:
- A drain stopper or towel, to keep small parts from disappearing down the drain
- A small bowl, for soaking the aerator parts in vinegar
- White vinegar, enough to fully submerge the parts you’re cleaning
- A soft toothbrush or nylon brush, for scrubbing mineral deposits off the screen and housing
- A toothpick or needle, for clearing clogged holes in the screen without widening them
- Tweezers, handy for picking up tiny washers and screens without dropping them
- A cloth or painter’s tape, to protect the faucet’s finish if you need to grip it with a tool
- A rubber grip aid and padded pliers, for extra traction on a stuck aerator without scratching the metal
- The correct plastic cache key or universal key set, matched to your aerator’s crown pattern if it’s a recessed model
A sandwich bag and rubber band are worth keeping nearby too. Paired with vinegar, they make a handy wrap for softening mineral buildup around a housing that won’t turn.
When you’re picking tools, lean toward anything soft or padded over bare metal. Padded pliers, a cloth buffer, rubber jar grippers, these protect the finish on your faucet while still giving you grip. Skip penetrating oil, pipe wrenches, and anything meant for heavy-duty plumbing. Those tools aren’t suited for potable-water fixtures and can do more harm than good here.
Identifying Your Faucet Aerator Type And Compatible Parts
(((alt-img3)))
Before you remove or replace anything, it helps to know exactly what kind of aerator you’re working with. The housing’s position, where the threads sit, its diameter, and any key notches all determine what tools you’ll need and what replacement part will actually fit.
Male Threaded Aerator
A male threaded aerator has external threads running along its body, and it screws into internal threads inside the faucet spout. You’ll usually spot it sitting slightly recessed into the tip of the spout, with the threads hidden from view once it’s installed. This is the most common type on kitchen faucets, and most hardware store replacements are sized to fit this style.
Female Threaded Aerator
A female threaded aerator works the opposite way. It has internal threads and slips over a spout that has external threads showing. Visually, this type often looks like it’s wrapping around the outside of the spout tip rather than tucking inside it. If your old aerator looked like a little cap sitting over the end of the faucet, you’re probably dealing with a female threaded model.
Recessed Or Cache Aerator
A recessed, or cache, aerator sits flush inside the spout opening, so you won’t see any threads or a separate housing sticking out. What you will see is a crown-like ring pattern around the screen, almost like a tiny gear. That pattern isn’t decorative, it’s there so a specific cache key can grip it for removal. These keys come in different notch counts and diameters, so matching the key to your aerator’s exact pattern matters more here than with threaded types.
Integrated Or Non-Removable Aerator
An integrated aerator has no separate housing, no visible threads, and no notches for a key. It’s built into the spout itself. If you’re staring at your faucet tip and can’t find anywhere to grip or turn, check the manufacturer’s documentation before assuming it’s stuck. It might simply be designed that way.
Final Words
Start the job with 10–45 minutes set aside. Gather a drain stopper, bowl, white vinegar, soft toothbrush, toothpick, and the correct cache key, and identify whether your aerator is standard or recessed before you begin.
Follow the quick 8-step walkthrough: shut off water, plug the drain, remove the aerator by hand or key, lay parts in order, rinse, soak in vinegar, scrub from the inside out, then reassemble and test.
If it’s stuck, try rubber grips, a vinegar wrap, and padded pliers only as a last resort. This guide to how to remove and clean a faucet aerator makes the job simple and gets your flow back fast.
FAQ
Q: I can’t unscrew my faucet aerator. What can I do?
A: If you can’t unscrew your faucet aerator, try extra grip (rubber band or jar gripper), a vinegar wrap for 30–60 minutes to soften scale, or the correct cache key; brace the spout and use padded pliers briefly.
Q: How do you clean a faucet aerator that doesn’t unscrew? Can a faucet aerator be cleaned?
A: A faucet aerator can be cleaned; if it won’t unscrew, soak the housing in a vinegar-filled bag for 20–60 minutes, then scrub with a soft toothbrush and clear holes from the inside out.
Q: Do all faucet aerators unscrew?
A: Not all faucet aerators unscrew: standard male or female threaded models do, recessed cache aerators need a matching key, and integrated designs may be non-removable—check the faucet documentation or measure threads first.
More from Politics
 Featured
How to Reset a GFCI Outlet Safely at Home
 DIY Repairs
How to Replace a Leaky Bathroom Faucet Cartridge Easily
 Home Maintenance
How to Adjust Door Hinges to Fix a Sagging Door
 Tools Materials