DIY Repairs
How to Replace a Leaky Bathroom Faucet Cartridge Easily
Stop that drip yourself. Learn how to replace a leaky bathroom faucet cartridge in 30-60 minutes, no plumber needed. Tools, steps, and pro tips inside.
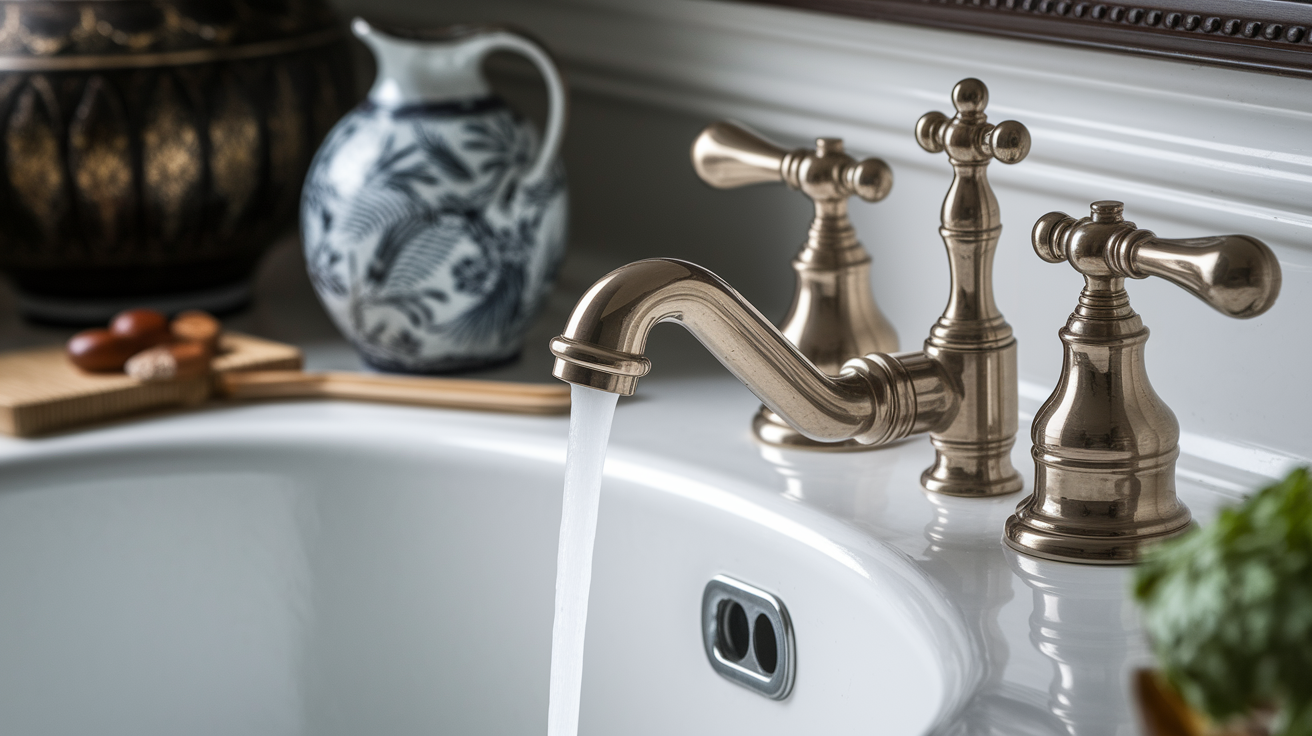
Think you need a plumber for a dripping bathroom faucet? Think again.
Most leaks like that come from a worn cartridge and you can replace it yourself in about 30 to 60 minutes.
This guide shows the simple, safe steps: how to shut off the valves under the sink and confirm the water is off, pick the exact replacement cartridge, remove the old part, and reinstall without reversing hot and cold.
I’ll also cover the tools you need, common mistakes to avoid, and when to stop and call a licensed plumber.
Quick Repair Procedure for a Dripping Faucet
Before you touch a single screw, here’s the one thing to know: never take apart a pressurized faucet. If the shutoff valves under your sink don’t fully stop the water when you turn them, stop what you’re doing and shut off the main household water supply instead. Working on a faucet that’s still pressurized can send water spraying the second you loosen a part, and that’s a mess nobody wants to clean up.
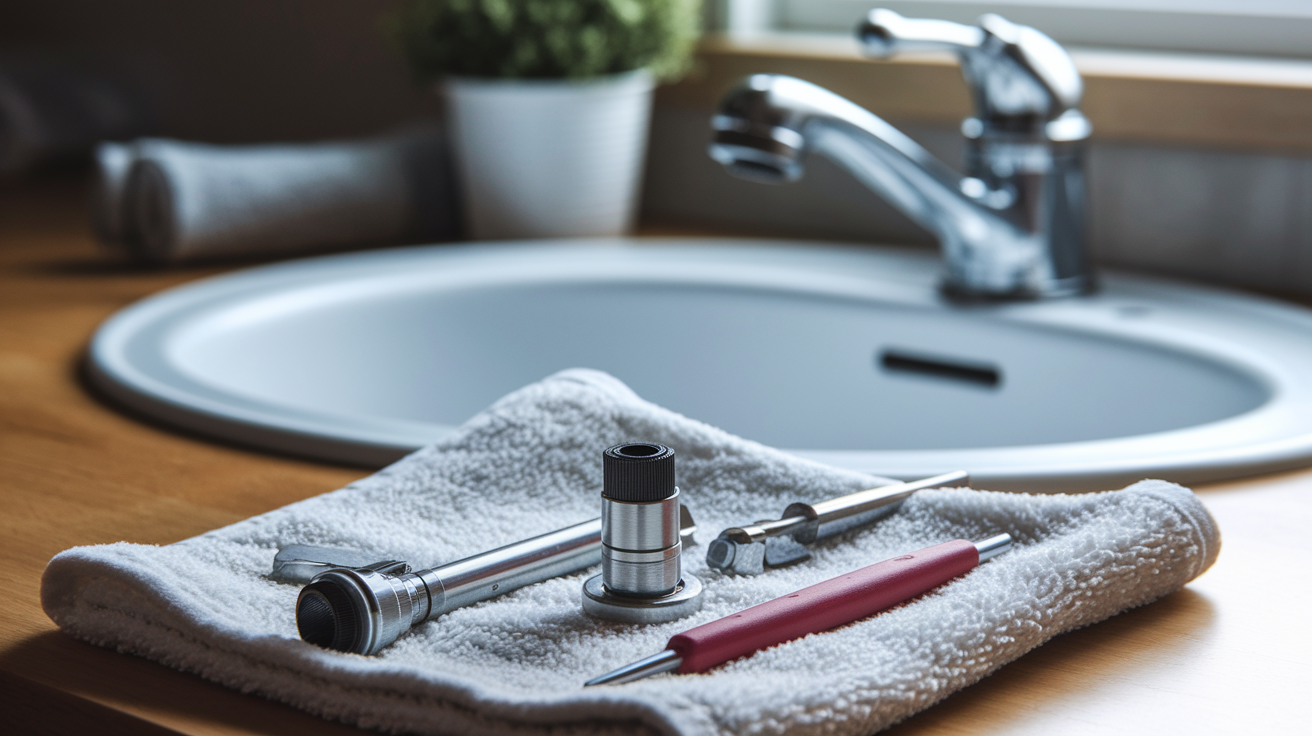
Once the water’s confirmed off, you’re actually looking at a pretty manageable repair. Gather these items before you start so you’re not hunting for a screwdriver halfway through with wet hands:
- Exact replacement cartridge
- Flat head and Phillips screwdrivers
- Correct hex key
- Adjustable wrench
- Needle nose or slip joint pliers
- Cartridge puller (if your cartridge is stuck or mineral caked)
- Silicone plumber’s grease approved for faucets
- Towels or a shallow container
- Drain plug or clean cloth
Here’s what to expect time and cost wise, so you can plan your afternoon accordingly.
| Planning Detail | Estimate |
|---|---|
| Typical completion time | 30 to 60 minutes |
| Typical cartridge cost | $10 to $50, excluding tools or professional labor |
Now, onto the actual bathroom faucet cartridge replacement. Follow these steps in order. Don’t skip ahead, even if a step looks obvious. The order matters more than you’d think.
- Turn off both the hot and cold supply valves beneath the sink by rotating them clockwise. Open the faucet to release trapped pressure and confirm that the water has completely stopped.
- Plug the sink drain, place a towel around the work area, and close the stopper so small screws, clips, and decorative caps can’t fall into the drain. Honestly, this step saves more headaches than any other on this list.
- Remove the handle cap, set screw, or visible screw using the appropriate screwdriver or hex key. Lift off the handle without forcing it.
- Remove the escutcheon, trim sleeve, adapter, or temperature limit components in order. Arrange the pieces on the towel in the sequence removed, left to right works well.
- Photograph the exposed cartridge and its orientation before loosening anything. Capture the stem position, alignment tabs, hot and cold markings, and retaining hardware. This photo is your cheat sheet for reassembly.
- Identify the correct cartridge before extraction. Check the faucet body and handle for the brand and model number, compare cartridge dimensions and stem features, and remember that an exact match is necessary, not just a close one. If you’re still not sure, plan to bring the removed cartridge to a plumbing supply store or hardware store for direct comparison.
- Remove the retaining nut or retaining clip. Use an adjustable wrench for a nut or needle nose pliers for a clip, taking care not to bend the clip or scratch the valve body.
- Extract the old cartridge by pulling it straight out. Gently rock it only if the manufacturer’s instructions allow it, and use a cartridge puller if mineral deposits have made it stubborn.
- Inspect and clean the empty valve body. Remove loose scale and debris with a soft cloth, avoid scratching sealing surfaces, and check for corrosion, cracks, or damaged internal parts.
- Install the exact replacement cartridge in the same orientation shown in your photo. Align tabs, ports, and hot and cold markings correctly, then apply only a light coating of approved silicone plumber’s grease to the seals if the manufacturer permits it.
- Reinstall the retaining clip or nut, trim components, and handle in reverse order. Tighten parts until secure, but don’t overtighten plastic components or you risk stripping the screws.
- Close the faucet, slowly reopen both supply valves, and inspect around the handle, spout, cartridge housing, and supply connections. Run hot, cold, and mixed water, test handle movement and temperature direction, and check again for dripping after a few minutes.
If hot and cold feel reversed once you turn the water back on, that usually means the cartridge went in facing the wrong way. Just pull it and flip it to match your photo. Continued dripping, on the other hand, can point to a mismatched cartridge, a damaged seal, leftover debris in the valve body, or damage that’s beyond a simple cartridge swap.
Cartridge Types and Signs of Failure
(((alt-img2)))
A faucet cartridge is the small internal valve that controls how much water flows and, in a single handle faucet, how hot or cold it gets. These cartridges come in a few different materials, plastic, brass, chrome plated metal, or ceramic, and knowing which type you’re dealing with helps you buy the right part the first time. Your symptoms can point toward cartridge failure, but it’s the faucet brand and model that actually determines which replacement you need.
A few signs tend to show up when a cartridge is on its way out:
- Persistent dripping from the spout
- Water leaking around the handle base
- A stiff or difficult to turn handle
- Unstable or reversed water temperature
- Reduced or uneven water flow
| Faucet or Cartridge Type | How It Works | Identification Details | Replacement Notes |
|---|---|---|---|
| Single handle cartridge | One cartridge controls both flow and temperature | Usually has a projecting stem and a round or shaped base | Photograph its orientation first. Incorrect alignment can reverse hot and cold |
Final Words
You turned off the supply, plugged the drain, removed the handle and trim, photographed the cartridge, pulled the old part, cleaned the valve body, and installed the exact match. Safety first: stop if the supply valves don’t fully shut off or parts are seized.
Most jobs take about 30–60 minutes and cartridges run $10–$50. Keep your photos and the old cartridge for comparison.
Followed the steps? You now know how to replace a leaky bathroom faucet cartridge and should have a steady, drip-free sink. Nice work.
FAQ
Q: How to replace a bath faucet cartridge?
A: Replacing a bath faucet cartridge means shutting off both supply valves, removing the handle and trim, photographing orientation, removing the retaining clip, pulling the old cartridge, installing an exact replacement, then testing for leaks.
Q: How to replace delta faucet cartridge rp50587?
A: Replacing a Delta RP50587 cartridge follows the same steps: shut off supplies, remove handle and trim, note cartridge orientation, remove the retaining clip, pull the old cartridge, fit the RP50587 exact replacement, reassemble and test.
Q: How do I know what faucet cartridge I need?
A: You know what cartridge you need by checking the faucet brand and model, photographing or removing the old cartridge, comparing stem, ports, and alignment tabs, or bringing the old part to a parts store for matching.
Q: Why is the faucet leaking after replacing the cartridge?
A: A faucet leaks after replacing the cartridge because the cartridge is misoriented or mismatched, seals are damaged or dirty, debris remains, retaining clip/nut is loose, or the valve body is worn and needs professional repair.
More from Politics
 Featured
How to Reset a GFCI Outlet Safely at Home
DIY Repairs
How to Replace a Leaky Bathroom Faucet Cartridge Easily
 Home Maintenance
How to Adjust Door Hinges to Fix a Sagging Door
 Tools Materials