Featured
How to Replace a Showerhead Easily Yourself
Learn how to replace a showerhead step by step in 15-30 minutes. No main water shutoff needed. Just a wrench, tape, and a cloth. Renter-friendly, too.
You don’t need to shut off your home’s main water to swap a showerhead — most people just make extra work for themselves.
Most straightforward swaps take 15 to 30 minutes and only a wrench, PTFE tape, and a cloth.
This post gives a simple 7-step method showing how to replace a showerhead step by step: check fit, protect the finish, remove the old head, clean threads, apply tape, install the new head, and test for leaks.
We’ll keep it quick, safe, and renter-friendly.
The 7-Step Showerhead Replacement Method
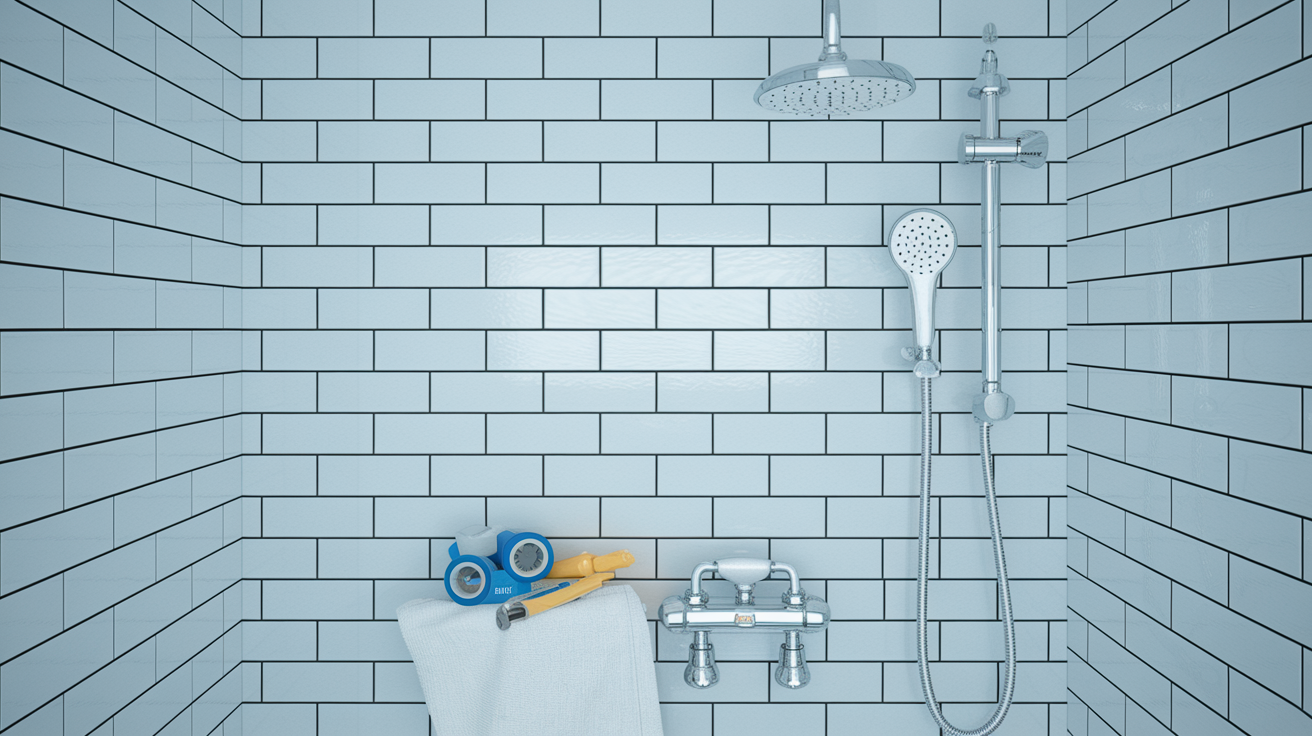
Most straightforward showerhead swaps take just 15 to 30 minutes from start to finish. And you won’t need to shut off your home’s main water supply to do it.
That’s right, you don’t need to touch the main shutoff valve for this one. The shower control valve already stops water from reaching the showerhead once you turn the handle off, so there’s no reason to go messing around in the basement or utility closet.
Before you grab your wrench, turn the shower controls fully off and give any hot fittings a minute to cool down if you just finished a shower. Dry the work area with a towel so your tools don’t slip, and avoid putting excessive force on the shower arm (that’s the pipe sticking out of the wall). It’s more fragile than it looks, especially where it connects behind the tile.
Tools And Materials
- New compatible showerhead
- Adjustable wrench
- Strap wrench or slip joint pliers
- 2 protective cloths
- PTFE plumber’s tape
- Old toothbrush
- Bucket or towel
Penetrating oil and a small screwdriver are handy extras if you’re dealing with a stuck fitting or need to remove a gasket. As for cost, expect to spend anywhere from $10 to $200 or more on a new showerhead, with most quality options landing comfortably in the $20 to $50 range.
Here’s the full step by step for how to replace a showerhead, from checking fit to final leak test.
-
Verify compatibility. Before you buy anything (or before you start unscrewing the old one), confirm your new showerhead matches your shower arm. Most U.S. fixtures use a standard 1/2 inch NPT (national pipe thread) connection. Imported units, electric showers, panel systems, or proprietary brands sometimes need an adapter or a manufacturer specific part, so double check the packaging.
-
Protect the fixture finish. Wrap a cloth around the showerhead nut and the shower arm before you bring in a wrench or pliers. This keeps you from scratching chrome or scuffing a brushed nickel finish. Set a bucket or towel below your work area too, since small parts (and a little leftover water) like to make a break for the drain.
-
Unscrew the old showerhead. Hold the shower arm steady with one hand or a cloth covered wrench, then turn the showerhead counterclockwise. If it won’t budge, apply penetrating oil, wait 10 to 15 minutes, and try again with a strap wrench or cloth covered pliers. Don’t twist the arm itself. That connection is hidden inside the wall and isn’t meant to rotate.
-
Clean and inspect the threads. Use an old toothbrush to scrub off leftover PTFE tape and mineral residue. While you’re in there, look for rust, pitting, cracks, flattened threads, or crossed threads. If the shower arm wiggles at the wall or looks seriously damaged, stop here.
-
Apply PTFE tape correctly. Wrap the tape clockwise, 3 to 5 times, around the male threads. Keep it flat and stay just below the open end so it doesn’t block water flow. Viewed from the threaded end, the tape should wind clockwise. That way it tightens instead of unraveling when you thread the new head on.
-
Install the new showerhead. Thread it on clockwise by hand until it’s snug, checking that it turns evenly the whole way. Only tighten further if your manufacturer’s instructions call for it. Don’t force crossed threads, and go easy on plastic fittings. They crack more easily than metal ones.
-
Test for leaks. Turn the shower on at low pressure first and check the connection, then run it at normal pressure for 1 to 2 minutes. If you spot a drip, shut the water off, snug the connection slightly, and retest. Still leaking? Remove the head, check the gasket, reapply fresh tape, and reinstall.
That stuck fitting trick and quick leak fix will solve most issues on the spot. For anything trickier, the troubleshooting section further down has you covered in more depth.
Choosing A Compatible Replacement Showerhead
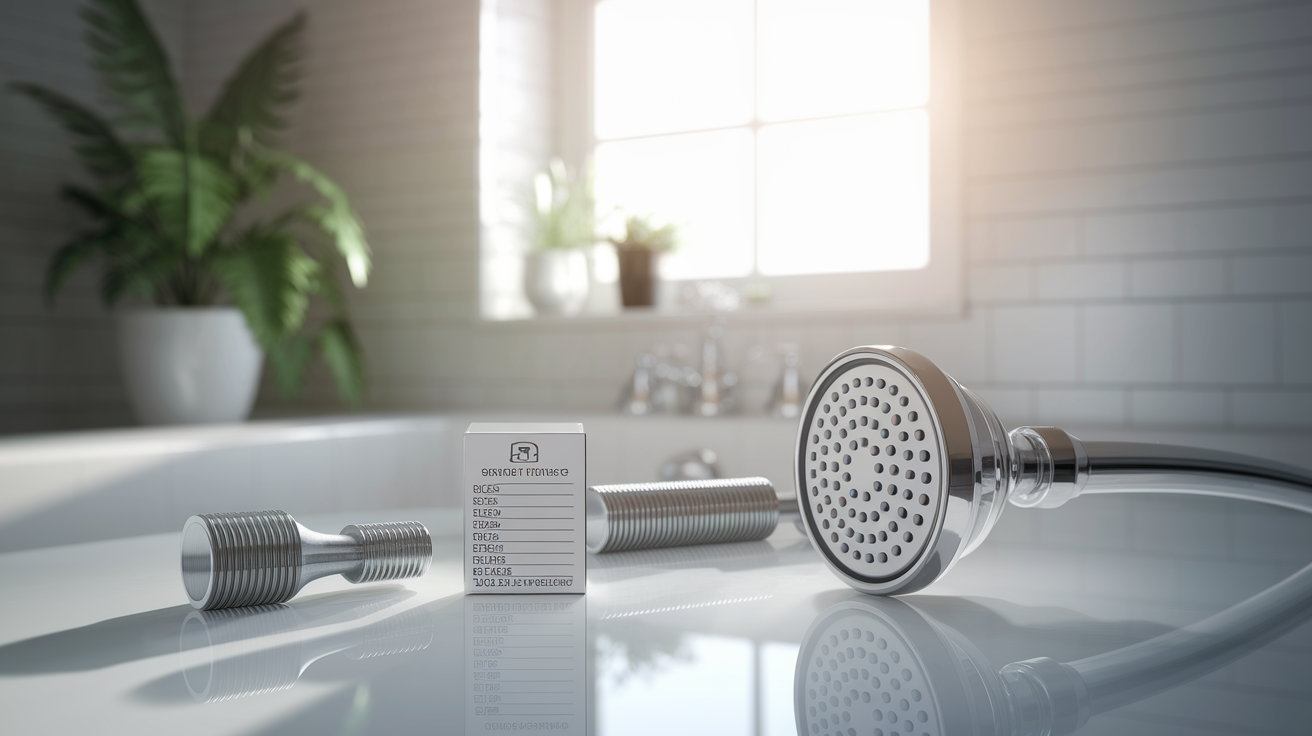
Before you buy a replacement, take a quick look at your shower arm’s thread size and compare it to the specs listed on the new showerhead’s box or product page. Most standard U.S. setups use a 1/2 inch NPT (national pipe thread) male connection, which is a tapered thread that fits the vast majority of showerheads sold in hardware stores and home centers.
Fixed, rainfall, and handheld showerheads typically all fit the same standard shower arm, so switching styles usually isn’t a problem. That said, handheld kits often come with extra parts, like a hose bracket or a diverter valve, that need their own quick check for fit. Electric showers, shower panels, imported fixtures, and manufacturer specific systems are a different story. Those often use proprietary connections, so it’s worth confirming compatibility closely before you buy. Maybe even bring a photo of your existing setup to the store.
Quick compatibility checklist:
- Thread size (confirm it’s 1/2 inch NPT or note what you actually have)
- Available clearance (enough room for the new head’s size and shape)
- Required adapter or diverter (if switching styles or brands)
- Included gasket or O ring (check it’s the right size and in good shape)
Troubleshooting Common Showerhead Replacement Problems
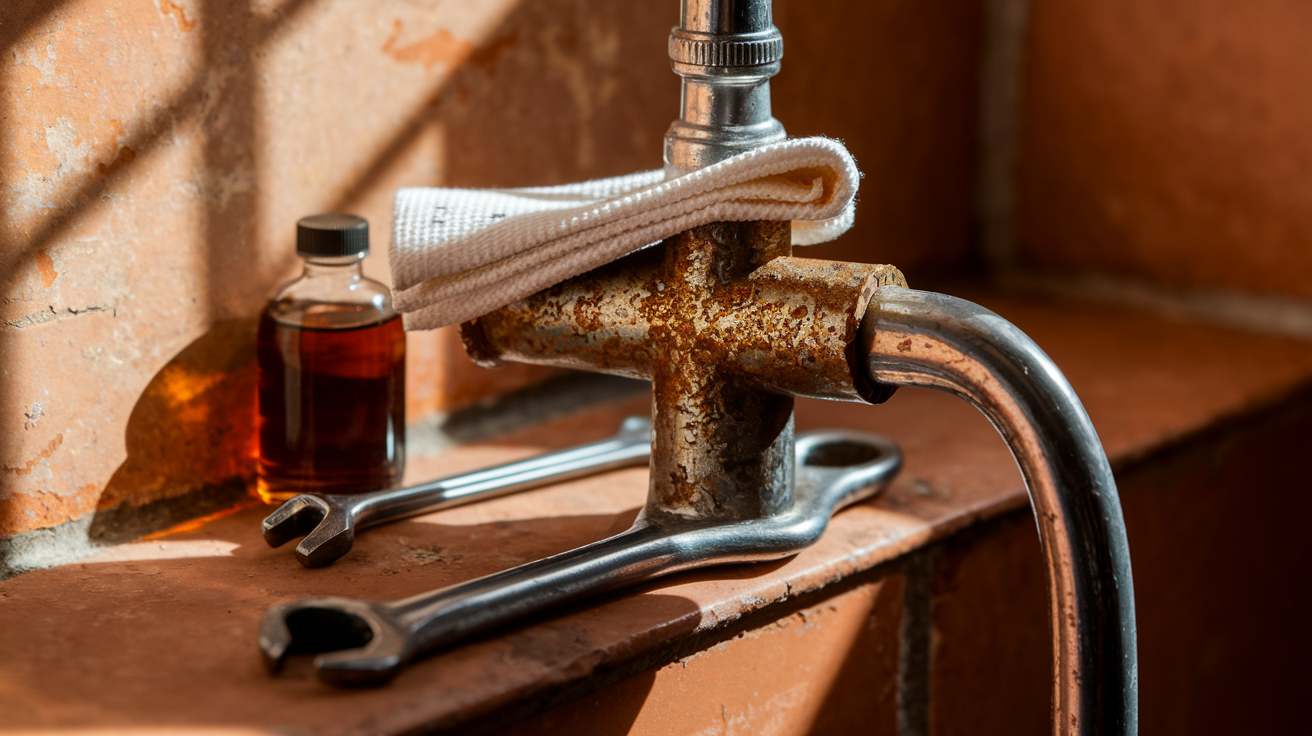
If the shower arm starts bending, rotating at the wall, cracking, or leaking from behind the tile, stop what you’re doing. That’s your cue to ease off and reassess, not push harder.
Stuck Fittings
Mineral buildup and corrosion are the usual culprits behind a showerhead that won’t turn. Hard water deposits can basically weld the threads together over time, especially if the fixture hasn’t been removed in years. The fix just takes a little patience.
- Soak mineral deposits with white vinegar where it makes sense (a vinegar soaked rag wrapped around the connection works well).
- Apply penetrating oil directly to the threads and let it sit for 10 to 15 minutes.
- Hold the shower arm steady using a cloth protected
Final Words
This swap usually takes 15–30 minutes and doesn’t normally require shutting off your home’s main water supply. Turn the shower controls fully off, let hot fittings cool, and dry the area before you start.
You now have a simple 7-step plan: check compatibility, protect the finish, remove the old head, clean threads, wrap PTFE tape clockwise, hand-install the new head, and test for leaks. Keep tools handy and stop if the arm moves at the wall.
Follow these tips on how to replace a showerhead step by step and you’ll end up with a neat, leak-free result.
FAQ
Q: How easy is it to change a shower head?
A: Changing a shower head is usually easy, taking 15–30 minutes and needing simple tools like a wrench and PTFE tape; corrosion, electric or proprietary systems, or stripped threads make it harder.
Q: Do I need to turn the water off to install a new shower head?
A: You do not normally need to shut off the home’s main water; just turn the shower controls fully off, let hot fittings cool, dry the area, and avoid forcing the shower arm.
Q: How to run water lines for shower head?
A: Running water lines for a shower head means routing a 1/2-inch supply (copper or PEX), fitting a compatible valve, shutting off water while working, following local code, and calling a pro for wall chases or electric systems.
Q: How to fix a shower head?
A: Fixing a shower head involves removing it, soaking clogged nozzles in vinegar, scrubbing mineral deposits with an old toothbrush, checking/replacing gaskets or PTFE tape, tightening the connection, and calling a plumber for persistent leaks.
More from Politics
 Featured
How to Reset a GFCI Outlet Safely at Home
 DIY Repairs
How to Replace a Leaky Bathroom Faucet Cartridge Easily
 Home Maintenance
How to Adjust Door Hinges to Fix a Sagging Door
 Tools Materials