DIY Repairs
How to Diagnose and Repair Leaks Under the Sink
Learn how to diagnose and repair leaks under the sink with simple tests, quick fixes, and clear signs it's time to call a plumber.
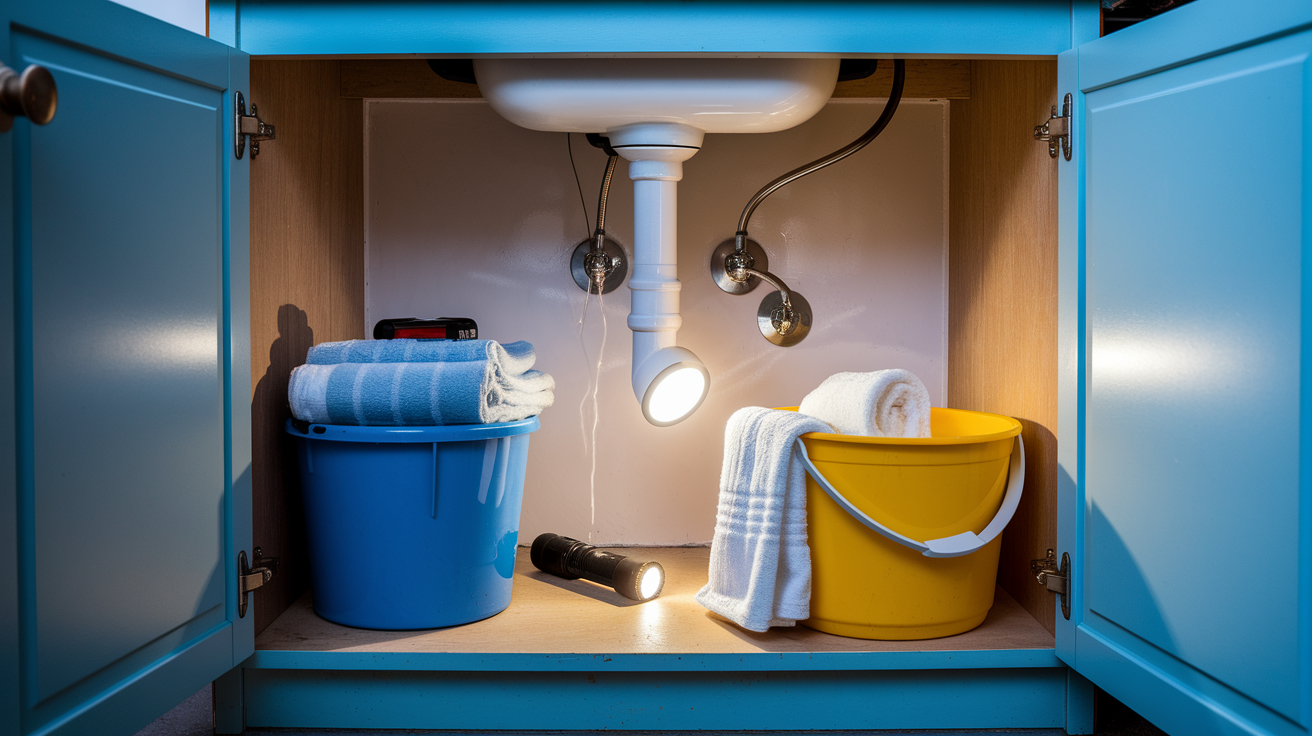
Think that tiny drip under the sink is just annoying?
It can rot a cabinet, ruin flooring, or hide a dangerous electrical risk fast.
In this guide you’ll learn how to stop the damage, find exactly where the water comes from, and fix the usual suspects—supply lines, shutoff valves, P-traps, and faucet seals.
I’ll show simple safety checks, the few tools to grab first, step-by-step isolation tests, and quick repairs you can do in an hour.
If a leak sprays, runs near wires, or you can’t reach it, I’ll tell you when to call a pro.
Quick Steps To Isolate The Leak And Prevent Damage
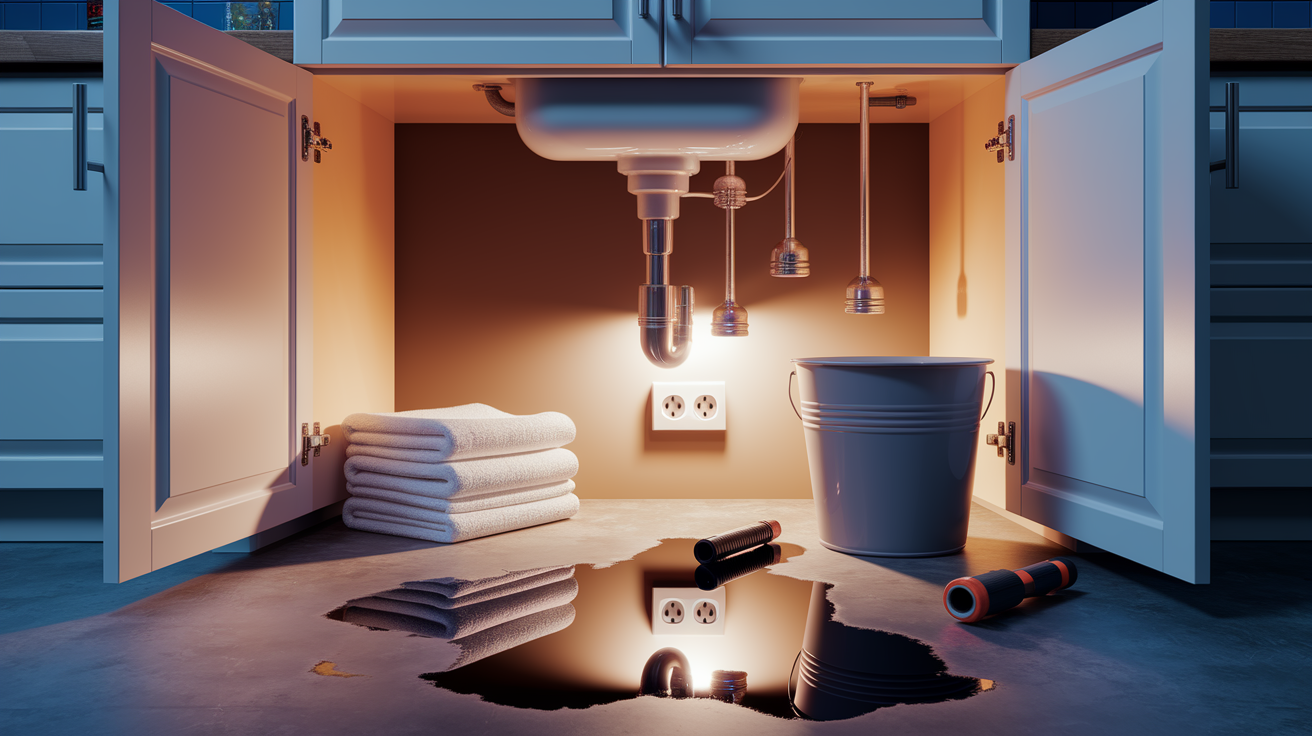
Before you touch any plumbing, take a second to look around the cabinet. If water’s pooling anywhere near an outlet, an appliance cord, or exposed wiring, stop right there. Don’t reach into standing water where electricity might be present, and don’t touch wet electrical equipment. That’s not a DIY situation. That’s a “call someone” situation.
Once you’ve confirmed it’s safe to work, grab a quick start kit: a bucket, several towels or paper towels, a flashlight, and an adjustable wrench. That’s really all you need to isolate the problem before diagnosing it further.
Here’s how to shut things down and start narrowing in on the source:
- Observe the plumbing with the faucet off and note whether the leak continues.
- Shut off both local supply valves (turn clockwise), use the main house valve if a local valve is stuck, damaged, or ineffective.
- Open the faucet briefly to release residual pressure, then close it.
- Put the bucket beneath the plumbing and dry the cabinet, pipes, valves, and fittings completely.
- Slowly restore the water supply and watch the shutoff valves and supply connections for fresh moisture.
- Test the faucet, sprayer, drain, tailpiece, and P-trap in stages, using dry paper towels to identify which location becomes wet first.
Now here’s the useful part. A leak that shows up before you even touch the faucet usually points to the pressurized supply side, something’s leaking under constant water pressure. A leak that only starts once water’s draining points toward the drain assembly or P-trap. And moisture pooling right at the faucet base usually means the faucet seals or mounting area are the culprit.
Stop and call a plumber if you see spraying water, a shutoff valve that’s seized or damaged, visible mold, a leak you simply can’t reach, or any water near electrical components. No repair is worth a shock hazard or a flooded kitchen.
Match The Leak Symptom To Its Likely Source
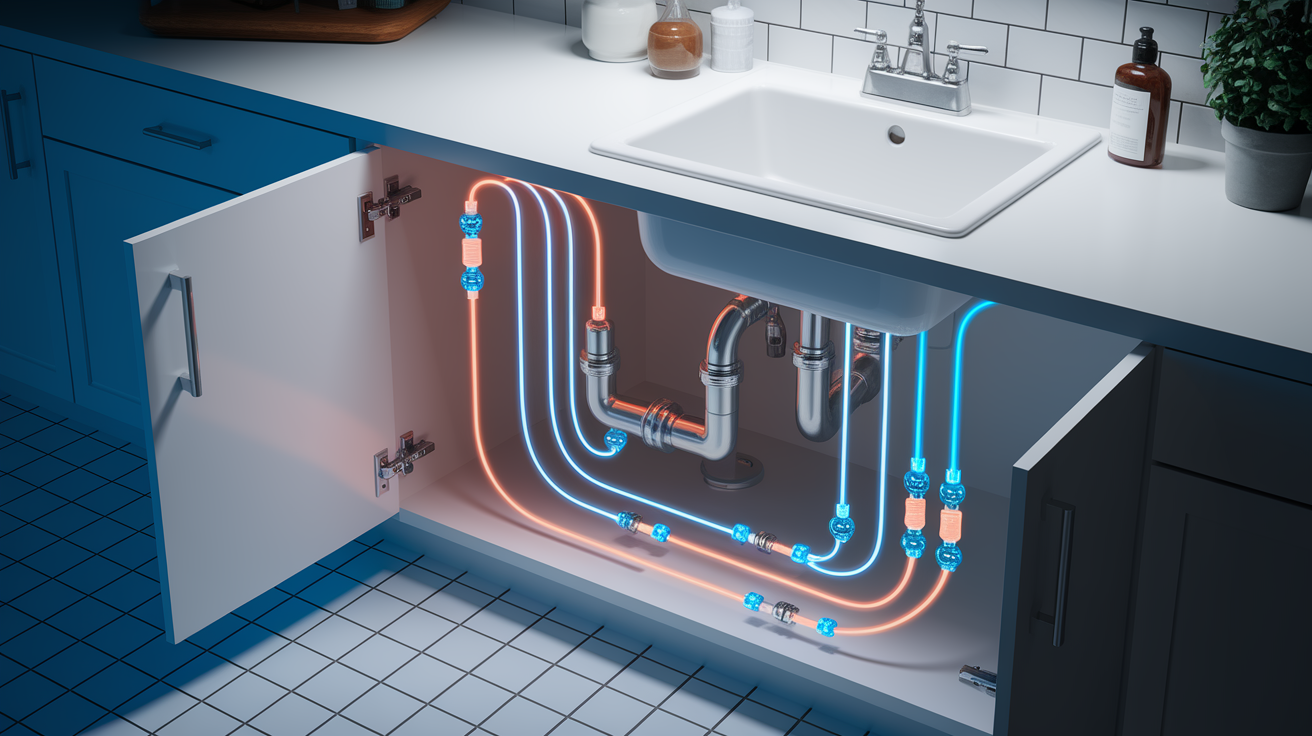
Once you know when and where the leak shows up, match it to the table below to figure out which section to head to next.
| Symptom | Likely Source | Relevant Repair Section |
|---|---|---|
| Leaks continuously, including when the faucet is off | Shutoff valve, supply line, faucet connection, corroded pipe, or pressurized seal | Shutoff valve or supply line repair guidance |
| Leaks only while the faucet runs | Drain seal, tailpiece, P-trap joint, or cracked drain fitting | Drain repair guidance, including the P-trap section |
| Leaks at the faucet base | Faucet O-ring, cartridge, mounting seal, or deteriorated sealant | Faucet base repair guidance |
| Leaks at a supply connection | Loose connector, degraded flexible line, damaged fitting, or worn sealing washer | Supply line repair guidance |
| Leaks at the P-trap | Loose slip nut, flattened or reversed washer, poor alignment, trapped debris, crack, or corrosion | Step By Step Guide To Repairing A Leaking P-Trap |
Tools Needed For Diagnosing And Repairing Sink Leaks

Before you start taking anything apart, round up your tools and parts. Honestly, half of “wasted time” on these repairs is stopping mid job to run to the hardware store. So grab everything first, especially before you crack open that P-trap.
| Tool/Material | Purpose |
|---|---|
| Adjustable wrench or channel lock pliers | Loosening and snugging fittings without excessive force |
| Bucket | Catching standing water and debris when the trap is removed |
| Towels or paper towels | Drying components and revealing fresh drips |
| Flashlight or phone light | Inspecting joints, cracks, corrosion, and the rear of the cabinet |
| Plumber’s tape | Sealing suitable threaded plumbing connections where specified |
| Replacement washers or P-trap kit | Replacing flattened washers, cracked fittings, or a damaged trap |
| Gloves and safety glasses | Protecting hands and eyes from dirty water, debris, and cleaning residue |
| Silicone caulk | Sealing suitable gaps around the sink rim or faucet mounting area |
| Epoxy putty | Providing a temporary patch until the damaged component can be replaced |
Quick clarification since these two get mixed up a lot: plumber’s putty is typically used beneath suitable drain flanges and strainers, while silicone caulk is generally the right choice for sealing sink rims or compatible faucet mounting areas against the countertop. And epoxy putty? That’s a temporary patch only. It buys you time, nothing more.
Final Words
Start by keeping water away from nearby outlets, appliance connections, and exposed wiring. Grab a bucket, some towels or paper towels, a flashlight, and an adjustable wrench before you begin.
Work through the quick isolation steps: observe with the faucet off, shut the local valves (or the main if needed), release pressure, dry the area, and test supply, faucet, and drain in stages. Use the symptom-to-source guide and the tools checklist to narrow the problem fast.
Stop and call a pro for spraying water, seized valves, visible mold, inaccessible leaks, or any electrical risk. Follow these steps to confidently learn how to diagnose and repair leaks under the sink and get things back to normal.
FAQ
Q: How do I identify or find a hidden sink leak, and why is there water under my sink with no visible leak?
A: Identifying a hidden sink leak means drying the cabinet, turning the faucet off, then watching joints with a flashlight and dry paper towels. Check supply lines, P-trap, and faucet base. If water is near outlets, shut off water and power.
Q: How much does it cost for a plumber to fix a leak under the sink?
A: The cost for a plumber to fix a sink leak typically ranges from $100 to $400 for common fixes; harder jobs or emergency calls can run $500 or more. Final price depends on access, parts, and required work.
More from Politics
 Featured
How to Reset a GFCI Outlet Safely at Home
 DIY Repairs
How to Replace a Leaky Bathroom Faucet Cartridge Easily
 Home Maintenance
How to Adjust Door Hinges to Fix a Sagging Door
 Tools Materials