Tools Materials
How to Flush a Water Heater Easily and Safely
Learn how to flush a water heater step by step: drain it, clear sediment, and restart safely. Easy DIY guide with key safety tips included.
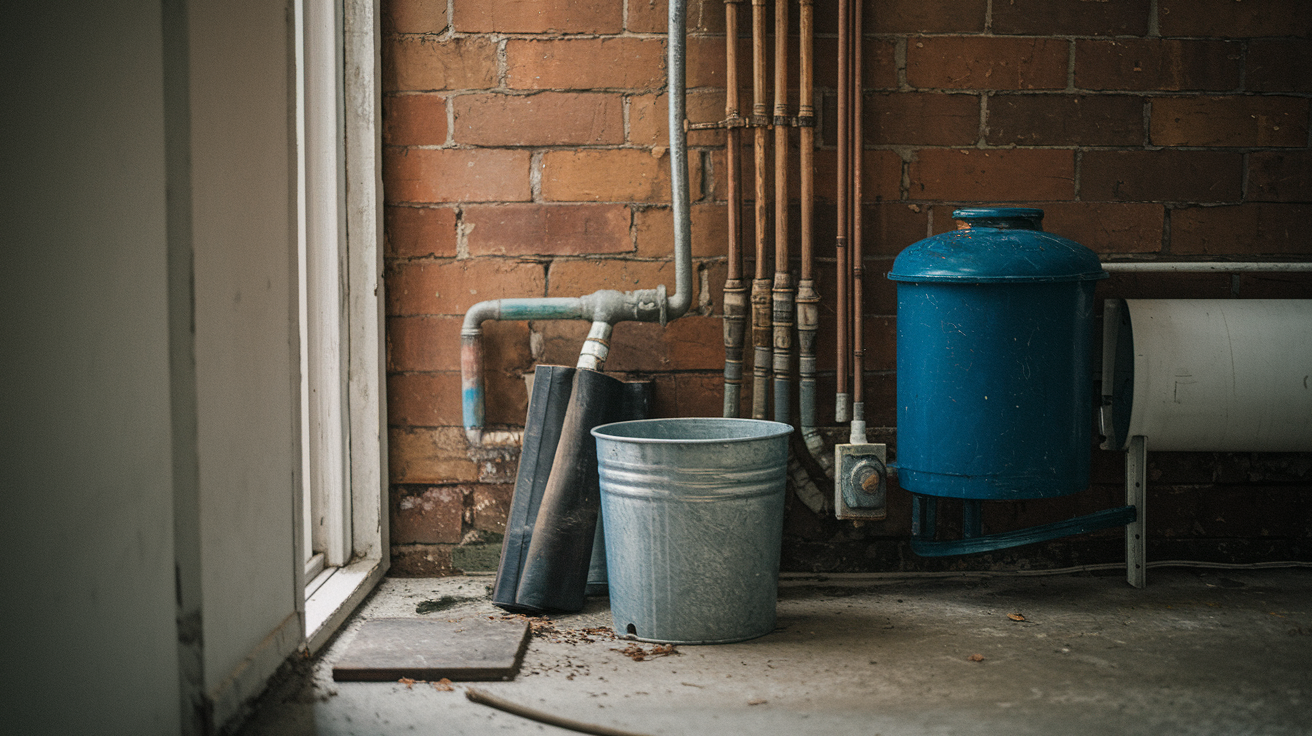
Skipping a water-heater flush can shorten the tank’s life and raise your energy bills.
Good news: flushing is something most homeowners can do safely with a garden hose, a wrench, and 30 to 90 minutes.
This step-by-step guide walks you from shutoff to restart — how to drain, pulse out sediment, purge air, and spot leaks.
I’ll flag the safety stops (power off, let the tank cool, don’t force stuck valves) and when to call a licensed pro.
Do this once a year and you’ll avoid surprise failures.
Complete Storage-Tank Procedure From Shutoff to Restart
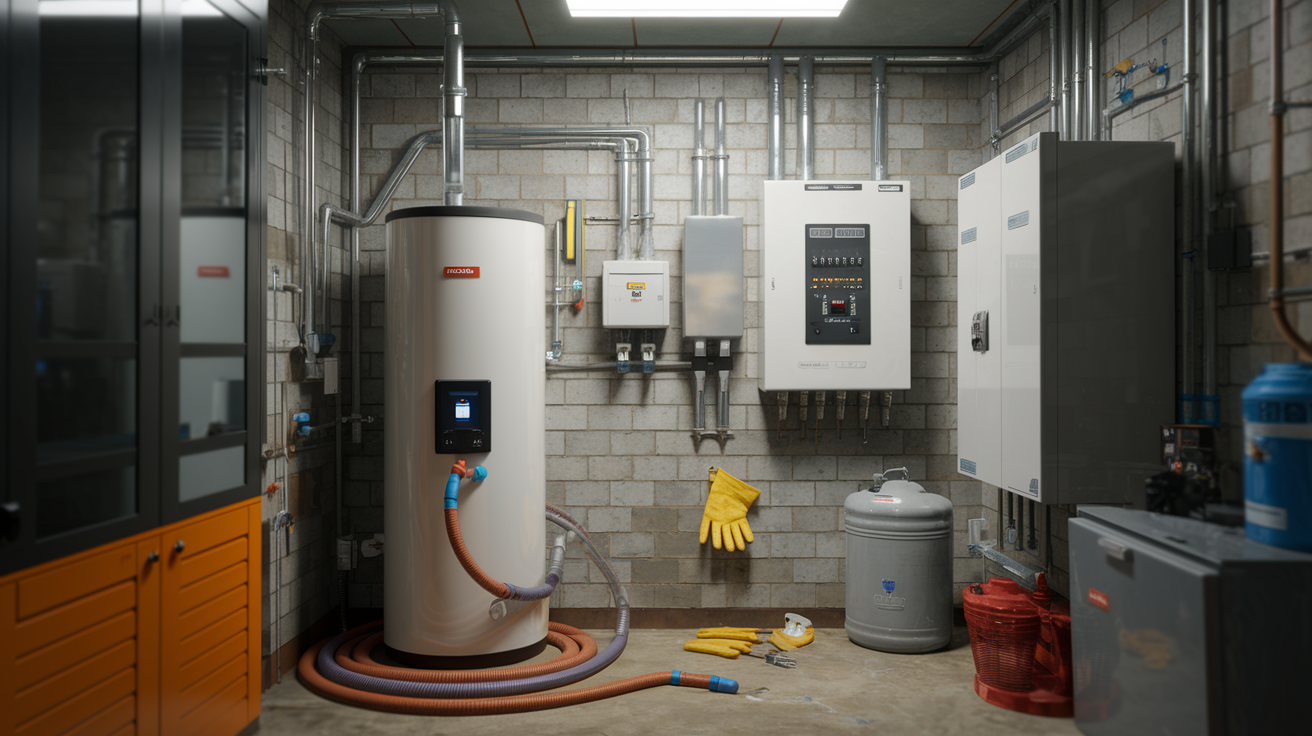
These steps work for conventional storage-tank water heaters, the kind that holds and heats anywhere from 30 to 80+ gallons at a time. Got a tankless unit? Skip this guide, it won’t apply to you. And check your owner’s manual before you start. Your specific model might have its own quirks that override general advice, plus local codes sometimes tack on extra requirements.
Before you grab a wrench, here’s what matters most:
- Hot discharge water can cause severe burns.
- Electric power must be isolated before draining.
- A gas odor requires evacuation and professional assistance.
- Brittle, seized, or leaking valves must not be forced.
| Time and Tools | |
|---|---|
| Expected time |
– Routine flush: 30 to 90 minutes – Heavily clogged tank: 1 to 2 hours or more – 40 to 50 gallon tank: roughly 30 to 50 minutes to drain, 5 to 20 minutes to refill |
| Required tools and protective gear |
– Garden hose (25 to 50 feet) – Bucket (1 to 5 gallons) – Channel-lock pliers or adjustable wrench – Towels or waterproof floor covering – Flashlight – Heat-resistant gloves – Eye or face protection – Manufacturer’s manual |
For another homeowner-friendly walkthrough, check out How To Flush a Water Heater.
How to Prepare the Heater and Work Area
-
Figure out your heater type (gas or electric) and pull up the manual if you’ve got it. Let the tank cool if it’s been running recently, hot water straight from the tank can scald skin fast. Honestly, if you can swing it, switching off the heat source the night before is the easiest way to cut that burn risk.
-
Put on gloves and eye protection. Lay towels or a waterproof cover around the base of the tank, and pick a drainage spot (floor drain, outside, or a utility sink) that can handle hot, high-volume water without causing damage.
How to Shut Off Heat, Water, and Tank Pressure
-
For an electric water heater, flip off the dedicated breaker at your panel. If you’ve got a tester, confirm there’s no power running to it. For a gas water heater, note the current temperature setting, then move the control to PILOT or whatever position your manufacturer specifies for flushing. You don’t need to shut off the gas supply valve itself.
-
Close the cold-water inlet valve (usually at the top of the tank). Then open a nearby hot-water faucet in the house. This vents the tank and helps water drain more smoothly later.
How to Attach the Hose and Drain the Tank
-
Attach your garden hose to the drain valve at the bottom of the tank. Use channel locks to get it snug, and wrap a towel around the connection just in case it weeps a little. Route the hose so it doesn’t kink or bend sharply, you want a clear path to your drainage spot.
-
Slowly open the drain valve. A 40 to 50 gallon tank holds way more than a small bucket can catch at once, so if you’re not routing straight outside or to a floor drain, plan on emptying your bucket repeatedly.
-
After about 15 to 20 minutes of draining, grab a sample in a light-colored bucket and check it for sediment.
How to Flush Sediment Until the Water Runs Clear
-
If the sample looks cloudy or gritty, briefly reopen the cold-water inlet valve while the drain is still open. This pulses fresh water through the tank and stirs up settled sediment so it can wash out.
-
Repeat this pulse 3 to 4 times, or run additional 10-minute draining cycles, checking a fresh sample each time. Keep going until the water runs clear. One important note, don’t force a drain valve that’s stuck, cracked, or leaking heavily once tightened. That’s your cue to stop and call a licensed plumber instead of pushing harder.
For more detail on the draining and leak-checking phase, see How to Clean Your Hot Water Tank.
How to Refill, Purge Air, and Restart the Heater
-
Close the drain valve fully and remove the hose, keeping the tip pointed upward until you’re clear of the house. Reopen the cold-water supply valve and let the tank start refilling. Leave that hot-water faucet open, it needs to run until the flow is steady and free of sputtering, which means the trapped air has escaped.
-
While it fills, check the drain valve, hose connection, and nearby fittings for any drips or leaks.
-
Once the tank’s confirmed full, restore power by flipping the breaker back on (electric models should never be powered before they’re full, it can burn out the heating element). For gas models, return the control to its original setting following the lighting instructions on the label. Set the thermostat near 120°F (49°C), then wait about 30 minutes before checking the water temperature at a tap.
[Image 1: Shutoff controls, breaker panel and gas control valve side by side]
[Image 2: Hose attached to bottom drain valve with channel locks]
[Image 3: Opened drain valve with water flowing into hose]
[Image 4: Side-by-side comparison of sediment-filled sample and clear sample in buckets]
[Image 5: Air purging from hot-water faucet during refill, showing steady flow]
Benefits and Drawbacks of Flushing a Water Heater
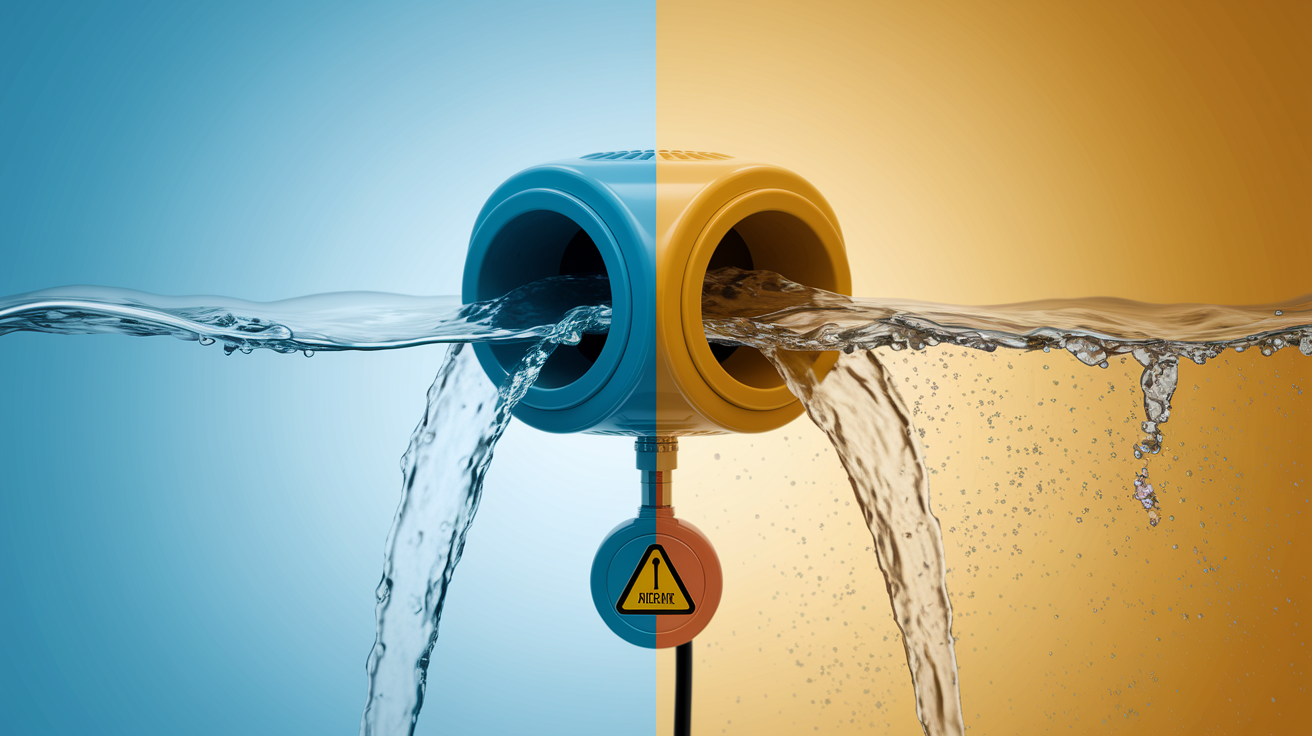
Flushing isn’t a magic fix, but it’s a solid piece of preventive care. Here’s what it can realistically do for you, and where it can go sideways if you’re not careful.
**
Final Words
You’re ready to flush a storage-tank heater: protect the area, shut off heat and water, attach a hose to the drain valve, drain and pulse cold water to loosen sediment, then refill, purge air, and restart per the manual.
Grab a 25–50-foot hose, bucket, pliers or adjustable wrench, towels, flashlight, heat-resistant gloves, eye protection, and the manual. Plan about 30–90 minutes for a routine flush; longer if the tank is clogged.
Follow the safety notes and this clear routine — how to flush a water heater step by step — and you’ll get steadier hot water and a quieter heater. You got this.
FAQ
Q: How do I turn off the water heater?
A: To turn off the water heater, switch off the dedicated breaker for electric models or set the gas control to PILOT or OFF per the unit label; close the cold-water inlet and let the tank cool before working.
Q: Is it better to flush or drain your water heater?
A: Flushing is better for routine maintenance because it removes loose sediment while keeping the tank full; fully draining is for heavy clogs, replacement, or diagnostic samples—flush most of the time.
Q: Should you flush a 10 year old water heater?
A: A 10-year-old water heater should be flushed and inspected—annual flushing is standard, increase to every six months in hard-water areas; call a pro if you spot leaks, heavy corrosion, or persistent rust.
Q: How do I know if my hot water heater is full of sediment?
A: You can tell by popping or rumbling noises, cloudy or gritty discharge, reduced usable hot water, rusty flow, or restricted drain. Collect a sample in a light-coloured bucket and check for particles.
More from Politics
 Featured
How to Reset a GFCI Outlet Safely at Home
 DIY Repairs
How to Replace a Leaky Bathroom Faucet Cartridge Easily
 Home Maintenance
How to Adjust Door Hinges to Fix a Sagging Door
 Tools Materials