DIY Repairs
How to Install a New Showerhead Effortlessly
Learn how to install a new showerhead in under an hour with just a wrench and Teflon tape. No plumber needed, no leaks left behind.
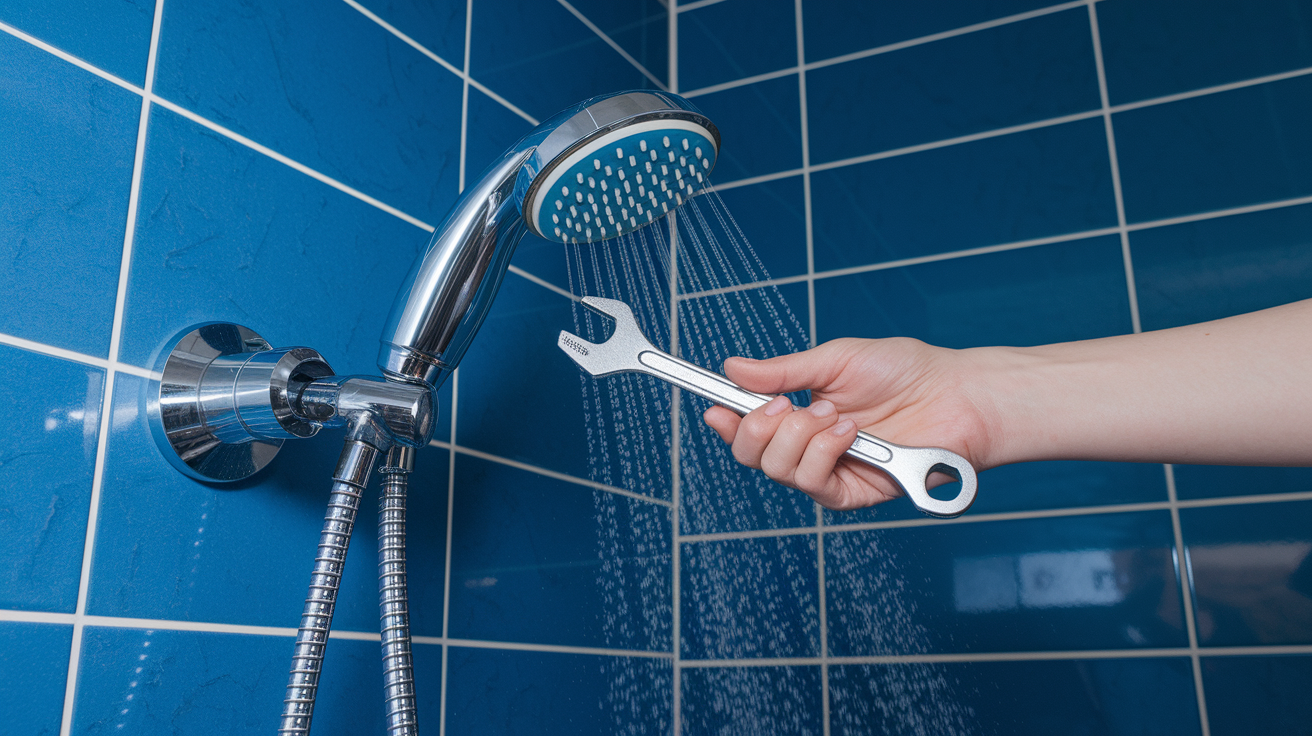
You don’t need a plumber to stop that drip—most showerhead swaps take less than an hour.
No special tools, just an adjustable wrench, some Teflon tape, and a little patience.
This guide walks you through each step: shut off the water, remove the old head, clean the threads, wrap tape, and tighten the new one so it doesn’t leak.
I’ll flag common mistakes, share quick fixes for stuck heads, and tell you when to call a pro.
By the end you’ll have better spray, fewer wasted gallons, and a job that looks tidy.
Step-By-Step Guide To Replacing A Showerhead
Here’s the good news. Installing a new showerhead is one of the easiest plumbing jobs out there, and most folks get it done in under an hour. No license needed, no special tools, just a bit of patience and the right order of operations. If you can turn a wrench, you can handle this one.
This rundown gives you the full picture before we break each step down later in the article. Think of it as your cheat sheet.
Here’s how to install a new showerhead, step by step:
- Turn off the water supply to the shower (manifold valve or main shutoff).
- Remove the old showerhead by hand, using pliers only if it’s stuck.
- Clean the threads on the shower arm with a cloth or soft brush.
- Wrap Teflon tape clockwise around the threads, 3 to 6 wraps.
- Attach the new showerhead, hand tight plus a quarter to half turn with a wrench.
- Turn the water back on and check the connection for leaks.
That’s the whole job in a nutshell. A basic swap, with no stuck parts or surprises, usually takes 10 to 30 minutes. Run into a corroded arm or need to replace old plumbing? Budget closer to 30 to 90 minutes instead. We’ll walk through each step in more detail below, including what to do if something doesn’t go as planned.
Why You Might Need To Replace Your Showerhead
(((alt-img2)))
The most common reason people end up replacing a showerhead isn’t that it broke. It’s hard water. Minerals like calcium and magnesium build up inside the spray holes and around the internal seals over time, and that’s what creates that annoying, sputtery spray instead of a nice even stream. Once those mineral deposits work into the rubber washers and gaskets, the seals wear out and start leaking, even after a good scrub with vinegar. At that point, cleaning only buys you a little more time. A full swap is usually the better long-term fix.
Water waste is the other big motivator here. A showerhead that drips can waste about 5 gallons a day. That adds up to roughly 2,000 gallons a year, just dripping away while nobody’s even in the shower. And here’s a number worth sitting with: the average household uses around 23,000 gallons a year on showers alone, with a single 8 minute shower at 2 gallons per minute using about 16 gallons. Swapping in a newer, low flow model can cut that number down in a meaningful way, save you money on your water bill, and finally get rid of that drip you’ve been ignoring for months.
Tools And Materials For Showerhead Installation
(((alt-img3)))
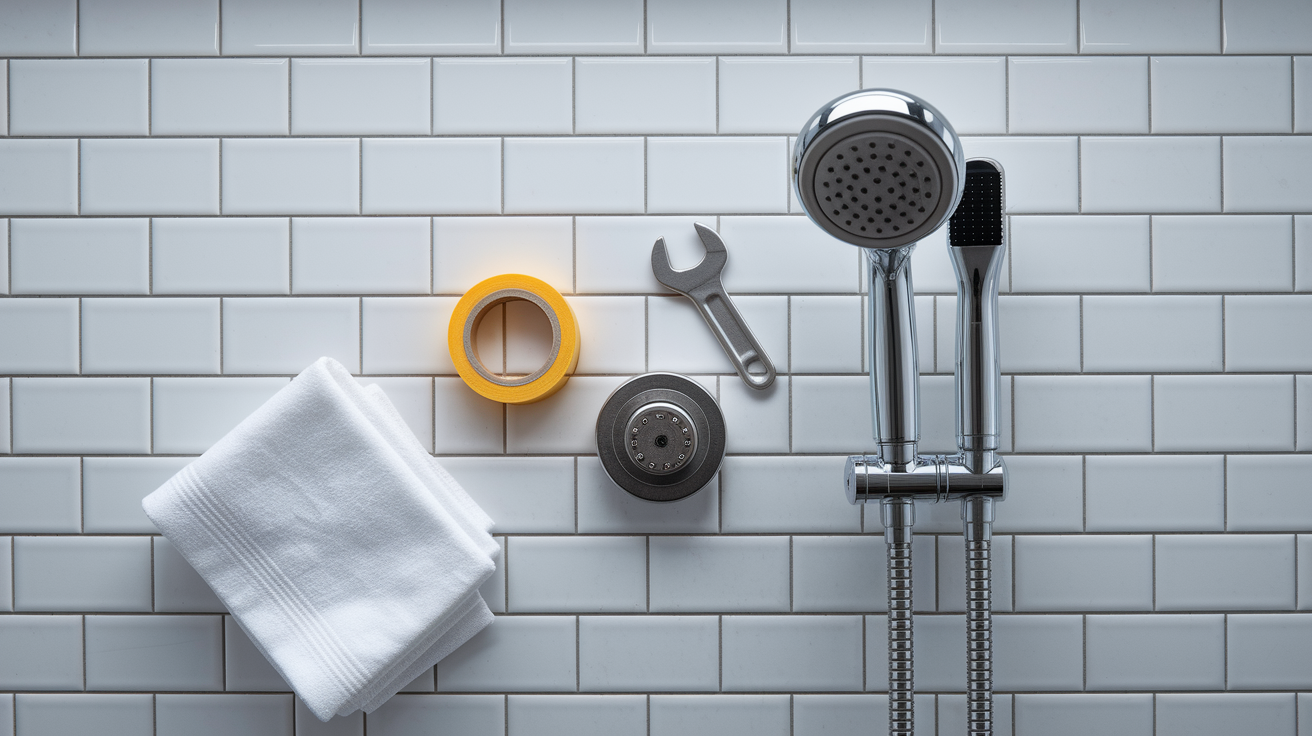
Most installs only call for basic household tools, nothing you’d need to make a special trip for if you’ve tackled any small repairs before. Here’s what to have on hand before you start.
Tools needed for showerhead installation:
- Adjustable wrench (1) for tightening the new head
- Channel lock or slip joint pliers (1) as backup if the old head is stuck
- Clean cloth (1) to protect finishes and catch drips
- Teflon tape, also called plumber’s tape (1 roll, $2 to $5)
- Toothbrush or soft brush (1) for cleaning old threads
- Rag or masking tape to wrap around the jaws of pliers for grip without scratching
- Replacement showerhead ($15 to $200, depending on style and features)
- Optional replacement shower arm ($10 to $40) or thread adapter ($5 to $15), if your old arm is damaged or your threads are non standard
You probably already own most of this. The wrench and pliers are really the only “real” tools involved, and if you don’t have an adjustable wrench, it’s worth grabbing one for $10 to $15 since you’ll use it again for other small fixes around the house.
Not a fan of Teflon tape? Pipe joint compound, also called pipe dope, works as a solid alternative. It’s a paste instead of a tape, and some people find it easier to apply evenly, though it’s a bit messier to work with. Either one gets the job done.
Preparing To Remove The Old Showerhead
(((alt-img4)))
Before you touch that old showerhead, find your water shutoff. Some bathrooms have a manifold valve just for the shower, which lets you cut water to that one fixture. If yours doesn’t, you’ll need to shut off the main water supply to the house. Either way, turn the shower on briefly afterward to confirm the water’s actually off before loosening anything.
Once the water’s off, take a minute to prep your workspace. Cover the drain with a rag or washcloth so you don’t lose a tiny washer or screw down the pipe (it happens more than you’d think). Lay a cloth over the tub or shower floor too, since drips are pretty much guaranteed. While you’re at it, take a close look at the shower arm, the pipe coming out of the wall, and the threads on it. Spot rust, corrosion, or cracks? You might need a new arm along with your new head. This whole prep stage only takes 5 to 10 minutes, but skipping it is exactly how small parts get lost or finishes end up scratched.
How To Remove The Old Showerhead Without Damage
(((alt-img5)))
Start simple. Grip the showerhead with one hand and twist counter clockwise. Most showerheads loosen by hand without much fuss, especially if they haven’t been on for years. No tools needed yet.
Freeing A Stuck Or Seized Showerhead
If it won’t budge, don’t force it. Wrap a cloth around the connection point to protect the finish, then use your adjustable wrench or pliers to get some leverage. If you can, use a second wrench to steady the shower arm itself so you’re not twisting the pipe inside the wall. That’s an easy way to turn a small job into a bigger problem.
For a seriously seized or corroded connection, try a vinegar soak. Fill a plastic bag with white vinegar, tie it around the connection so it’s fully submerged, and let it sit for about an hour. The acid breaks down the mineral buildup holding things together, and that often lets the stuck head come loose with way less effort. A little penetrating oil can help too, but use it sparingly and wear eye protection, since it tends to splatter.
Clearing Old Tape And Inspecting
Final Words
Turn off the water, remove the old showerhead, clean the threads, wrap 3–6 clockwise turns of Teflon tape, hand-tighten the new head, give it a 1/4–1/2 turn with a wrench, then test for leaks.
We also covered the tools you need, how to free stuck heads, protecting finishes, and quick safety checks. Most swaps take 10–30 minutes; allow 30–90 if the arm or fittings need work.
If you want a quick refresher on how to install a new showerhead, this guide has the steps to get steady, leak-free water fast. You’ve got this.
FAQ
Q: How to install a new showerhead pipe?
A: Installing a new showerhead pipe means turning off water, removing the old head, cleaning threads, wrapping Teflon tape (3–6 clockwise wraps), hand-tightening, giving a 1/4–1/2 wrench turn, then testing for leaks.
Q: Where should a rainfall shower head be placed?
A: A rainfall shower head should be centered over the showering area, ideally ceiling-mounted or high on the wall so water falls straight down; aim for roughly 78–84 inches from the floor or flush with the ceiling.
Q: Do you need a plumber to install a new shower head?
A: You don’t normally need a plumber to install a shower head; it’s a 10–30 minute DIY. Hire a pro if the arm or pipes are corroded, there’s a leak, or you’re changing plumbing layout.
Q: How much does it cost to have a shower head installed?
A: Having a shower head installed usually costs $50–150 for labor; add $15–200 for the head and $10–40 for a new arm—expect about $75–350 total depending on parts and complexity.
More from Politics
 Featured
How to Reset a GFCI Outlet Safely at Home
 DIY Repairs
How to Replace a Leaky Bathroom Faucet Cartridge Easily
 Home Maintenance
How to Adjust Door Hinges to Fix a Sagging Door
 Tools Materials