Home Maintenance
How to Patch a 6-Inch Drywall Hole Easily
Patch a 6-inch drywall hole with a mesh patch in 7 easy steps. No wood backing needed. Get the tools, steps, and tips for an invisible repair.
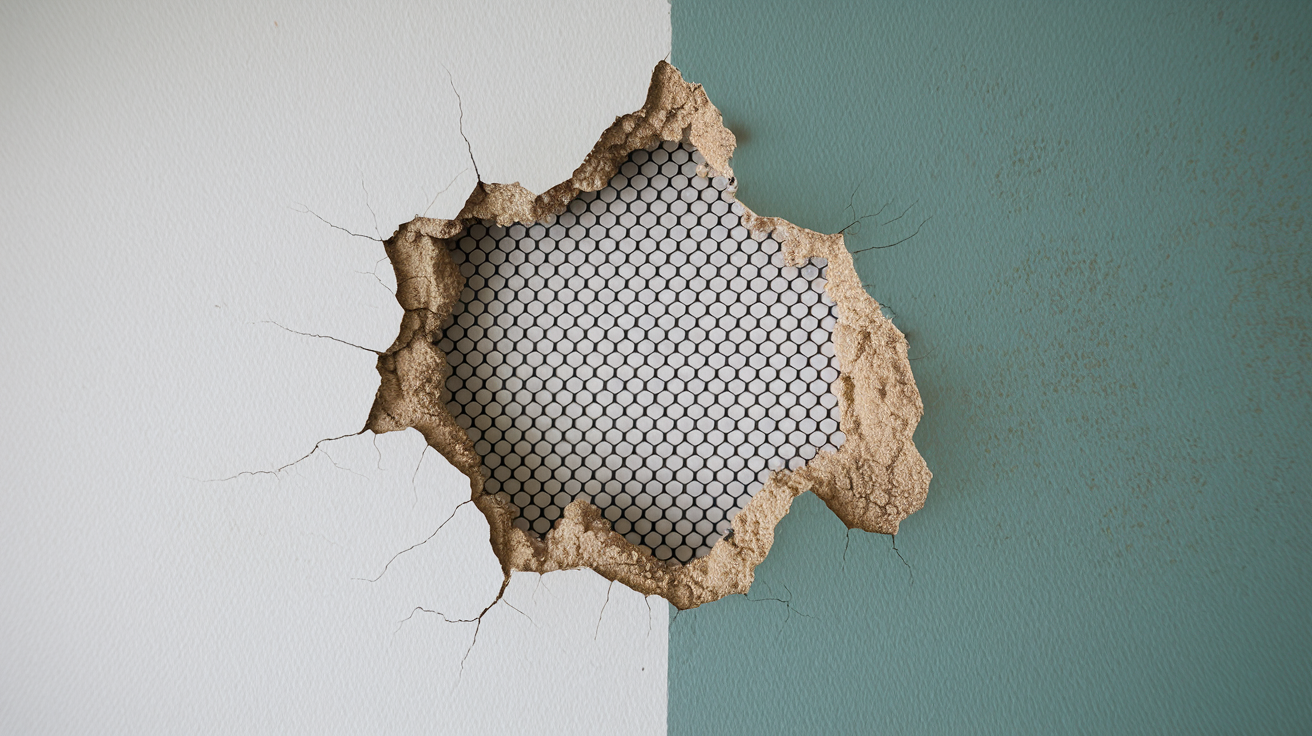
Think a 6-inch hole means you need a big rebuild? Not true.
If the drywall around the hole is solid, a self-adhesive mesh patch plus joint compound will do the job cleanly and fast.
No wood backing, no extra framing.
Just mesh, mud, and a little patience with drying time.
This post gives a tight 7-step walkthrough, lists the tools to grab, and points out prep mistakes so your patch blends in.
You’ll have a near-invisible repair in about a day or two.
Complete 7-Step Mesh-Patch Repair Walkthrough
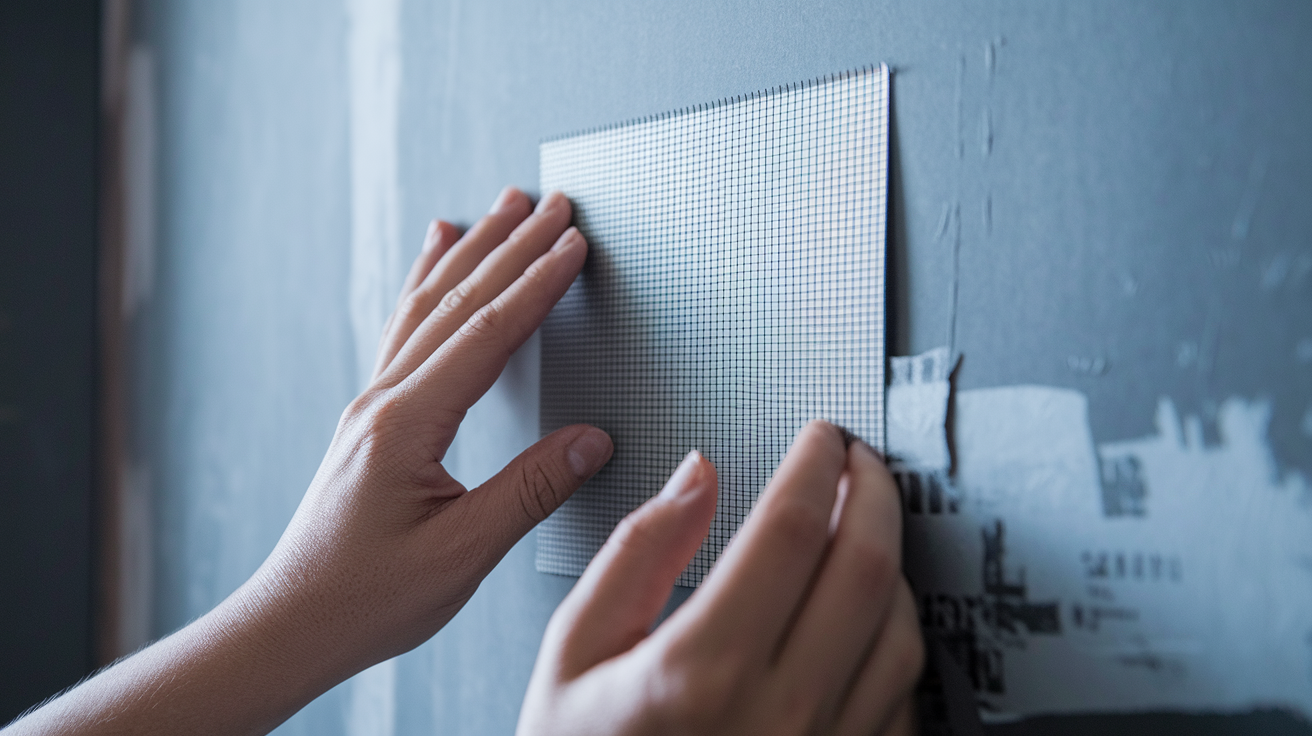
A 6-inch hole sits right in the sweet spot for a self-adhesive mesh patch. As long as the drywall around the opening is firm and not crumbling, you won’t need to cut in a backing board or mess with wood strips. Just mesh, compound, and a little patience with drying time.
Here’s what to grab before you start:
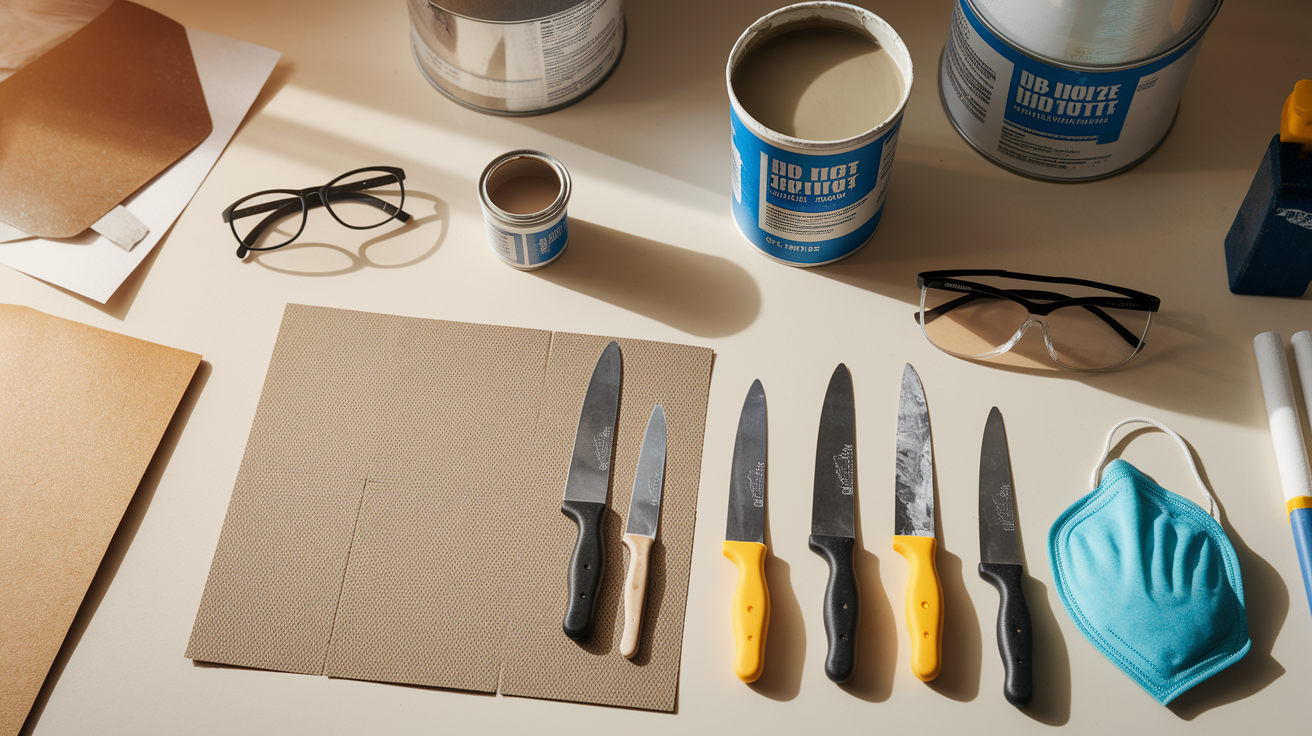
- Self-adhesive mesh patch (sized to overlap the hole by 1 to 2 inches on every side)
- Joint compound (premixed is easiest for beginners)
- 6-inch drywall knife
- 10 to 12-inch drywall knife
- 120 to 150 grit and 220 grit sandpaper
- Primer
- Matching paint
- Utility knife
- Eye protection and a dust mask
Now let’s walk through it step by step.
-
Measure the opening and use the utility knife to cut away any loose or crumbling drywall. You want clean, solid edges that can support 1 to 2 inches of patch overlap all the way around.
-
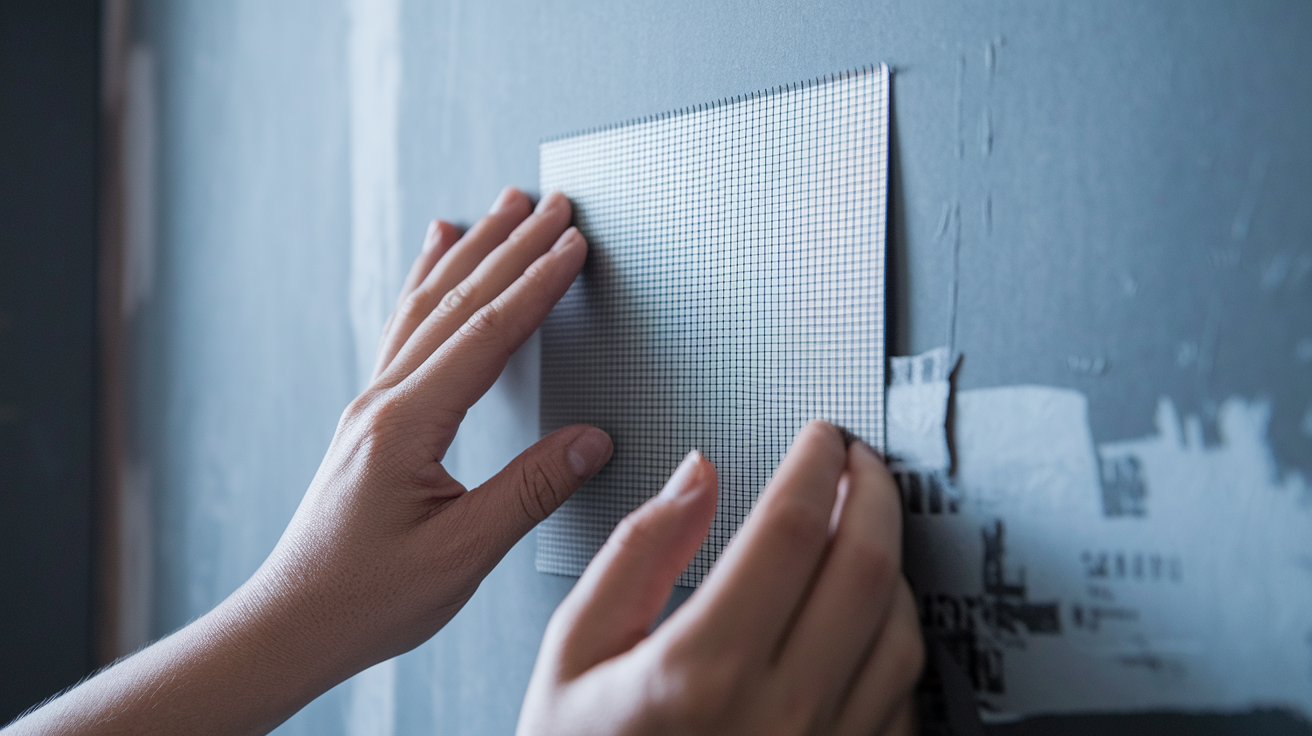
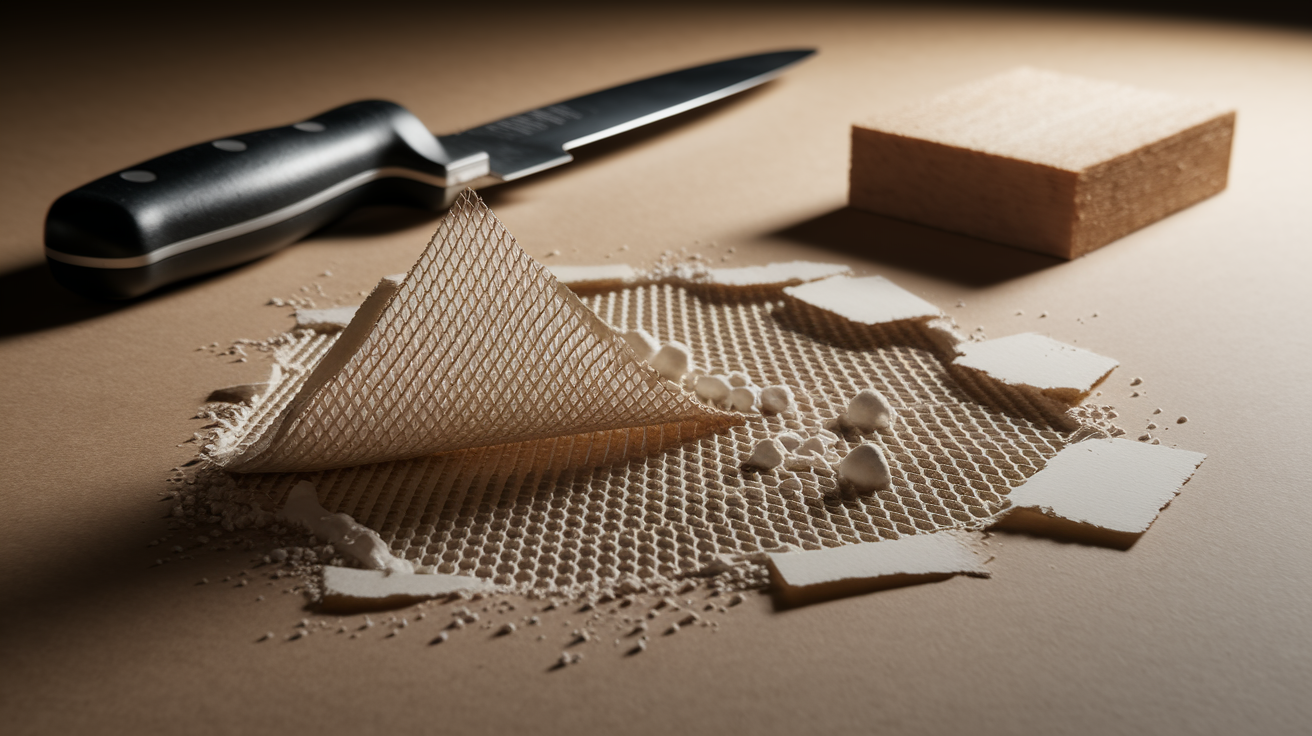
Center the mesh patch over the hole and press the entire adhesive border firmly against the wall. No wrinkles, no gaps. If it won’t stick flat, something’s wrong underneath. More on that later.
- Load your 6-inch knife with joint compound and apply the first coat in a crisscross pattern. This works the mud into the mesh grid instead of just skimming over it. Feather the edges 2 to 3 inches beyond the patch so there’s no hard edge to sand later.
-
Let that first coat dry for 12 to 24 hours. Don’t rush this part. Once it’s fully dry, knock down any ridges with 120 to 150 grit sandpaper. Put on your eye protection and dust mask first. Drywall dust is no fun to breathe in.
-
Switch to your 10 to 12-inch knife for the second coat. This wider blade lets you feather the compound out 6 to 10 inches from the center, which is what makes the repair start to disappear into the wall.
- Once the second coat is dry, apply a thin finish coat. Keep it light and feather it out 10 to 12 inches or more if needed. This is the coat that makes or breaks how invisible the repair looks.
- After the finish coat dries, sand lightly with 220 grit, wipe away the dust, and prime the entire repaired area. Once the primer’s dry, paint to match.
Plan on about 1 to 2 days total if you’re using premixed compound. The actual work only takes an hour or so spread across the steps. It’s the 12 to 24 hour drying windows between coats that set the pace.
Mesh Patch Size Limit and When Backing Is Required
Not every hole is a good fit for mesh alone, so here’s a quick way to tell if yours qualifies.
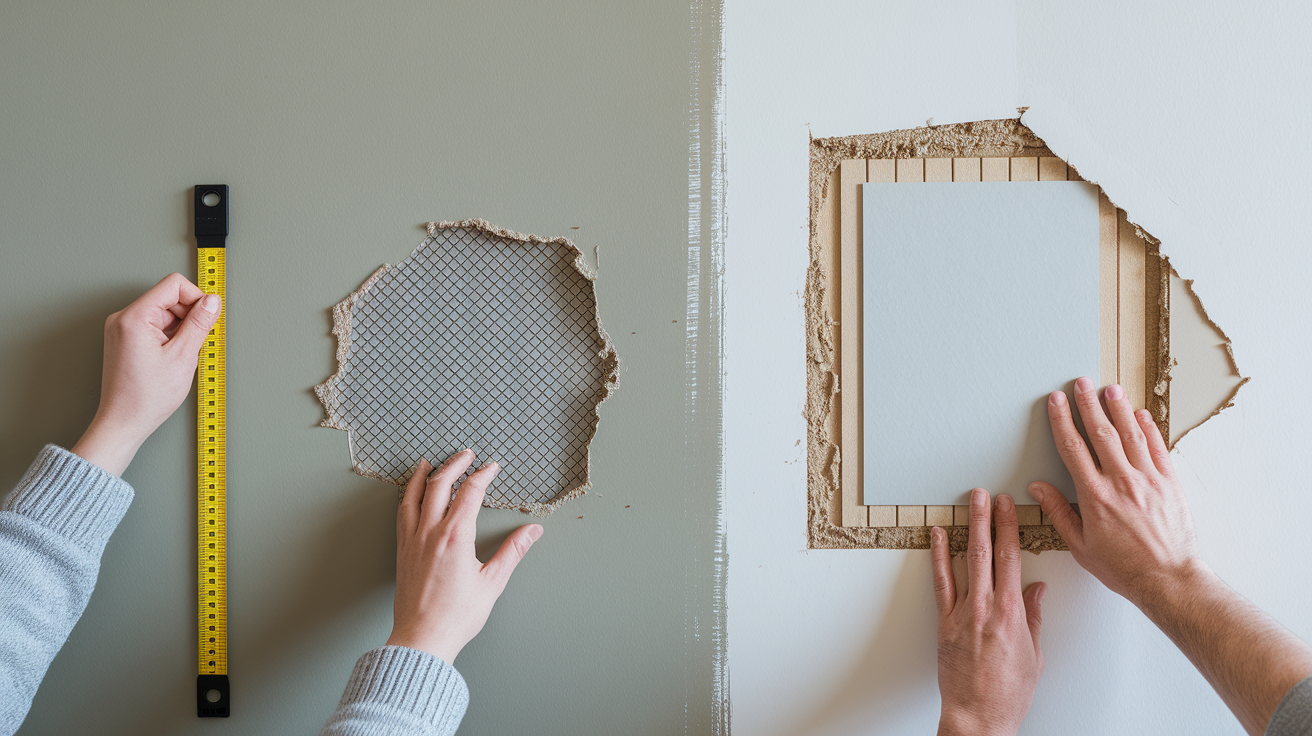
Mesh works fine on its own when the opening is no bigger than about 6 to 8 inches, the surrounding drywall feels solid (not soft or crumbly), and you’ve got 1 to 2 inches of firm overlap available on every side. Round, oval, or oddly shaped holes are all fair game too. You don’t need to square them off first, as long as the mesh can fully bridge the gap with that overlap intact.
Once a hole gets bigger than 6 to 8 inches, or the edges crumble when you press on them, mesh won’t hold up on its own. That’s when you’ll want wood backing strips and a fitted drywall insert instead, which gives the patch something solid to anchor to.
Buying Guidance, Costs, and Material Alternatives
When picking out a mesh patch, size up, not down. A nominal 6-inch hole usually needs an 8 to 10 inch patch, depending on the shape, so you’ve got that 1 to 2 inch overlap margin on all sides. Packs of 3 to 10 patches run about $5 to $15, so you’ll likely have extras for future repairs.
For joint compound, you’ve got two main options. Ready-mixed compound comes in a tub, spreads easily, and sands down smooth, which makes it the more forgiving choice if this is your first patch job. A quart costs around $5 to $12 and covers 1 to 3 repairs. Setting-type compound (often called hot mud) hardens much faster, which cuts your waiting time between coats, but it also sets up fast while you’re working it, so there’s less room to fix mistakes. Stick with premixed unless you’re comfortable moving quickly.
It’s worth having two knife sizes instead of trying to make one do everything. A 6-inch knife is right for that first coat, pressing compound into the mesh. A 10 to 12-inch knife spreads the later coats wider and flatter, which is really what makes the repair blend into the wall instead of looking like a patch. Knives run $3 to $12 each. Grab 120 to 150 grit sandpaper for knocking down the first coat and 220 grit for the final smoothing pass.
All told, expect to spend somewhere around $20 to $40 per repair if you already own basic tools and have leftover paint. Starting completely from scratch, buying knives, primer, paint, and protective gear, will push that number higher upfront. But all of that gear gets reused on your next drywall project.
Common Preparation Mistakes and Troubleshooting
Most problems with mesh patches don’t show up until after the compound is on. Think lifting mesh, little bubbles under the surface, cracking, or visible ridges once everything’s dry. Almost all of it traces back to what happened, or didn’t happen, during prep.
Unstable edges are the biggest culprit. If the gypsum around the hole is crumbling or the facing paper is loose, the patch has nothing solid to grab onto. Cut back to firm material.
Final Words
Press the self-adhesive mesh over a stable 6-inch opening, apply three coats of joint compound (6-inch, then 10–12-inch, then a thin finish), sand between coats, then prime and paint.
This guide covered the materials checklist, the complete 7-step walkthrough, size limits and when backing is needed, buying tips and costs, and common prep mistakes so your patch sticks and looks smooth. Allow 12–24 hours between coats with premixed compound.
Follow these checks and steps — this is how to patch a 6-inch drywall hole with a mesh patch — and you’ll have a neat, durable repair.
FAQ
Q: How to patch a 6×6 hole in drywall?
A: Patching a 6×6 hole in drywall uses a self-adhesive fibreglass mesh patch centered with 1–2 inches of overlap. Apply three compound coats (6″, 10–12″, finish), sand between coats, prime and paint.
Q: When not to use mesh tape?
A: You should not use mesh tape when the surrounding gypsum crumbles, facing paper peels, the opening is larger than about 6–8 inches, or the repair will take regular impact; use backing strips and a drywall insert instead.
Q: How to mud drywall with mesh tape?
A: Mudding drywall with mesh tape starts by centering the self-adhesive mesh, then apply a first coat with a 6‑inch knife in a crisscross motion, dry 12–24 hours, sand, apply a wider second coat, finish thin and sand smooth.
Q: How to cover up a huge hole in the wall?
A: To cover up a huge hole in the wall, use wood backing and a fitted drywall insert fastened to backing, tape or mesh, then three compound coats, sanding, primer and paint; hire a pro if edges are unstable or load-bearing.
More from Politics
 Featured
How to Reset a GFCI Outlet Safely at Home
 DIY Repairs
How to Replace a Leaky Bathroom Faucet Cartridge Easily
 Home Maintenance
How to Adjust Door Hinges to Fix a Sagging Door
 Tools Materials