Featured
How to Patch a Small Drywall Hole Cleanly
Learn how to patch a small drywall hole cleanly with spackle and a putty knife. Six easy steps, common mistakes to dodge, and a tidy, paint-ready finish.
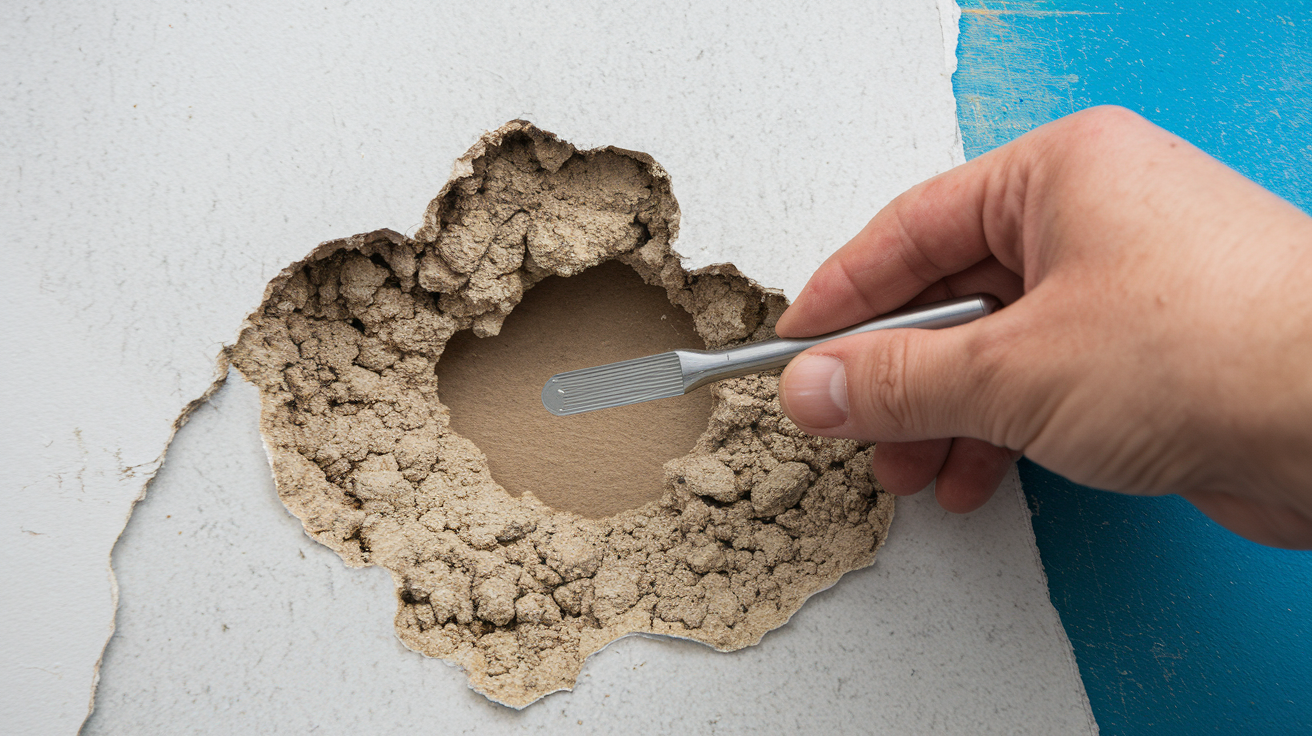
Think a tiny drywall hole means calling a pro? Not true.
A nail or screw hole up to about 1/2 inch wide is a fix you can do with lightweight spackle, a narrow putty knife, fine sandpaper, primer, and matching paint.
The actual work usually takes under an hour; the catch is waiting for the filler to dry between coats.
This quick guide shows the six clean steps, points out the common slip-ups that make patches show, and explains when a hole is too big for a simple spackle repair.
The Six-Step Repair At A Glance
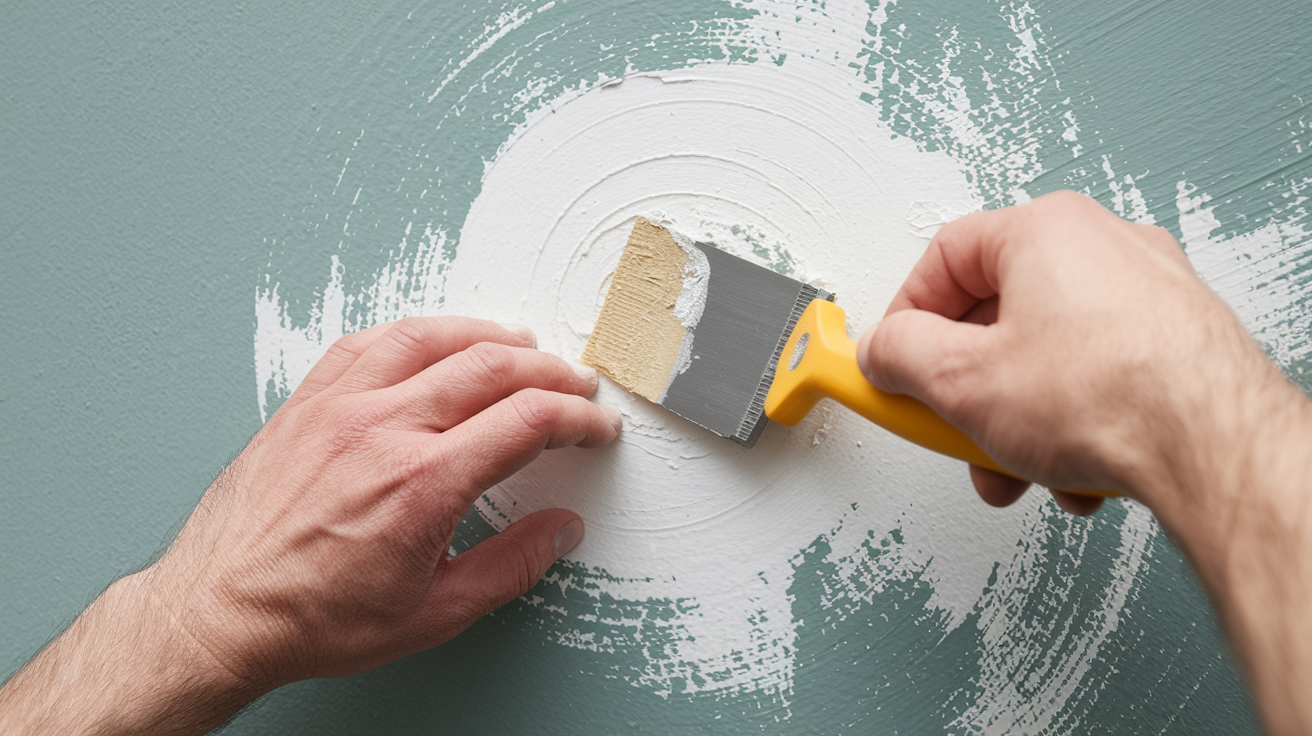
A nail hole, screw hole, or similar small opening up to roughly 1/2 inch wide is a job you can finish without adding a mesh patch or piece of new drywall. The active work itself usually takes less than an hour. The catch is drying time. Whatever filler you use needs to cure fully according to its label before you sand or paint, and that can stretch the project out over a few hours or even overnight.
For this type of small drywall hole repair, you’ll want lightweight spackle or premixed joint compound, a putty knife, fine sandpaper, primer, matching paint, and a damp rag. That’s really all it takes to patch a small drywall hole cleanly.
Here’s the whole process in six steps:
- Clean the hole and remove loose paper or debris.
- Press a thin amount of spackle or compound firmly into the opening.
- Scrape the surface level and feather the outer edge.
- Let the filler dry completely according to the product directions. Add another thin coat only if shrinkage leaves a depression.
- Sand gently until the repair is flush, then remove the dust and apply primer.
- Let the primer dry and apply matching paint in the same sheen.
If your hole measures more than roughly 1/2 inch across, filler alone probably won’t hold up long term. Those need mesh, backing, or a small piece of drywall behind them, and we’ll cover that separately.
What Makes A Patch Visible
(((alt-img2)))
Most bad drywall patches aren’t bad because of the hole. They’re bad because of a shortcut taken somewhere along the way. Here’s what to watch for at each stage.
- Filling: Avoid excess material that leaves a raised spot.
- Drying: Do not sand until the filler is completely dry.
- Sanding: Stop once the patch is flush to avoid a depression or exposed paper.
- Priming: Prime the repaired area to prevent flashing (that shiny or discolored patch that shows up after painting).
- Painting: Match the existing paint sheen, not just the color.
- Finishing: Reproduce the surrounding wall texture when necessary.
Keep this list in mind as you work through the steps ahead. Most of these mistakes only take a few extra seconds to avoid.
Choosing The Right Spackle And Tools
(((alt-img3)))
For isolated nail and screw holes, lightweight spackle is usually your easiest option. It’s forgiving, dries fast, and barely shrinks. If you’re patching several holes around the house, say, after taking down shelves or pictures in multiple rooms, premixed joint compound tends to be the better value since you get a lot more product for the price.
| Item | Recommended Selection | Best Use |
|---|---|---|
| Lightweight spackle | 3-4 oz tube for isolated tiny holes; 8 oz tub for several repairs | Dries fast, typically 15-30 minutes |
| Premixed joint compound | Small tub | Economical for numerous repairs, sands easily, but may need 12-24 hours between coats |
| Narrow putty knife | 1.5-2 inches | Pressing filler into tiny openings |
| Feathering knife | 3-6 inches | Spreading thin edges around a wider repair |
| Sandpaper | 120-150 grit, then 220 grit | Cautious initial levelling, then final smoothing |
| Primer and paint | 1 pint latex or stain-blocking primer, matching paint | Sealing the patch and blending it into the wall |
So which one should you actually grab? Spackle wins on speed. It shrinks less, handles easily, and for one or two small holes, you’ll be done and ready to sand within a half hour. Joint compound costs less per repair if you’re buying in bulk, and it sands into a very smooth finish. You’ll just need patience since it dries slower between coats.
One more tip, skip the loose sheet of sandpaper if you can. A sanding sponge or block gives you more even pressure across the patch, which helps you avoid digging a groove into the wall by accident.
Step By Step: Prepping The Hole Before Filling
(((alt-img4)))
Here’s something that trips people up. They rush straight to filling the hole and wonder later why the spackle cracked or popped loose. Filler needs something clean and slightly rough to grip onto. Dust, loose paper, and glossy paint all get in the way of that bond.
Before you touch any spackle, work through these five steps:
- Measure the opening to confirm that it is no larger than roughly 1/2 inch. If it’s bigger, you’ll want the mesh patch method instead.
- Wipe away dust and debris with a damp sponge. This clears out any crumbly drywall bits sitting around the edges.
- Trim loose, raised, or curled paper carefully with a utility knife, slightly undercutting raised edges where necessary. This keeps the paper from bubbling up under the filler later.
- Lightly dull glossy paint immediately around the opening to improve adhesion. A quick pass with fine sandpaper is enough. You’re not trying to strip the paint, just knock the shine down.
- Wipe the area clean again and allow it to dry before applying filler.
This whole prep stage takes maybe 5 to 10 minutes, honestly less once you’ve done it a time or two. But skipping it is one of the most common reasons a patch fails or shows through the paint later. A clean, slightly rough surface is what gives your filler something solid to hold onto.
Final Words
Get the hole prepped, pick the right spackle and knife, and follow the six-step repair: clean, press, scrape, dry, sand, prime and paint. Watch the common slip-ups we flagged — too much filler, sanding too soon, or wrong sheen — and stop before you overdo it.
If you stick to the quick checklist and let each coat dry fully, you’ll know how to patch a small drywall hole cleanly and leave a seamless finish. Small job, big satisfaction.
FAQ
Q: How to fix a dime-sized hole in drywall? What household items can I use to patch a small hole in the wall?
A: To fix a dime-sized hole, use lightweight spackle or premixed joint compound, press it in with a putty knife, let dry, sand smooth, prime, and paint. For tiny emergency fills, white toothpaste can work temporarily.
Q: How do you fill a 1 inch hole in drywall?
A: To fill a 1-inch hole, use a self-adhesive fiberglass mesh patch or place a small backing behind the opening, press in joint compound in thin layers, let each dry, sand flush, prime, and paint to match.
Q: How to fix a 2×2 hole in drywall?
A: To fix a 2×2 hole, cut the opening square, fit and screw a drywall patch to a backing strip, tape the seams, apply two thin coats of joint compound, sand smooth, prime, and paint.
More from Politics
 Featured
How to Reset a GFCI Outlet Safely at Home
 DIY Repairs
How to Replace a Leaky Bathroom Faucet Cartridge Easily
 Home Maintenance
How to Adjust Door Hinges to Fix a Sagging Door
 Tools Materials