Tools Materials
How to Prevent Ice Dams on a Pitched Roof
Stop ice dams for good: learn how to prevent ice dams on a pitched roof by sealing attic leaks, adding insulation, and fixing airflow. Stay safe, skip the ladder.
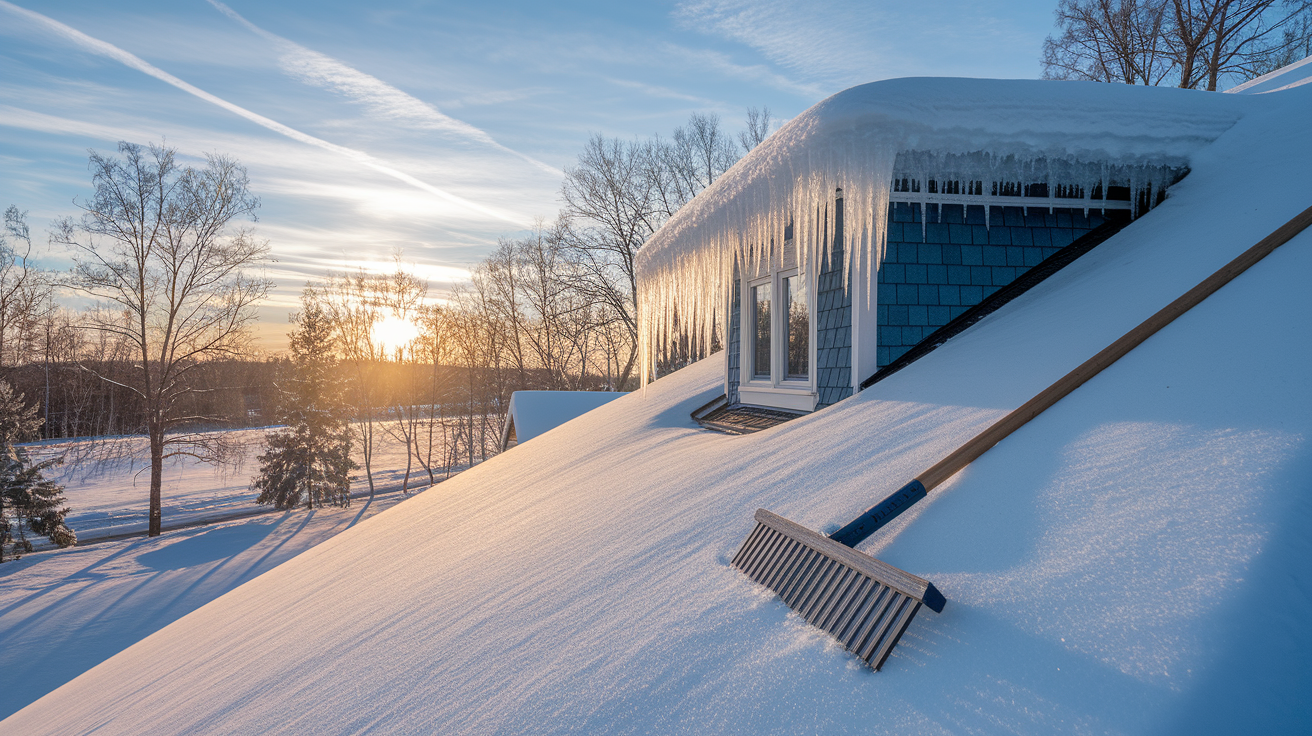
Blame the attic, not the gutters.
Ice dams form when part of your roof warms, melts snow, and that meltwater refreezes at the eave, pushing water under shingles.
The goal is a cold, even roof deck from ridge to edge.
This quick-start guide shows how to stop ice dams for good: diagnose attic heat loss, seal leaks, add insulation, balance soffit-to-ridge ventilation (so cool air can flow through the attic), and use short-term fixes like roof raking and heat cables.
Stay on the ground; never walk a snowy pitched roof.
Quick-Start Guide to Keeping a Pitched Roof Cold and Even

The goal isn’t to warm up your eaves. It’s the opposite. You want your whole roof deck, from ridge to edge, sitting at the same cold temperature all winter. When one section runs warmer than another, you get melting in one spot and refreezing in the next, and that’s how an ice dam starts. Gutters don’t cause this, by the way. A clogged gutter can make drainage worse once a dam’s already formed, but it’s not the root issue, so don’t spend your weekend scrubbing gutters while your attic sits there leaking heat.
There’s a real difference between fixing the problem for good and just surviving tonight’s storm. Permanent fixes happen in your attic, things like sealing air leaks, adding insulation, balancing ventilation. Temporary measures happen outside, during or right after a snowfall. One rule before we go further: stay on the ground. Never walk on a snowy or icy pitched roof, even for “just a minute.” It’s not worth a broken ankle, or worse. The sections below walk through each stage in the order we’d actually tackle at a real house.
- Diagnose attic heat loss and roof warning signs.
- Seal attic air leaks and raise insulation to the climate-appropriate R-value.
- Balance soffit-to-ridge ventilation.
- Apply short-term storm protection, like gutter clearing, roof raking, and targeted heat cables.
Comparing Pitched-Roof Ice-Dam Controls

Think of this table as your side-by-side cheat sheet. It’s here to help you figure out where to put your time and money first, not to replace the detailed how-to sections further down (those cover the actual installation steps).
| Prevention Measure | Effectiveness | Expected Lifespan | Approximate Cost | Professional Install Typically Required |
|---|---|---|---|---|
| Attic air sealing | High, addresses root cause | Decades, if undisturbed | $300 to $3,000 | Recommended for complex attics |
| Roof insulation | High, works with air sealing | 20+ years | $1,000 to $8,000 | Recommended for full attics |
| Balanced attic ventilation | Moderate, supports a cold roof deck | Decades | $300 to $1,200 | Often, for ridge vent cutting |
| Roof raking and gutter maintenance | Low to moderate, short-term only | Must repeat every storm | $30 to $120 for a rake | No |
| Roof heating cables | Low to moderate, spot treatment | 5 to 10 years | $50 to $1,200 | Recommended for hardwiring |
| Ice-and-water shield | Moderate, backup leak protection only | Life of the roof | $1.50 to $4.00 per sq ft installed | Yes, during roofing work |
Roof Insulation and Air Sealing Beneath a Pitched Roof
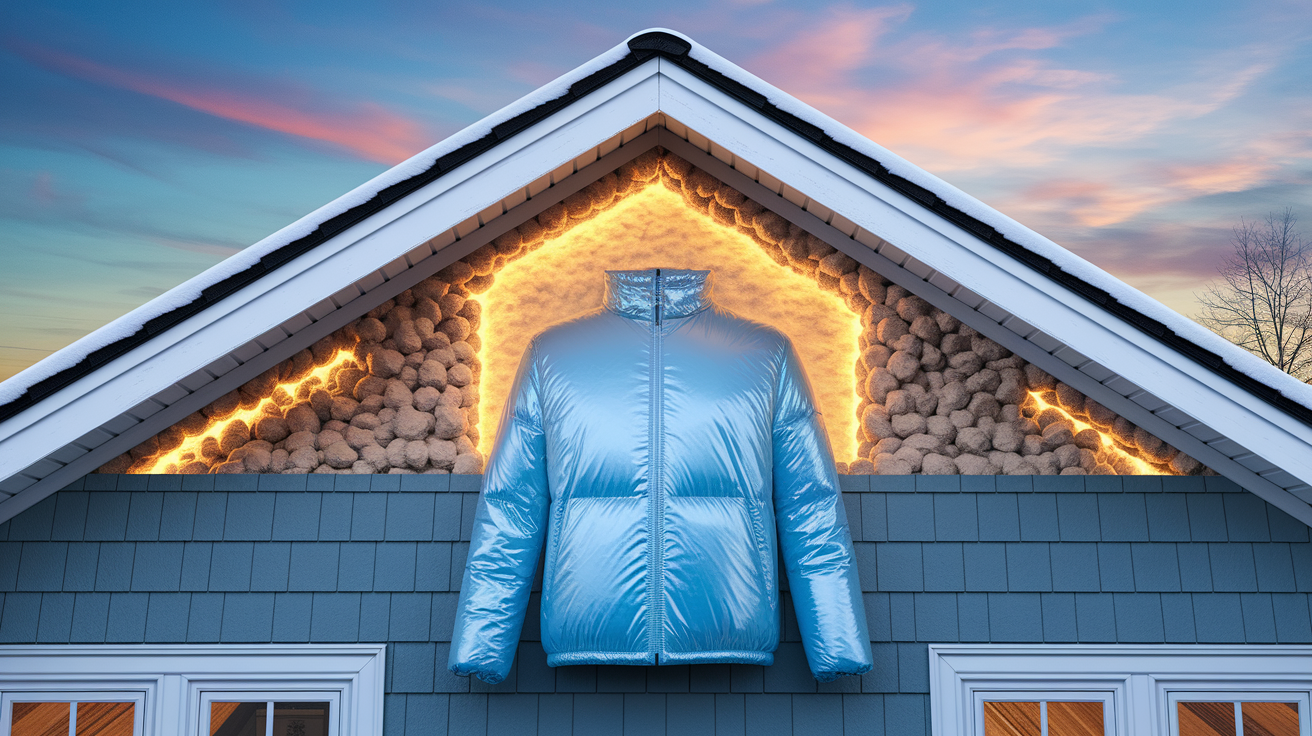
Heat gets from your living space into the attic two separate ways, and it helps to know the difference. Conductive heat loss is the slow, steady creep of warmth through the ceiling material itself, kind of like heat soaking through a pot lid. Air leakage is different. That’s actual warm air escaping through gaps and cracks, like steam sneaking out around a lid that doesn’t sit flush. Both warm the underside of your roof deck unevenly, and that unevenness is exactly what creates the split between a melting mid-roof and a frozen eave.
This is why sealing comes before insulating, not after. Fiberglass batts and loose-fill cellulose are decent at slowing conductive heat flow, but air moves right through them if there’s an open gap underneath. Think of insulation like a sweater and air sealing like a windbreaker. A sweater alone in a stiff wind won’t keep you warm, because the wind cuts right through the fibers. You need the windbreaker first. Common bypass points worth hunting down and sealing include attic hatches or pull-down stairs (these almost always need a gasket), recessed light fixtures, wall top plates, plumbing and electrical penetrations, bathroom fan ducts, chimney chases, open stairwells, and the seams where an addition meets the original house. One safety note worth repeating: sealing work done around chimneys, flues, or other heat-producing fixtures needs fire-rated materials and has to maintain the clearances required by code. Don’t improvise around anything that gets hot.
When it comes to choosing insulation material, blown-in cellulose and fiberglass are the most common picks for topping off an attic floor, and both work well once the air leaks underneath are handled. Blown-in material fills irregular spaces around joists and obstructions well, which matters in older homes where the attic floor is rarely a clean, flat surface. Spray foam, usually the closed-cell type, costs more but does double duty, insulating and air sealing in a single step. That makes it a strong option for tricky areas like the perimeter where the roof meets the exterior wall, sometimes called the eave-to-wall intersection.
As for target R-values, the right number depends on where you live. Homes in climate zones 4 and 5 (think the mid-Atl
Final Words
Keep the roof deck uniformly cold — that’s the goal: stop warming the upper roof, not thawing the eaves. Gutters don’t cause ice dams, but clogged gutters can block drainage.
Long-term fixes are attic air sealing, bringing insulation up to the right R-value, and balanced soffit-to-ridge ventilation. Short-term moves are roof raking, clearing gutters, and targeted heat cables. Stay on the ground; never walk on a snowy or icy pitched roof.
Do the four priorities — diagnose heat loss, seal and insulate, balance ventilation, then use storm protections — and you’ll know how to prevent ice dams on a pitched roof. Small, steady fixes pay off.
FAQ
Q: How can I prevent ice dams from forming on my metal roof?
A: Prevent ice dams on a metal roof by keeping the roof deck uniformly cold: seal attic air leaks, add insulation, balance soffit-to-ridge ventilation, and use short-term measures like roof raking, cleared gutters, or heat cables.
Q: How to break an ice dam on your roof?
A: To break an ice dam on your roof, stay on the ground and create a melt channel using calcium chloride in a sock or hire a pro to steam or safely use roof heat cables; never chip ice.
Q: What exactly is an ice dam?
A: An ice dam is a ridge of frozen meltwater at the eave that forms when upper roof layers warm above 32°F while eaves stay below freezing, so runoff refreezes and traps later melting snow.
Q: Can an ice dam damage my roof?
A: An ice dam can damage your roof by forcing meltwater under shingles, causing leaks, rotted sheathing, and interior water damage. Heavy dams also strain gutters and fascia. Address quickly or call a pro if you see leaks.
More from Politics
 Featured
How to Reset a GFCI Outlet Safely at Home
 DIY Repairs
How to Replace a Leaky Bathroom Faucet Cartridge Easily
 Home Maintenance
How to Adjust Door Hinges to Fix a Sagging Door
 Tools Materials