Home Maintenance
How to Repair a Small Drywall Hole Fast
Learn how to repair a small drywall hole from a doorknob in six easy steps. No drywall saw needed, just basic tools and one afternoon.
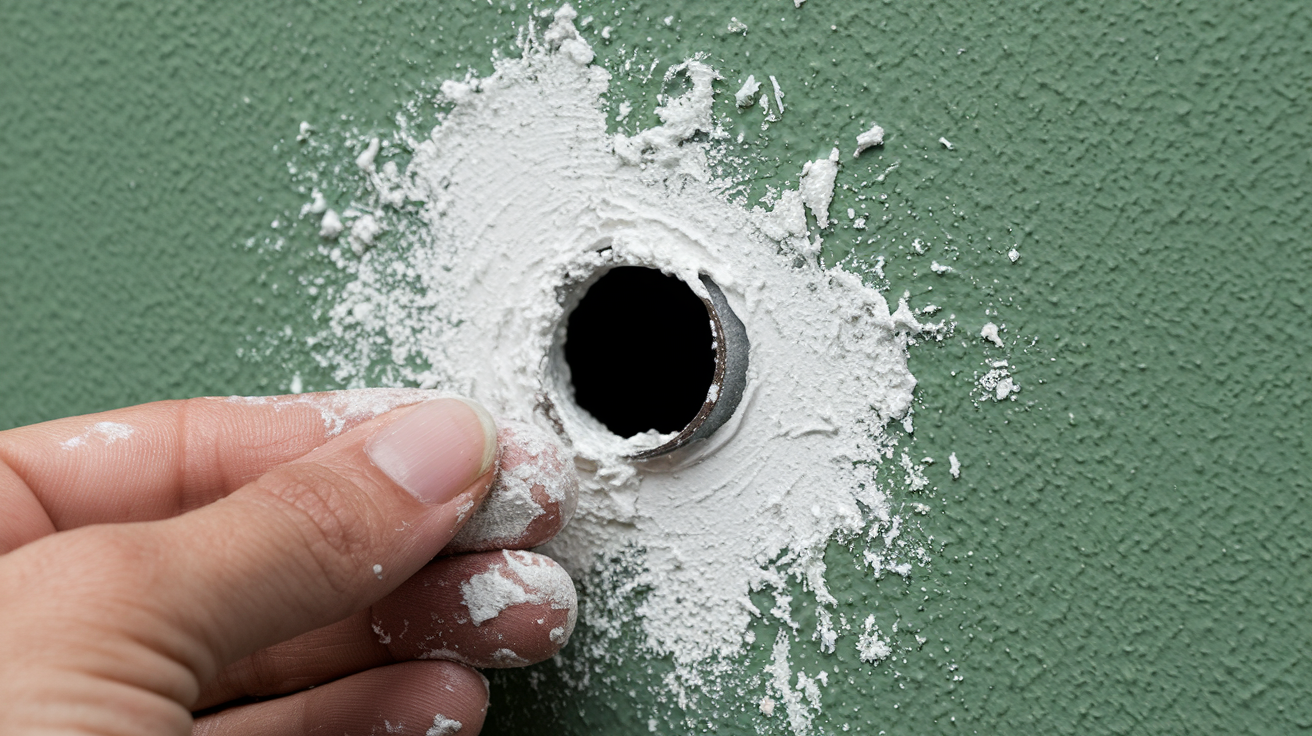
Think a doorknob hole needs a contractor?
It’s an easy fix you can do yourself in under an hour of hands-on work.
This post walks you through six simple steps: clean, mesh patch, spackle, dry, sand, prime and paint, using basic tools and no drywall saw.
For holes up to about 2 inches you’ll get a clean, long-lasting result; bigger or crumbling holes need a pro.
Follow along and you’ll have a smooth, painted wall by the end of one afternoon.
Fixing Your Doorknob Hole in 6 Simple Steps
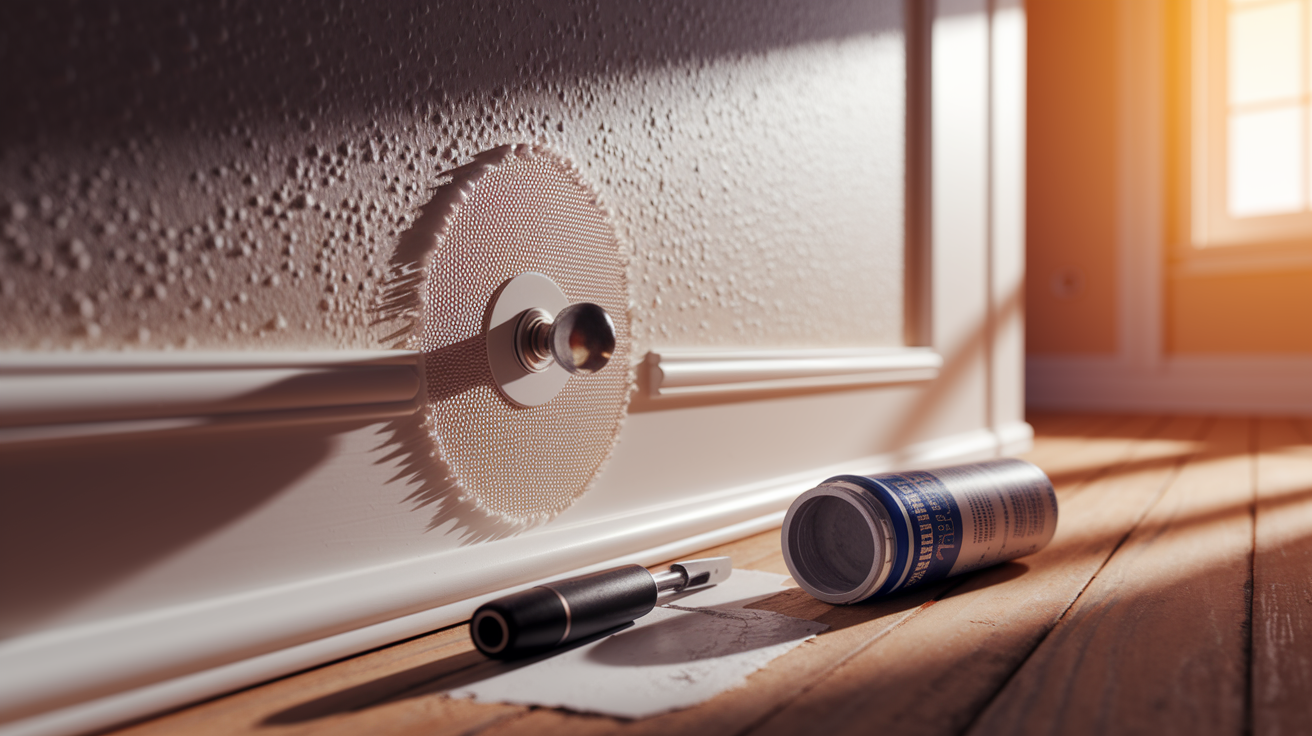
That hole punched in your wall by a wayward doorknob looks worse than it actually is to fix. It’s one of the most beginner friendly drywall repairs out there, and for holes up to about 2 inches, you can knock it out with less than an hour of hands on work. No drywall saw, no cutting in a new patch. Just some basic tools and a little patience while things dry.
Here’s the drywall patch doorknob hole process from start to finish:
- Clean out the hole. Brush away any loose paper, crumbled drywall, or dust so you’re working with a clean edge all the way around.
- Apply a mesh patch if the hole is bigger than about half an inch. Peel the backing off a self adhesive mesh patch and press it directly over the hole, centered so it covers the gap on all sides.
- Spread a thin coat of spackle or lightweight joint compound over the patched area with your putty knife. Keep it smooth and feather the edges out past the mesh so there’s no hard ridge.
- Let it dry. Most spackle and joint compound need 1 to 4 hours to fully set, depending on how thick you applied it and the humidity in your house.
- Sand it smooth. Start with 120 grit to knock down any high spots, then switch to 220 grit for a fine, even finish that blends into the wall.
- Prime and paint to match. A thin coat of primer keeps the patch from flashing, which is just a dull or shiny spot showing through the paint. Then roll or brush on your matching paint color.
That’s genuinely the whole job. Plan on 30 to 90 minutes of actual hands on time, plus drying time between coats if your hole needed more than one pass of compound. Difficulty wise, this sits firmly in the easy to moderate range, so there’s no need to call in a pro for anything up to 2 inches wide.
Gathering Materials for a Small Drywall Hole Repair
(((alt-img2)))
Nothing kills momentum on a quick repair like realizing halfway through that you’re out of sandpaper or don’t have the right size putty knife. Taking five minutes to gather everything first means you can start and finish the job in one sitting, no hardware store run in the middle.
Here’s what you’ll want on hand:
- Spackle or lightweight joint compound (8 to 16 oz tub)
- Putty knife, 2 to 4 inch blade for applying, plus a 6 inch knife for feathering edges smooth
- Sandpaper, one sheet each of 120 and 220 grit, or a sanding sponge
- Primer, a small 8 oz can or sample size works fine
- Paint, sample size or 8 oz can matching your wall color
- Self adhesive mesh patch, for holes between half an inch and 2 inches
- Cleaning cloth, to wipe away dust before patching
- Painter’s tape, to protect trim or baseboards nearby
- Dust mask and drop cloth, for easy cleanup and to avoid breathing in sanding dust
So which do you actually grab, spackle or joint compound? Spackle is thicker and dries faster, which makes it great for small, shallow dings and nail holes. Joint compound, especially the lightweight version, spreads thinner and is easier to feather over a wider area. That comes in handy when you’re blending a mesh patch into the surrounding wall. If you’d rather not think too hard about it, small hole repair kits bundle a sanding pad, primer enhanced spackle, and putty knife together in one box. Honestly, that takes a lot of the guesswork out of a first attempt.
Sizing Up the Damage: Which Repair Method Fits Your Hole
(((alt-img3)))
Before you grab your putty knife, take a second to actually measure the hole. The size determines which method will give you the cleanest, longest lasting result, and using the wrong one is a common mistake that leads to cracking or sagging later.
| Hole Size | Recommended Method | Backing Needed? |
|---|---|---|
| Nail/screw holes (about 1/8 inch) | Simple spackle, dab and smooth | No |
| Small holes (1/4 to 1/2 inch) | Lightweight spackling compound | No |
| Medium holes (1/2 to 2 inches, most doorknob holes) | Self adhesive mesh patch plus joint compound, or a circular bumper patch | Yes, mesh or bumper patch acts as backing |
| Large holes (3 inches and up) | Cut in drywall patch with wood or drywall backing | Yes, solid backing required |
Most doorknob holes land right in that 1 to 2 inch range, which is exactly why a mesh patch or bumper patch works so well here. There’s no need for backing boards or cutting a fresh piece of drywall. If you measure your hole and it’s pushing past 2 inches, or the drywall around it is crumbling and soft, you’re better off looking at a full drywall patch guide instead. That size usually needs more structural support than a patch alone can offer.
The Bumper Patch Method: A No Sand Doorknob Hole Fix
(((alt-img4)))
If sanding isn’t your favorite part of a project, honestly, whose is, this method skips it entirely. A circular bumper patch is a self contained repair disc, usually 2 to 3 inches across, that covers the hole and gives you a smooth, paintable surface without ever touching joint compound.
Here’s how it works. Clean the area around the hole first, wiping away any dust or loose debris so the adhesive has a solid surface to grip. Next, apply construction adhesive to the back of the patch. A single small tube, 2 to 3 oz, is plenty for one hole.
Final Words
This guide gives a clear, six-step fix for a doorknob hole: clean, patch (mesh or bumper), apply spackle or joint compound, dry, sand, then prime and paint.
Have your putty knife, spackle, 120/220 grit sandpaper, primer, and paint ready. Hands-on time is 30–90 minutes; drying adds wait time. Don’t skip mesh on holes over 1/2 inch.
Follow these steps and you’ll know how to repair a small drywall hole from a doorknob without calling a pro for holes up to 2 inches. Nice, neat result.
FAQ
Q: How to repair a small hole in a drywall?
A: Repairing a small hole in drywall is a quick DIY: clean loose debris, press a mesh patch for holes over 1/2 inch or fill tiny holes with spackle, smooth, let dry, sand, prime, and paint.
Q: How can I repair a punched hole in my interior door?
A: Repairing a punched hole in an interior door depends on door type: solid wood accepts wood filler or a cut-in patch; hollow-core needs a backing or expanding foam plus filler, or door replacement if damage is large.
Q: What is the fastest way to fix a hole in the wall?
A: The fastest way to fix a wall hole up to about 2 inches is a self-adhesive mesh or bumper patch with spackle or construction adhesive: apply, smooth, let dry, sand if needed, then paint.
Q: Can I use spackle to fill holes in drywall?
A: You can use spackle to fill small drywall holes like nail or screw holes and shallow dents; for holes over about 1/2 inch use lightweight joint compound with a mesh patch for strength and a smoother finish.
More from Politics
 Featured
How to Reset a GFCI Outlet Safely at Home
 DIY Repairs
How to Replace a Leaky Bathroom Faucet Cartridge Easily
 Home Maintenance
How to Adjust Door Hinges to Fix a Sagging Door
 Tools Materials