Home Maintenance
How to Replace a Door Sweep for Draft-Free Doors
Learn how to replace a door sweep to stop drafts under a door in 15 to 45 minutes. Simple steps, basic tools, no pro needed.
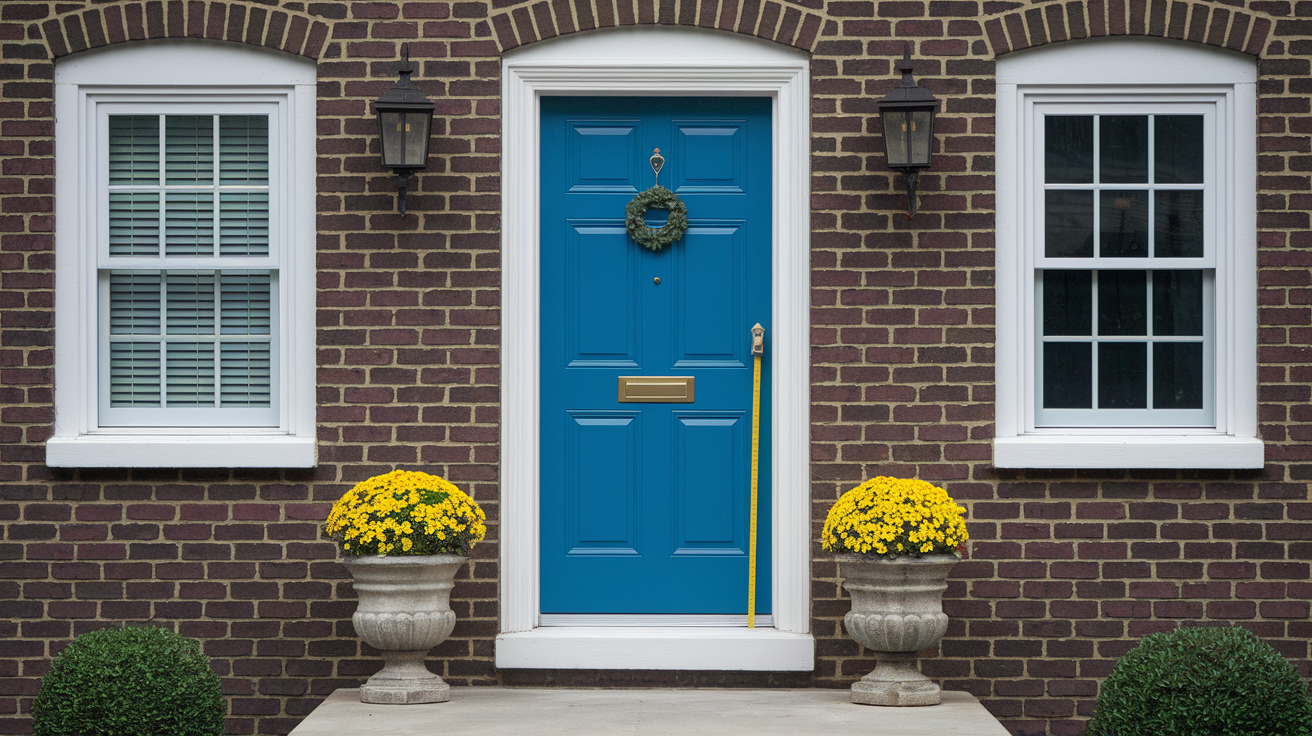
Think a hairline gap under your door is harmless?
That little draft can cost real comfort and quietly hike your energy bill.
Good news: replacing a door sweep is one of the easiest fixes you can do yourself.
Most swaps take 15 to 45 minutes and need just a tape measure, screwdriver or utility knife, and the right sweep.
Keep reading and I’ll show the exact sweep types, how to measure and trim, and simple checks so your door stays draft-free without fuss.
Quick-Start Door Sweep Replacement Checklist
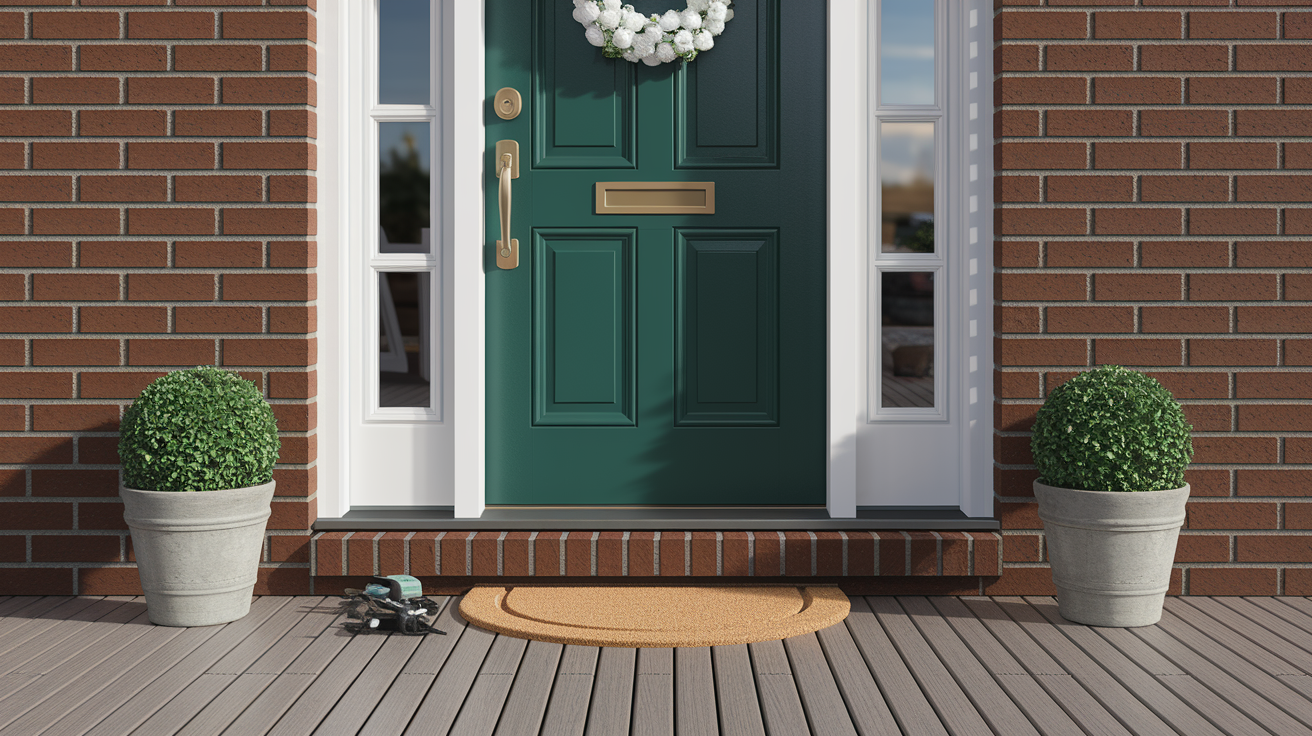
Replacing a worn door sweep is one of the friendliest projects out there for a first time DIYer. Most swaps take 15 to 45 minutes, and even an automatic door bottom only runs about 30 to 90 minutes. No special skills needed, just a little patience and the right size parts.
Here’s the condensed version of the whole job, step by step:
- Measure the door width and the gap underneath it (full details further down).
- Pick your sweep type: adhesive, screw-on, slide-on, brush, or automatic.
- Remove the old sweep.
- Clean the mounting surface so nothing new sticks to grime or old adhesive.
- Mark your cut line and trim the replacement to size.
- Test-fit the sweep before committing to anything permanent.
- Prepare the attachment points, whether that’s pilot holes or a clean dry surface.
- Fasten or stick the sweep in place.
- Adjust it and swing the door through its full range to check for drag.
- Test for drafts and dab a little caulk on minor side gaps if needed.
That’s the whole process in a nutshell. Keep reading for exact measurements, a full sweep type comparison, fastening differences between styles, and troubleshooting tips if something doesn’t seal right the first time.
Tools And Materials Needed Before You Replace A Door Sweep
(((alt-img2)))
What you’ll need really depends on which sweep you’re installing. An adhesive strip needs almost nothing beyond a clean surface and a sharp blade. A screw-on or automatic sweep calls for a drill, bits, and some patience with pilot holes.
Here’s a checklist to pull together before you start, grouped by what each tool actually does:
Measuring and marking
- Tape measure (inches)
- Pencil for marking cut lines and hole spots
Removal and cleaning
- Putty knife or scraper for lifting old adhesive or sweeps
- Rubbing alcohol or adhesive remover
- Masking tape to protect the door finish while you work
Cutting tools
- Hacksaw or metal snips, for trimming an aluminum sweep track
- Utility knife, for trimming rubber, vinyl, or brush inserts
Fastening supplies
- Phillips #2 screwdriver or a drill/driver
- 1/16″ or 1/8″ drill bit for pilot holes
- #6 pan-head or #8 flat-head screws, 1/2″ to 3/4″ long (plan on 6 to 8 screws for a 36″ sweep)
- 36″ roll of double-sided foam tape or peel-and-stick adhesive, if you’re going that route
Optional sealing
- Small tube of silicone caulk, for closing tiny stationary side gaps later
Protective equipment
- Safety glasses
- Gloves
- Clamps or a couple of heavy books, handy for holding an adhesive sweep in place while it cures
Before you buy anything, double check what hardware actually ships with your new sweep. A lot of screw-on kits already include screws sized for the track, so you might not need to buy separate fasteners. Wear safety glasses any time you’re cutting an aluminum track, and keep gloves on when you’re scraping old adhesive or handling a sweep with sharp trimmed edges.
How To Measure A Door For An Accurate Sweep Replacement
(((alt-img3)))
Measure the door itself, not the doorway opening. This trips people up more than almost anything else in this project. Common door widths run 24″, 28″, 30″, 32″, and 36″, so grab your tape measure and run it edge to edge across the bottom of the door slab. Measure it a second time to confirm, since a bad width measurement means a bad cut you can’t take back. When you mark your sweep for cutting, leave about 1/8″ of clearance from the jamb on each side so the sweep doesn’t bind as the door swings closed.
Next comes the gap measurement, and this is where a lot of homes surprise people. Floors settle, thresholds wear unevenly, and doors sometimes hang slightly crooked. So check the gap under the door at three points: left side, center, and right side, instead of just eyeballing the middle. Whichever spot shows the biggest gap is the one that determines what sweep you need, since that’s the measurement your seal has to cover. Once the new sweep is installed, you’re aiming for about 1/16″ to 1/8″ of compression against the threshold, enough to block airflow without making the door drag or stick.
A few mistakes show up again and again with this step. Measuring the doorway frame instead of the actual door slab throws off your sizing completely. Checking only the center of the gap can hide a bigger gap off to one side. Trusting a single width measurement without double checking it risks a sweep that’s cut too short or too long. And forgetting to account for jamb clearance can leave you with a sweep that catches on the frame every time the door closes.
Types Of Door Sweeps: Adhesive, Screw-On, Slide-On, And Automatic
(((alt-img4)))
Which sweep you pick comes down to a handful of practical factors: how big your measured gap is, what the door is made of, whether your threshold is level, how long you want the fix to last, and whether you’re okay drilling into the door.
Adhesive peel-and-stick sweeps are the easiest entry point, usually $5 to $15, and they work great on smooth, clean door surfaces. They’re best suited to gaps of 3/8″ or smaller. Honestly, if your door bottom is in decent shape and the gap isn’t huge, this is the lowest effort fix you can buy. Just know that adhesive needs a genuinely clean surface to bond well. Grease or dust under the tape and it’ll peel loose within weeks.
Screw-on aluminum sweeps with a rubber or silicone fin run about $10 to $30 and offer more durability than adhesive versions. They handle gaps in the 3/8″ to 1/2″ range, and the fin can be trimmed down if it’s sitting too low. These work well on wood doors or any door you’re comfortable drilling into, and they tend to outlast adhesive strips by a good margin.
Slide-on or U-channel sweeps clip directly
Final Words
You’ve measured the gap, picked the right sweep, removed the old seal, and fitted the replacement—this is a beginner-friendly job that usually takes 15–90 minutes.
Move the door through its full swing, trim or tweak the sweep until it lightly compresses the threshold, and seal any small side gaps so the seal can do its job without dragging.
If you need a quick refresher, the guide shows exactly how to replace a door sweep to stop drafts under a door, with measuring tips and troubleshooting. You’ll end up with a quieter, cozier room and lower drafts.
FAQ
Q: Can I replace a door sweep without removing the door?
A: Replacing a door sweep without removing the door is possible. Most adhesive, screw-on, and slide-on sweeps fit with the door open and supported; only some automatic bottoms or tight clearances need door removal.
Q: How do I replace door stripping or door sweepers?
A: Replacing door stripping or sweepers involves removing the old seal, cleaning the surface, measuring and cutting the new sweep to length, test-fitting it, then attaching per its type (adhesive, screw-on, slide-on, or automatic).
Q: What can I put under my door to stop drafts?
A: To stop drafts under a door, use adhesive foam tape, a screw-on rubber/aluminum sweep, a U-channel slide-on sweep, a brush strip, or an automatic door bottom—choose based on gap size and door material.
More from Politics
 Featured
How to Reset a GFCI Outlet Safely at Home
 DIY Repairs
How to Replace a Leaky Bathroom Faucet Cartridge Easily
 Home Maintenance
How to Adjust Door Hinges to Fix a Sagging Door
 Tools Materials