DIY Repairs
How to Replace a P-Trap Under a Sink Easily
Learn how to replace a P-trap under a sink in 30-60 minutes. Grab a bucket and wrench, follow our steps, and stop that leak for good.
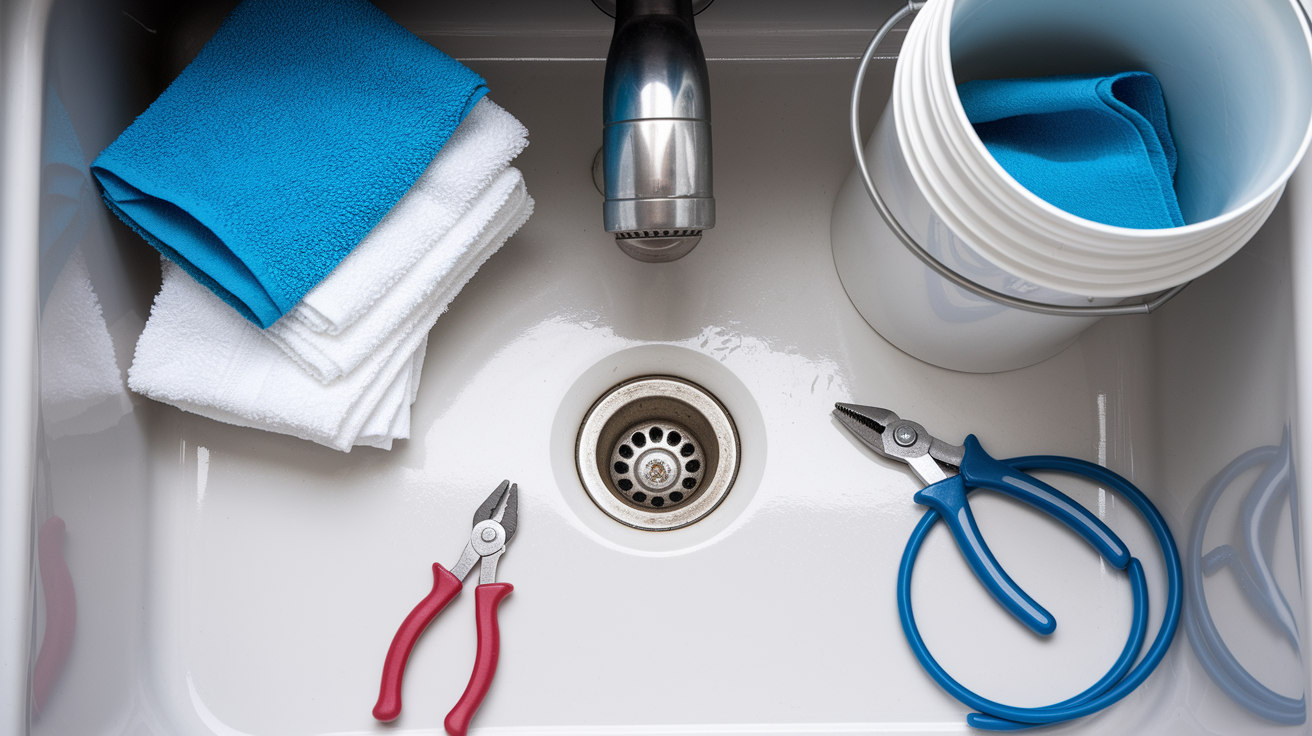
You don’t need a plumber to fix a leaking P-trap under your sink.
That curved pipe holds a small amount of water to block sewer gas, and replacing it is usually cheaper and faster than patching or wrestling the same clog again.
This guide walks you through each step, tells you the exact tools to grab (bucket, adjustable wrench or channel locks, replacement trap), and shows the safety moves to make before you loosen a nut.
Expect to finish in about 30–60 minutes and stop the leak for good.
Step-by-Step Instructions To Replace A P-Trap Under A Sink
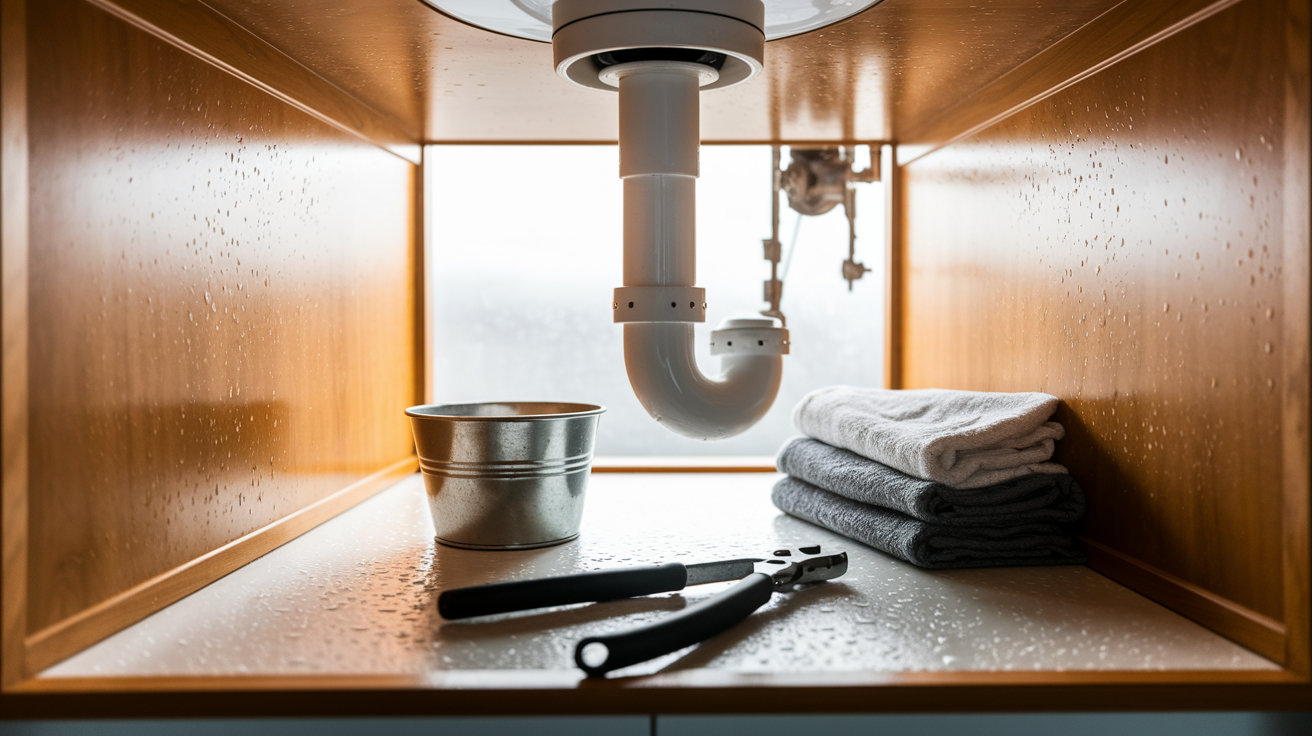
A P-trap is that curved pipe under your sink holding a little water at all times. That water acts like a seal, keeping sewer gas from drifting up into your kitchen or bathroom. When it leaks, clogs repeatedly, or shows rust and cracks, replacing it is usually faster and cheaper than trying to patch it. And here’s the good news: this is one of the most beginner friendly plumbing repairs out there.
Before you start, gather your replacement kit, a bucket, a few towels, channel lock pliers or an adjustable wrench, and eye protection. Here’s the thing nobody tells you upfront: when you open that trap, you’re going to release anywhere from half a quart to two quarts of standing wastewater sitting inside the curve. Have your bucket ready before you touch a single nut.
Here’s the full process from start to finish:
- Measure the trap diameter at the tailpiece, either 1 1/4 inch (most bathroom sinks) or 1 1/2 inch (most kitchen sinks), and buy a matching replacement kit.
- Stop using the faucet, optionally close the supply valves under the sink, and slide a bucket directly under the trap. Expect 0.5 to 2 quarts of standing water to come out.
- Loosen the slip nuts by hand first, then with pliers or a wrench if they won’t budge. If a nut is stuck tight, spray on some penetrating oil and wait 10 to 15 minutes before trying again, or switch to a strap wrench so you don’t crack a plastic nut.
- Remove the trap and dump its contents into the bucket.
- Plug the open wall drain immediately with a rag. This blocks sewer gas from drifting into the room while you work.
- Clean the tailpiece and wall outlet, and pull off any old, hardened washers.
- Install new slip washers with the beveled side facing into the joint.
- Hand tighten the nuts, align the trap arm so it slides smoothly into the wall stub, then give each nut an extra 1/4 to 1/2 turn with a wrench. Don’t overdo it.
- Pull the rag plug, run the water for 1 to 2 minutes, and check every joint for drips or seepage.
That’s the whole job in a nutshell. The sections below go deeper on the exact tools to buy, what to do when things get stuck, and how to tell the difference between trap types before you shop.
Tools And Materials Needed For P-Trap Replacement
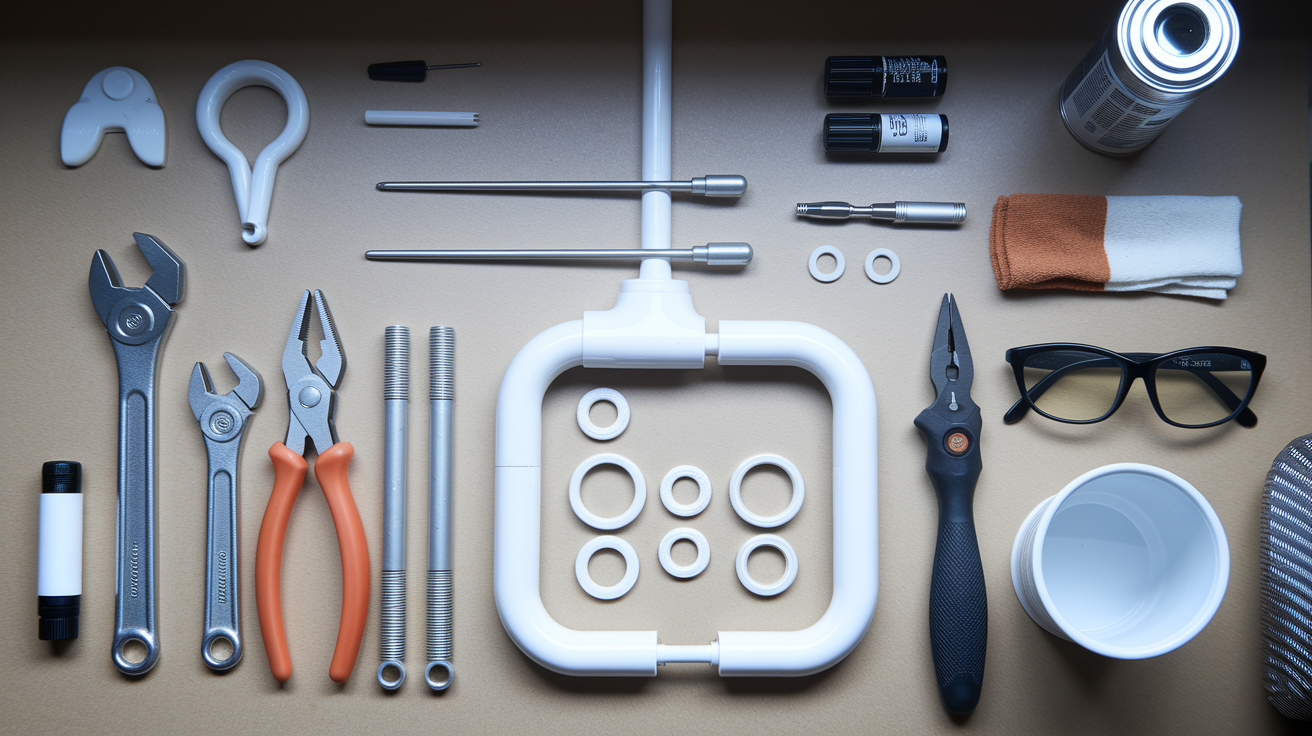
Having everything laid out before you start saves you from crawling out from under the sink halfway through, hands dripping, to go dig through a junk drawer. It also keeps you from making a dusty, soggy trip to the hardware store mid project.
Here’s what to have on hand:
| Item | Quantity |
|---|---|
| Adjustable wrench (6 to 10 inches) | 1 |
| Slip joint pliers or channel locks | 1 |
| Bucket (1 to 3 gallons) | 1 |
| Replacement P-trap kit, including trap body, 2 to 3 slip nuts, and washers | 1 |
| Spare slip joint washers | 2 |
| Hacksaw or PVC cutter (for stuck or corroded fittings) | 1 |
| Penetrating oil | 1 can |
| Rags | 3 to 5 |
| Flashlight (cabinets are dark, even in daylight) | 1 |
| Plumber’s grease | Small tube |
| PVC primer and cement kit (only needed for solvent weld connections) | As needed |
| Optional: strap wrench, safety glasses, heat resistant gloves | As needed |
Most hardware stores sell complete P-trap kits that bundle the trap body with matching slip nuts and washers, sized correctly for either 1 1/4 inch or 1 1/2 inch drains. Buying one complete kit is almost always simpler than hunting down individual parts, and it guarantees everything fits together the first time.
Safety Precautions And Workspace Protection
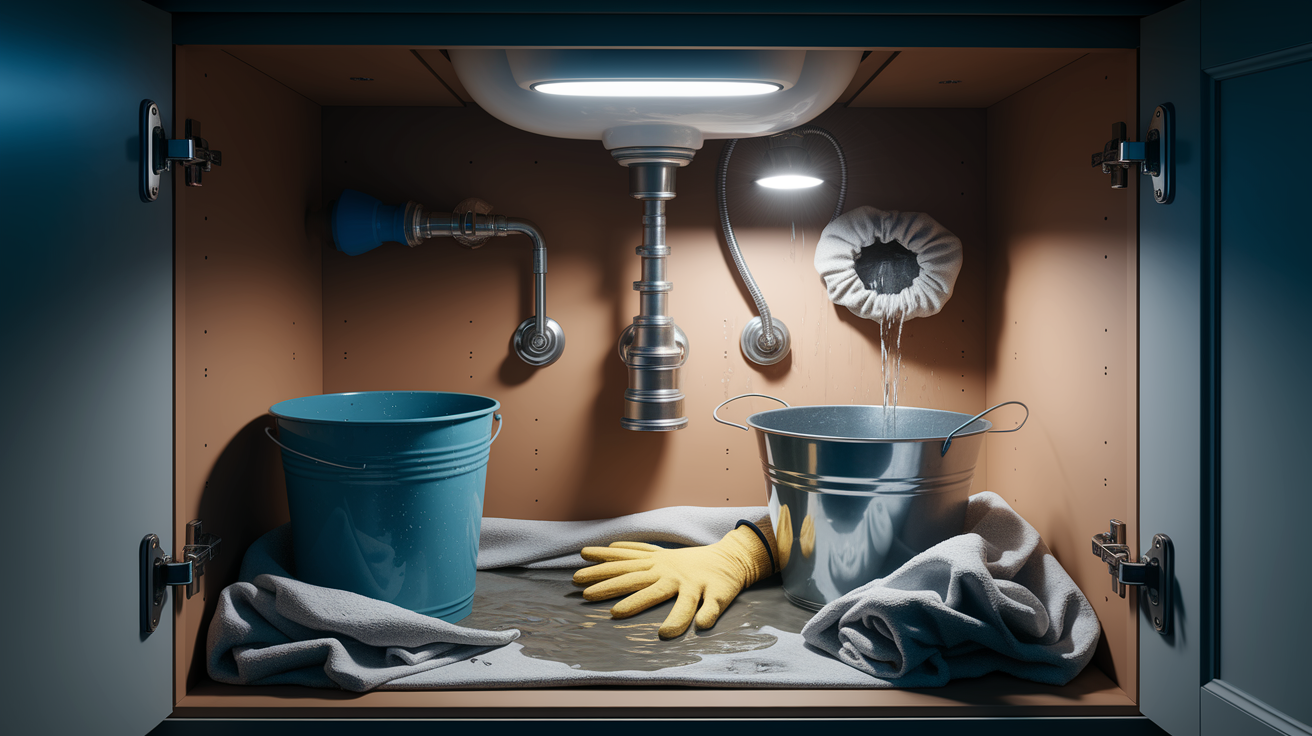
Plumbing work under a sink is low risk compared to electrical work, but it’s still worth a few minutes of prep. A little caution here keeps the job clean and keeps you from breathing in anything unpleasant.
Wear gloves and eye protection before you loosen that first nut. Trapped water sitting in an old pipe isn’t exactly fresh, and you don’t want splashback in your eyes.
Clear out the space under the sink completely. Pull out cleaning supplies, trash cans, anything stored down there. Lay towels or a drop cloth across the cabinet floor to catch drips and protect any surfaces from water damage.
Once the trap is off, plug the exposed wall drain with a rag right away. This is a small step that matters more than it seems. Sewer gas can contain methane and hydrogen sulfide, and while a brief whiff from an open drain usually isn’t dangerous, you don’t want it lingering in a closed cabinet while you work.
Expect 0.5 to 2 quarts of wastewater spillage when the trap comes free, even with the bucket in place. Some always seems to find its way past.
Shutting off the sink’s supply valves is optional for P-trap
Final Words
Start by shutting off the faucet, sliding a bucket under the trap, and loosening the slip nuts by hand. That gets you into the action fast and keeps the mess under control.
You measured the trap, emptied the old P-trap, plugged the wall drain, cleaned the fittings, installed new beveled washers, hand-tightened the nuts, added a 1/4-1/2 turn with a wrench, then ran water 1-2 minutes to check for leaks.
Following this P-trap replacement guide shows how to replace a P-trap under a sink safely and quickly. Nice work. You’re ready to finish with confidence.
FAQ
Q: How to install sink P-trap?
A: Installing a sink P-trap involves measuring the trap size, fitting new slip washers and nuts, hand-tightening then adding a 1/4–1/2 turn with a wrench, aligning the trap arm, and testing for leaks.
Q: How much does a plumber charge to replace a sink trap?
A: A plumber typically charges about $100 to $300 to replace a sink trap, depending on parts, access difficulty, travel, and whether corrosion or extra repairs are needed.
Q: How to open a kitchen sink drain?
A: To open a kitchen sink drain, place a bucket under the trap, loosen the pivot-rod retaining nut beneath the sink, pull the rod, and lift out the stopper to clear or access the drain.
Q: How to replace a bathroom sink drain?
A: Replacing a bathroom sink drain means removing the old flange and locknut, cleaning the sink hole, applying plumber’s putty or silicone, installing the new drain assembly, tightening the locknut, and testing for leaks.
More from Politics
 Featured
How to Reset a GFCI Outlet Safely at Home
 DIY Repairs
How to Replace a Leaky Bathroom Faucet Cartridge Easily
 Home Maintenance
How to Adjust Door Hinges to Fix a Sagging Door
 Tools Materials