Featured
How to Stop a Dripping Bathroom Faucet Cheaply
Learn how to stop a dripping bathroom faucet on a budget with this simple checklist. Fix it yourself in under an hour for less than $20.
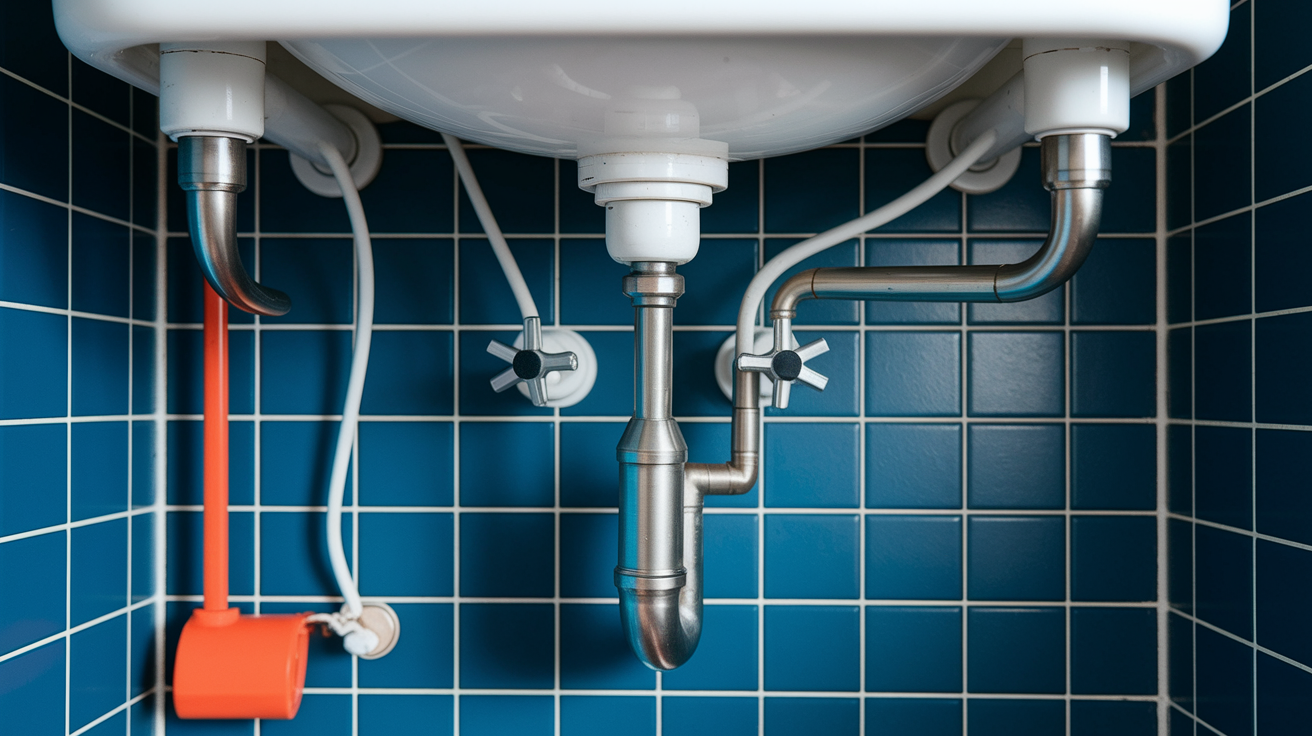
You don’t need to call a plumber to stop that drip — most bathroom faucets can be fixed in 15 to 45 minutes for under $20.
This guide gives a simple, step-by-step checklist that tells you exactly what to check, what part to replace, and what tools you really need.
Follow it before you grab a new part or head to the store and you’ll save time, cash, and a lot of late-night annoyance.
Quick, clear, and budget-friendly — and I’ll tell you when to stop and call a pro if the problem looks bigger.
A Beginner’s 15-45-Minute Faucet Repair Checklist
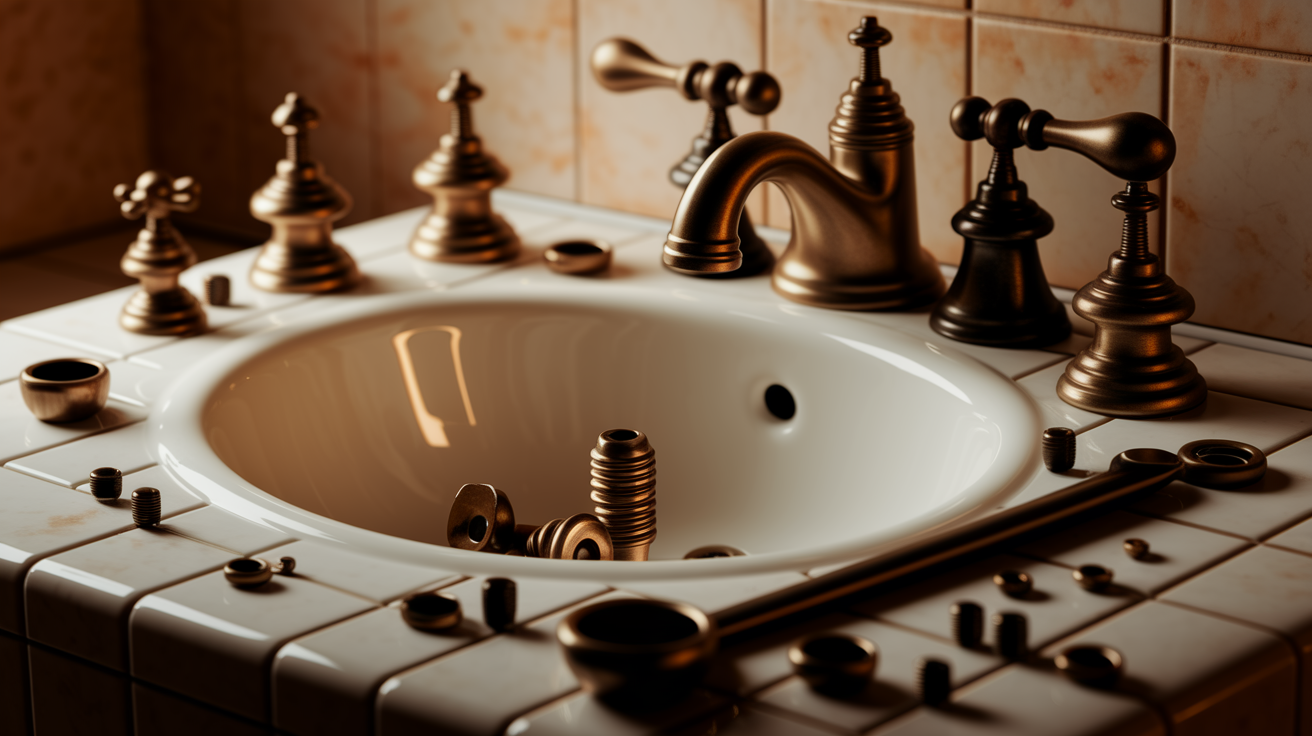
Most dripping bathroom faucets can be fixed in 15 to 45 minutes, and you’ll spend less than $20 on parts. That’s it. No need to call anyone or burn a whole weekend on it.
Whether you’re trying to stop a dripping bathroom faucet on a budget or just want it quiet before bed, this checklist walks you through the process in order. Follow it step by step and you’ll know exactly where you stand before you touch a single screw.
-
Turn off both under-sink water valves. Turn clockwise until snug. (Image callout: hot and cold shutoff valves with arrows showing the turn direction)
-
Open the faucet to release trapped water and pressure. Let it run until it sputters and stops. (Video callout: releasing pressure at the spout before disassembly)
-
Plug or cover the sink drain so screws and small parts don’t disappear down it. (Image callout: a plugged drain, ready for parts removal)
-
Check whether water’s escaping from the spout or around a handle. This tells you a lot about what’s worn out. (Image callout: side-by-side comparison of spout drips versus handle-base leaks)
-
Determine whether the faucet uses a compression, cartridge, ball, or ceramic-disc mechanism. (Image callout: identifying features of each of the four faucet types)
-
Remove the handle and inspect the washer, O-ring, or cartridge underneath. (Video callout: safe handle removal and laying parts out in order)
-
Clean mineral buildup from accessible parts with a suitable descaler. (Video callout: gentle cleaning technique that won’t scratch metal or rubber)
-
Replace only the worn or damaged component, matched exactly to the old one. (Image callout: comparing old and new parts side by side)
-
Reassemble the faucet, reopen the water valves slowly, and test the spout and handles for leaks. (Video callout: correct testing sequence, from slow valve opening to full water flow)
Stop and call a plumber if the shutoff valves won’t budge, a supply line looks damaged or corroded, water’s leaking into a wall or cabinet structure, or the faucet keeps dripping even after you’ve replaced the right part. Those are signs of a bigger problem than a worn washer, and pushing past them can turn a cheap fix into an expensive one.
Why Your Bathroom Faucet Is Dripping
(((alt-img2)))
Before you buy a single part, figure out what’s actually failing. Guess wrong and you’ll make a wasted trip to the store, with a faucet that’s still dripping when you get home.
Here are the five usual suspects behind a leaky bathroom faucet:
- A worn flat or cone-shaped washer in a compression faucet
- A cracked, flattened, or shifted O-ring letting water sneak out around a handle
- A worn or damaged cartridge that’s lost its grip on water flow
- A corroded or mineral-crusted valve seat that won’t seal properly anymore
- A loose packing nut, retaining clip, or other small fastener that’s backed out over time
So how do you narrow it down? Pay attention to where the water actually shows up. If it’s dripping from the spout, you’re likely looking at a washer, cartridge, or valve seat issue. If it’s seeping around the base of a handle when you turn it, that points to an O-ring. Also notice whether one handle is affected or both. Two-handle faucets with a drip on just one side usually mean that side’s washer or stem is the problem, not the whole fixture. And ask yourself if the drip is constant or only happens after you use the faucet. Continuous dripping often means a seal has fully given out, while intermittent dripping can mean it’s just starting to wear. Keep an eye on water color and pressure too. Rusty or cloudy water combined with a drip can point to corrosion inside the valve, and unusually high water pressure in your home can wear down washers and seats faster than normal.
Here’s the thing though. Compression, cartridge, ball, and ceramic-disc faucets all use different internal parts to control water flow. A washer that fixes one type won’t do a thing for another. So before you shop for parts, confirm exactly which type you’re working with. That one detail determines everything that comes next.
Budget Tools And Parts For A Cheap Faucet Repair
(((alt-img3)))
You don’t need a full toolbox to fix a leaky bathroom faucet cheap. Honestly, most of these repairs come down to one wrench, one screwdriver, and one small part that costs less than a cup of coffee. The trick is inspecting the faucet first so you buy only what’s actually broken, and borrowing or renting the one or two tools you won’t use again.
| Item | Typical Price | Purpose |
|---|---|---|
| Adjustable wrench | $8 to $15 | Loosening and tightening nuts |
| Screwdriver set | $3 to $10 | Removing handle and trim screws |
| Allen or hex key set | $5 to $10 | Removing recessed handle screws |
| Needle-nose pliers or pick | $4 to $10 | Extracting clips, washers, and O-rings |
| Plumber’s grease | $4 to $8 | Lubricating compatible seals and O-rings |
| PTFE tape | $1 to $3 | Sealing appropriate threaded connections |
| Assorted washer pack | $2 to $5 | Repairing compression faucet seals |
More from Politics
 Featured
How to Reset a GFCI Outlet Safely at Home
 DIY Repairs
How to Replace a Leaky Bathroom Faucet Cartridge Easily
 Home Maintenance
How to Adjust Door Hinges to Fix a Sagging Door
 Tools Materials