Tools Materials
How to Winterize Home Plumbing and Beat Frozen Pipes
Learn how to winterize home plumbing to prevent frozen pipes with easy insulation tips, a fall prep plan, and a quick emergency checklist.
A burst pipe isn’t bad luck.
With a few cheap, simple steps you can winterize your plumbing and stop frozen pipes before they start.
This guide gives you an immediate freeze checklist for emergencies, a fall prep plan, the insulation options that actually work, and the quick checks that save you from a flood.
Read on and you’ll know exactly what to do, which tools to grab, and when to call a pro.
Immediate Freeze-Prevention Checklist for Home Plumbing
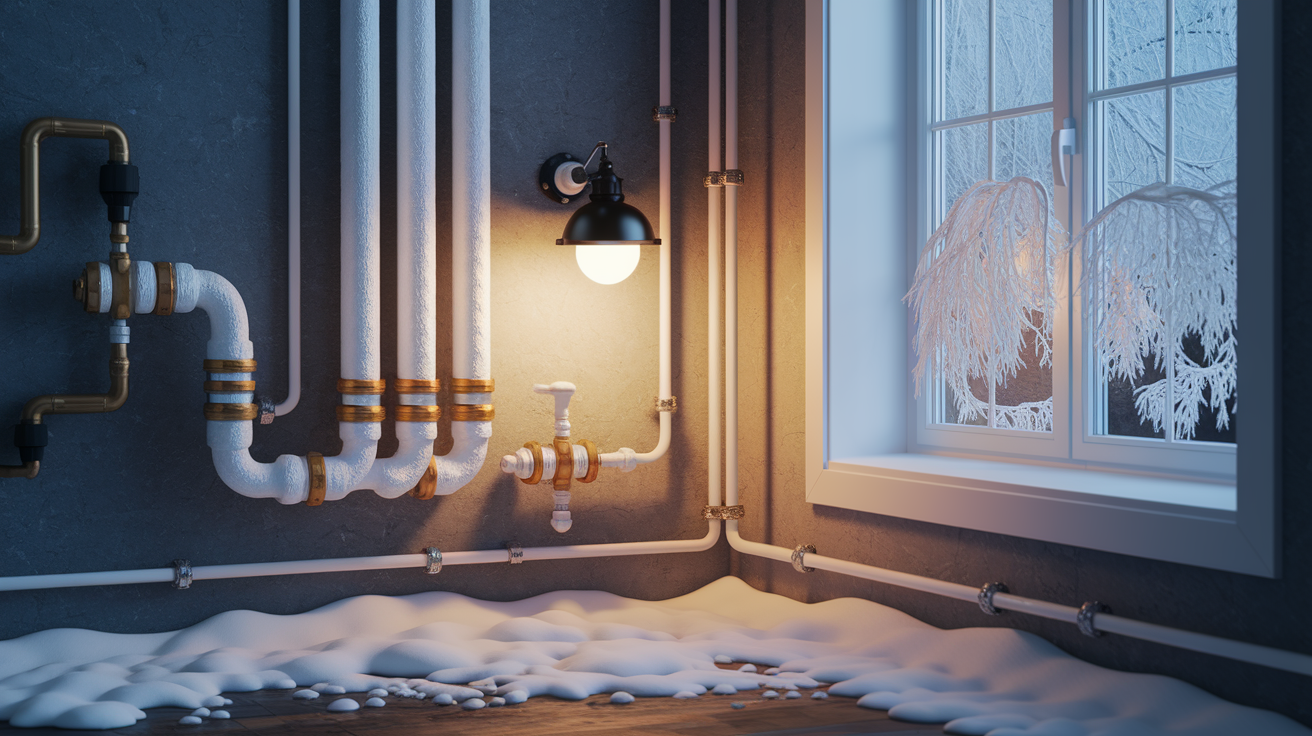
Winter plumbing problems don’t wait for a convenient time to show up. These steps work best when you handle them before temperatures drop, but keep this list handy during an active freeze warning too. Most of it still helps even if the cold snap caught you off guard.
- Keep your indoor temperature at 55°F or higher, even when you’re away. This is the single biggest factor in preventing frozen pipes inside your walls.
- Disconnect garden hoses from every outdoor spigot. Water trapped in a hose can freeze and expand back into the pipe.
- Shut off and drain exterior supply lines feeding outdoor faucets, if your home has a separate interior shutoff for them.
- Open sink cabinet doors under bathroom and kitchen sinks on exterior walls. This lets warm room air reach the pipes hiding inside.
- Let faucets on vulnerable lines drip steadily, about a pencil thin stream. Moving water is much harder to freeze than still water.
- Insulate any exposed pipes you can see in unheated areas like the garage, crawl space, basement, or attic.
- Seal cold air leaks near pipe penetrations, including where lines pass through exterior walls or the foundation.
- Know exactly where your main water shutoff valve is located before you ever need it in an emergency.
In plain terms, winterizing your plumbing just means protecting pipes from temperatures that cause water inside them to freeze and expand. Once that happens inside a closed pipe, pressure builds with nowhere to go, and the pipe eventually cracks or bursts, sometimes releasing hundreds of gallons of water before anyone notices. For most northern climates, this kind of prep should be wrapped up by late October to early November, before overnight temperatures start dropping below 32°F on a regular basis.
Fall Preparation vs. Emergency Freeze Warning Actions
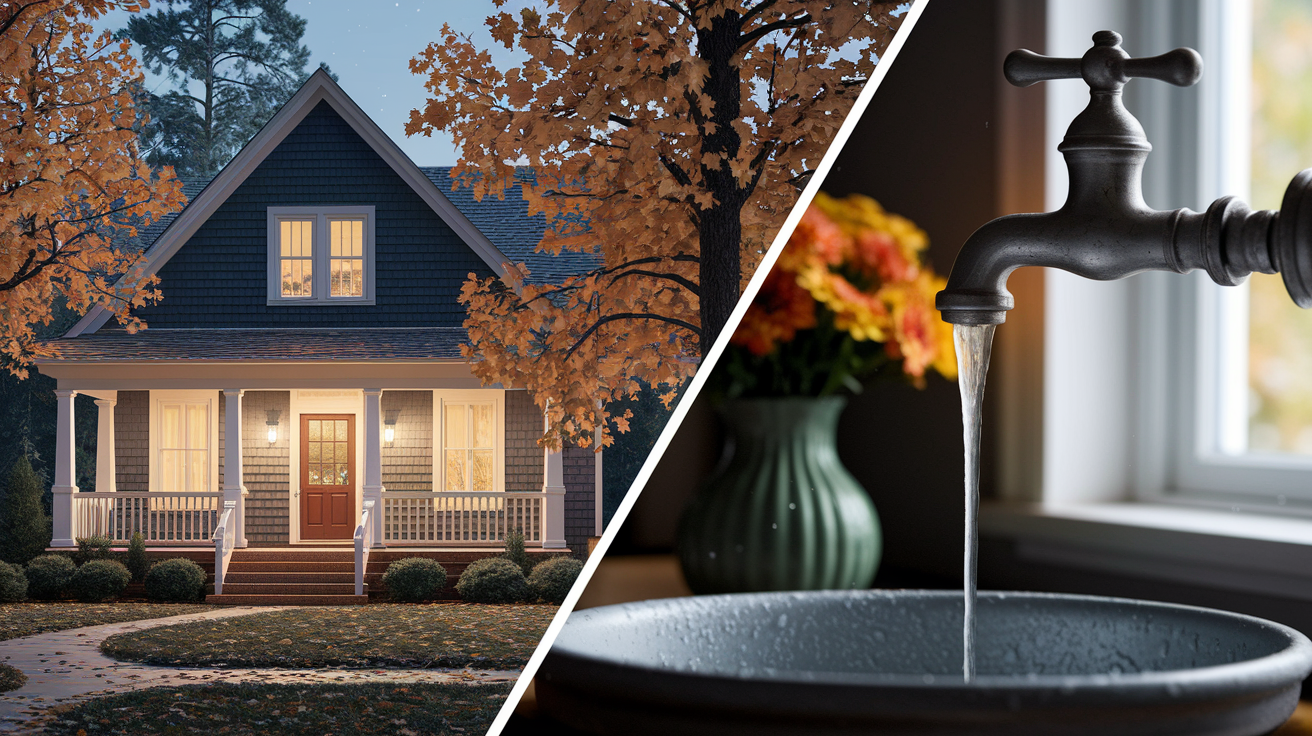
There’s a real difference between getting your home ready for winter in October and scrambling to protect pipes the night a freeze warning pops up. Both matter, but they call for different actions. It helps to know which mode you’re in.
Fall Preparation
- Inspect and insulate exposed pipes in basements, attics, garages, and crawl spaces
- Disconnect and store garden hoses for the season
- Schedule a sprinkler system blowout before the ground freezes
- Seal exterior gaps and cracks near pipe penetrations and foundation walls
Emergency Freeze Warning
- Open cabinet doors immediately to let warm air reach exposed pipes
- Let faucets drip at a steady trickle on both hot and cold sides
- Raise the thermostat to at least 55°F, even overnight
- Locate and test your main water shutoff valve so it’s ready if needed
If you’re doing fall prep, you’ve got time to be thorough. If a freeze warning just hit your phone, skip straight to the emergency list. Those four moves can realistically prevent a burst within just a few hours.
One more thing, and this one’s important. Never use an open flame, like a propane torch or a candle, to thaw a frozen pipe. It’s a leading cause of house fires during winter months. A hair dryer, heat tape, or a space heater aimed gently at the pipe does the job safely.
Pipe Insulation Materials and Installation Steps
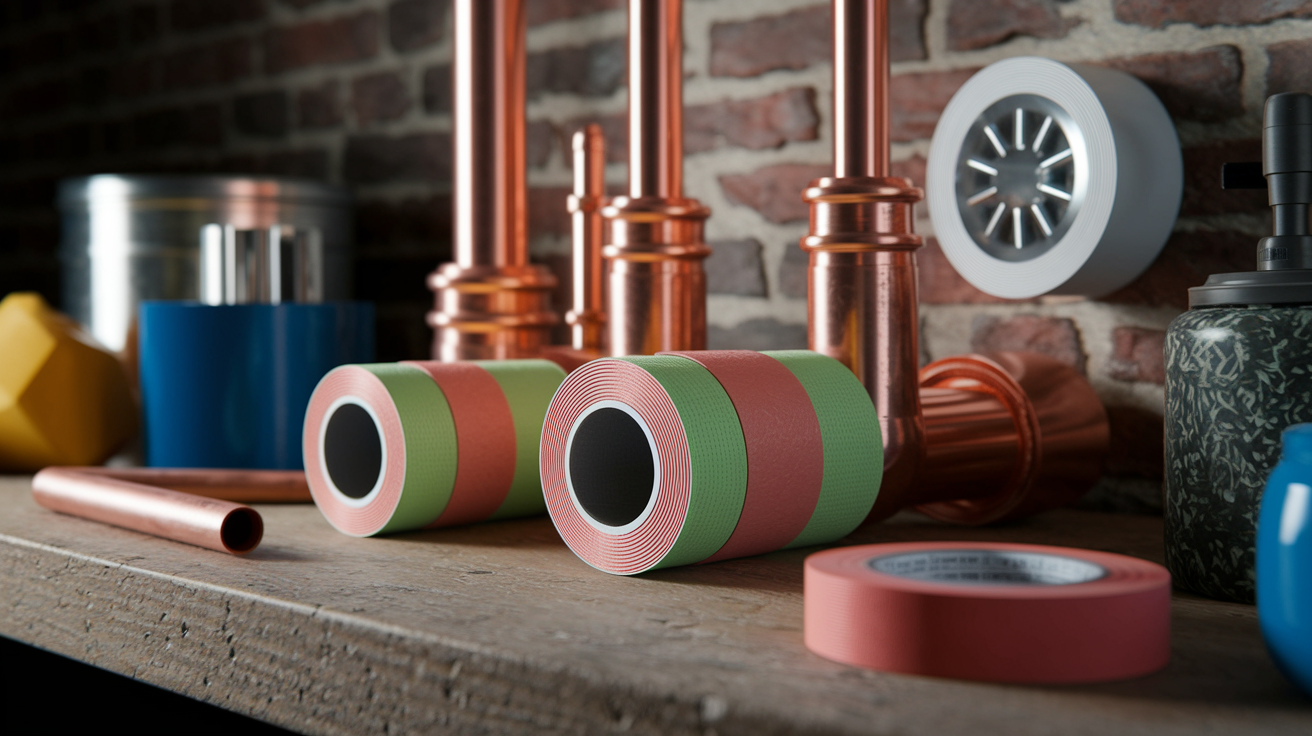
Not every pipe needs the same protection. The right material depends on the pipe’s diameter, where it’s located, and how exposed it is to cold air. A pipe running through an unheated attic needs more help than one tucked behind drywall in a heated room.
- Foam pipe sleeves: slip-on foam tubes that fit around standard pipe diameters, good for most exposed runs. Costs $0.50 to $2.00 per foot, or $1 to $5 each depending on length.
- Fiberglass wrap: a flexible insulating wrap for pipes with irregular shapes or tight spaces where sleeves don’t fit well. Runs $5 to $30 per roll.
- Pipe insulation tape: a thinner, wrap around option for joints, elbows, and spots where a full sleeve won’t fit. Also priced around $5 to $20 per roll.
- Self regulating heat tape: an electric option that actively warms the pipe instead of just insulating it, best for high risk exposed runs. Costs $20 to $60 for a 10 to 30 foot roll.
| Material | Best For | Approx. Cost |
|---|---|---|
| Foam pipe sleeves | Straight runs of exposed pipe | $0.50 to $2.00/ft |
| Fiberglass wrap | Irregular shapes, tight spaces | $5 to $30/roll |
| Pipe insulation tape | Joints, elbows, corners | $5 to $20/roll |
| Heat tape | High risk exposed runs needing active heat | $20 to $60/roll |
For more detail on comparing options, best insulation materials is a solid reference when you’re standing in the aisle trying to decide.
Once you’ve picked your material, installation is pretty straightforward.
- Measure the length of exposed pipe you need to cover, adding a little extra for overlap at the ends.
- Select a sleeve diameter that matches your pipe size exactly. A loose fit won’t insulate well, and too tight won’t slide on.
- Secure the sleeves using the included adhesive strip or tape along the seam, so cold air can’t sneak in through the gap.
- Wrap fiberglass or heat tape around joints, elbows, and any exposed sections that
Final Words
If a freeze is coming, follow the Immediate Freeze-Prevention Checklist right away: keep the thermostat at 55°F or higher, disconnect hoses, drain exterior lines, open cabinets, let vulnerable faucets drip, insulate exposed runs, seal cold drafts, and know your main shutoff.
You also covered fall prep versus emergency moves, picked insulation or heat tape, and learned how to drain hose bibs and sprinklers. Finish seasonal prep by late October in colder regions.
This guide on how to winterize home plumbing to prevent frozen pipes gives easy steps you can do today—small prep, big peace of mind.
FAQ
Q: How to make sure plumbing doesn’t freeze?
A: To make sure plumbing doesn’t freeze, keep indoor temps at least 55°F, insulate exposed pipes, disconnect garden hoses, open sink cabinets, and let vulnerable faucets drip during a freeze warning.
Q: How to drain pipes in a house?
A: To drain pipes in a house, shut off the main water valve, open all faucets and flush toilets to empty lines, open outdoor spigots, and follow the water heater’s drain instructions.
Q: How to drip faucets to prevent frozen pipes?
A: To drip faucets to prevent frozen pipes, open the tap to a steady pencil‑thin stream (cold side), use faucets farthest from the main, and leave cabinet doors open so warm air reaches the pipes.
Q: At what temperature will water pipes freeze?
A: Water pipes will freeze when their temperature falls to about 32°F (0°C); exposed or poorly insulated pipes can ice up sooner, especially with wind or very low overnight temperatures.
More from Politics
 Featured
How to Reset a GFCI Outlet Safely at Home
 DIY Repairs
How to Replace a Leaky Bathroom Faucet Cartridge Easily
 Home Maintenance
How to Adjust Door Hinges to Fix a Sagging Door
 Tools Materials